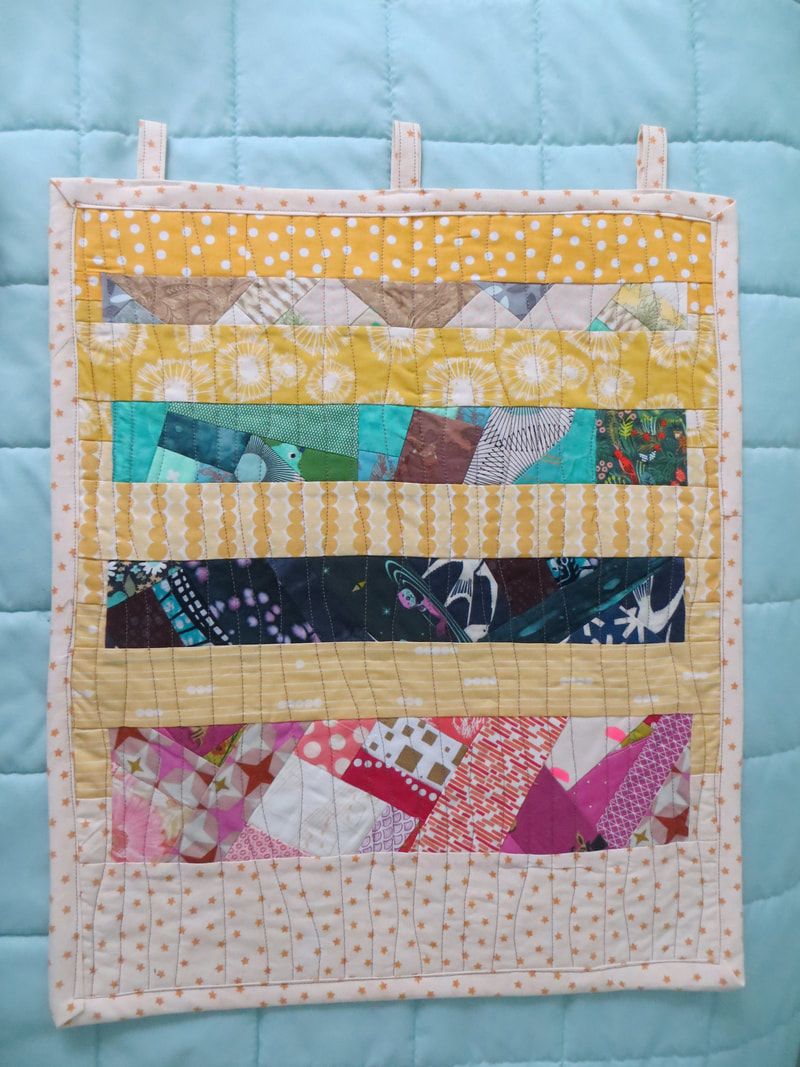
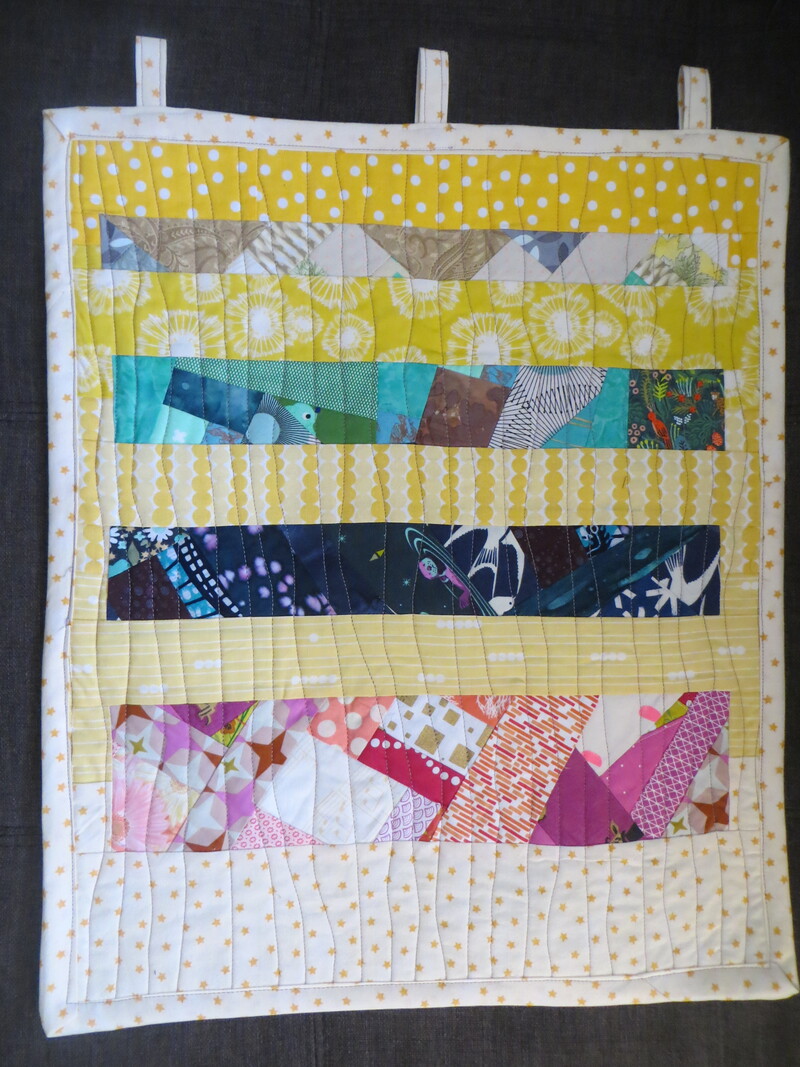
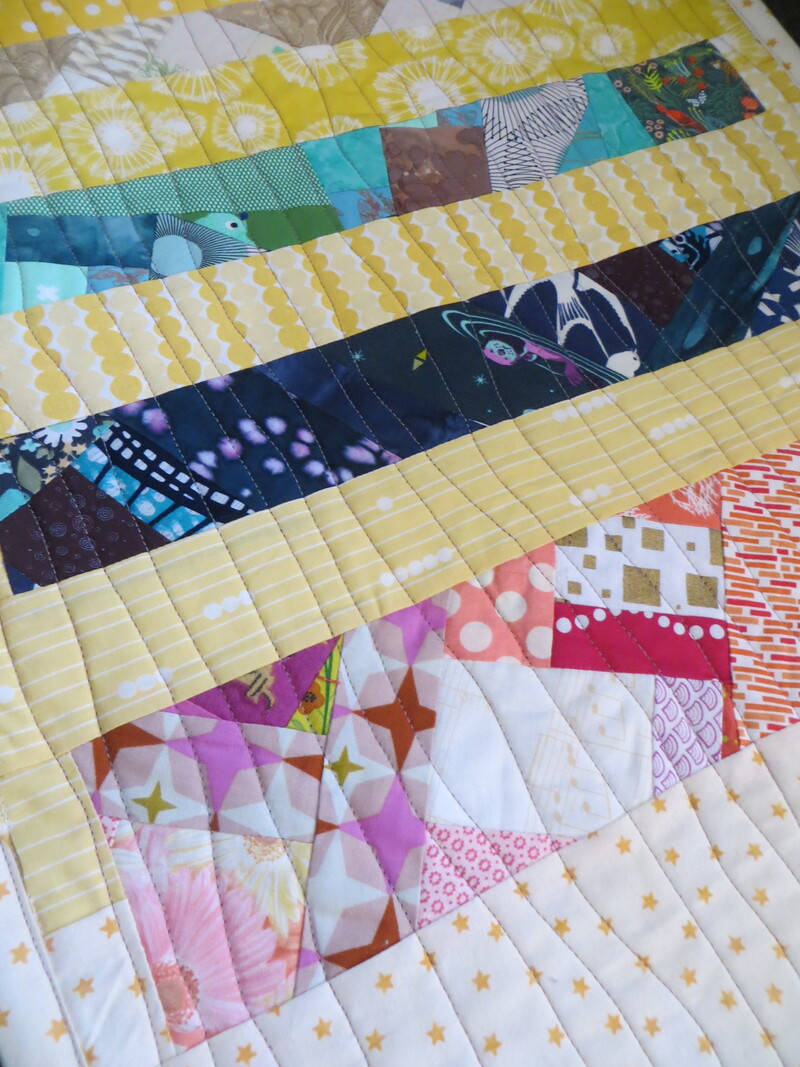
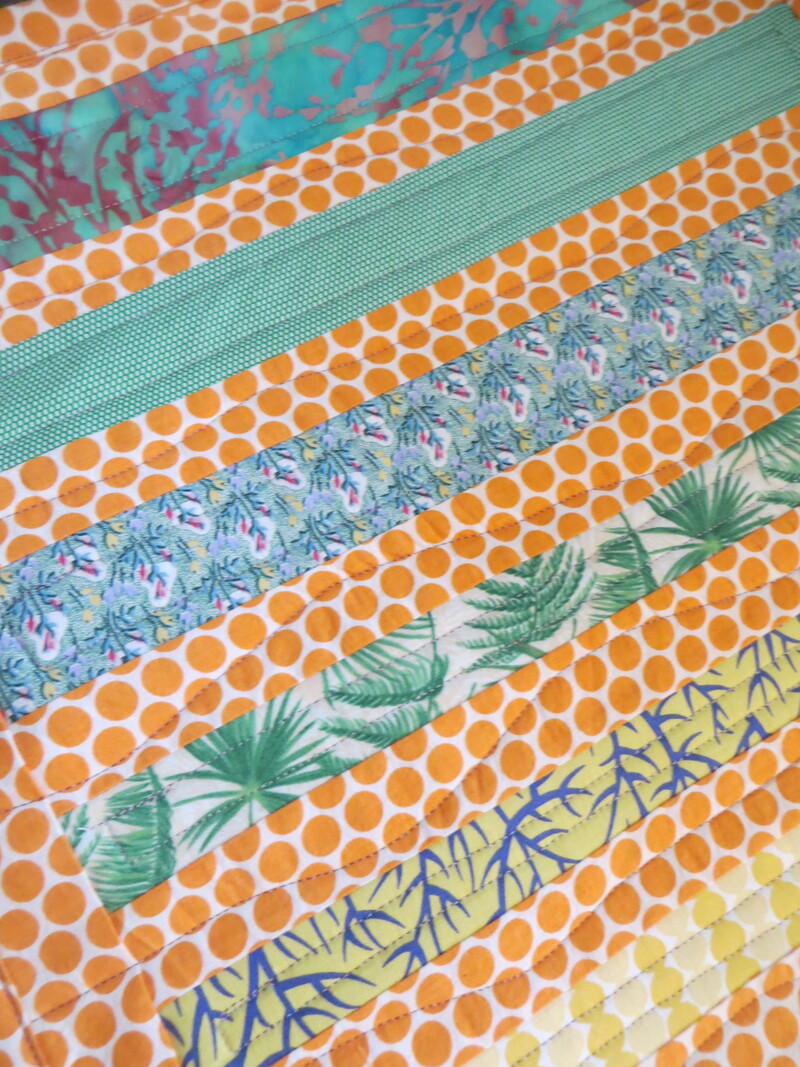
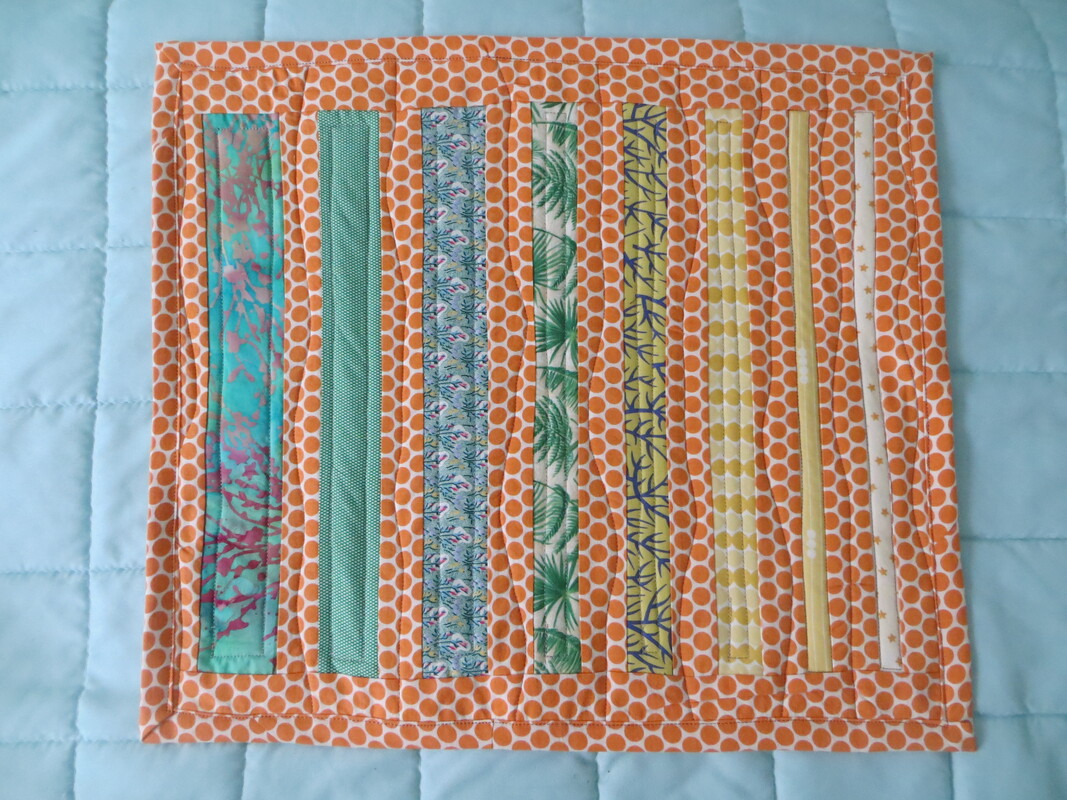
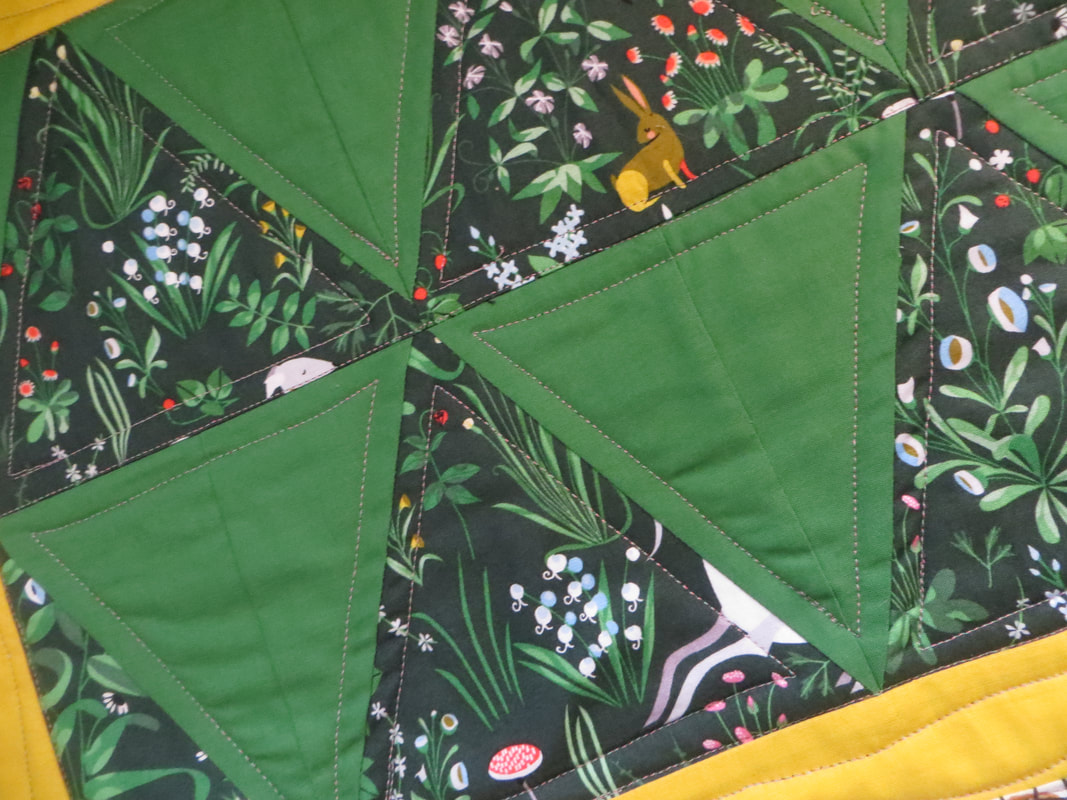
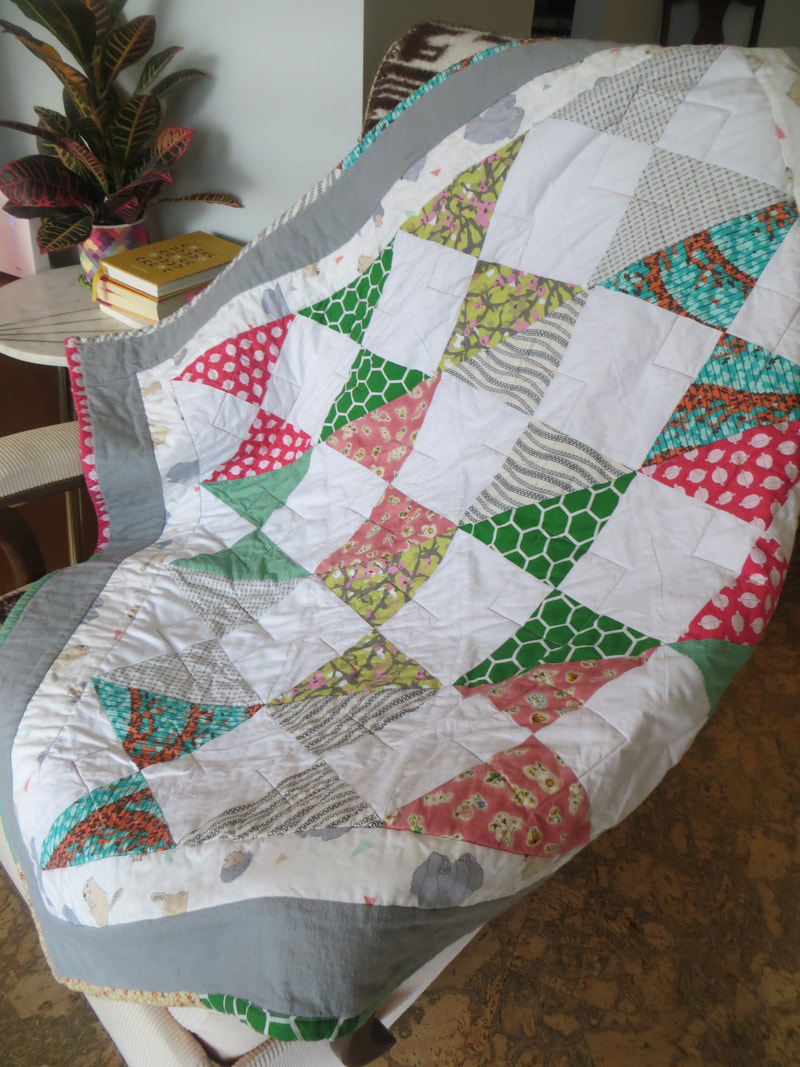
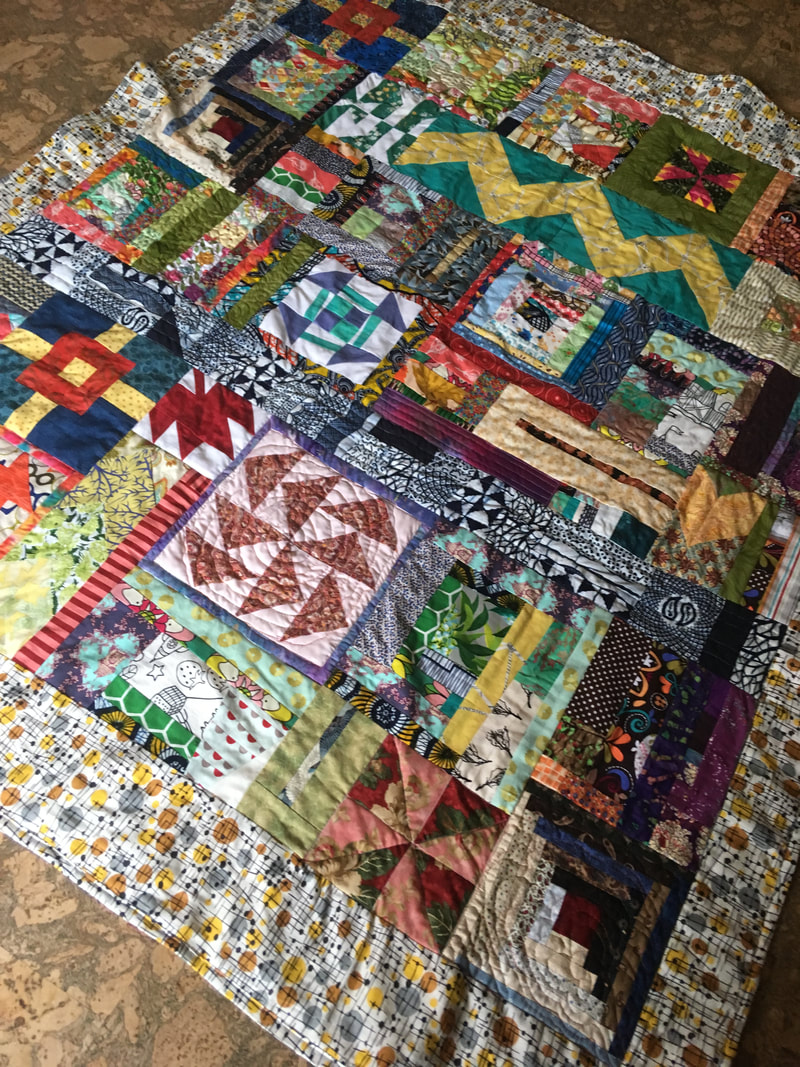
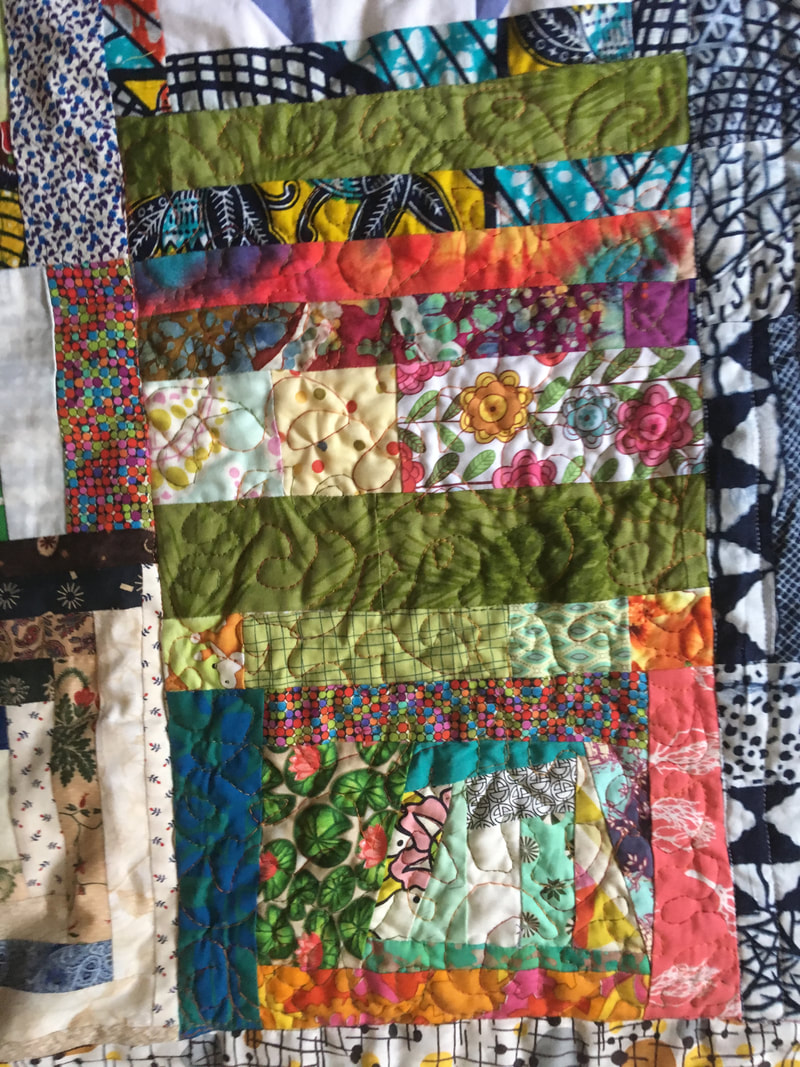
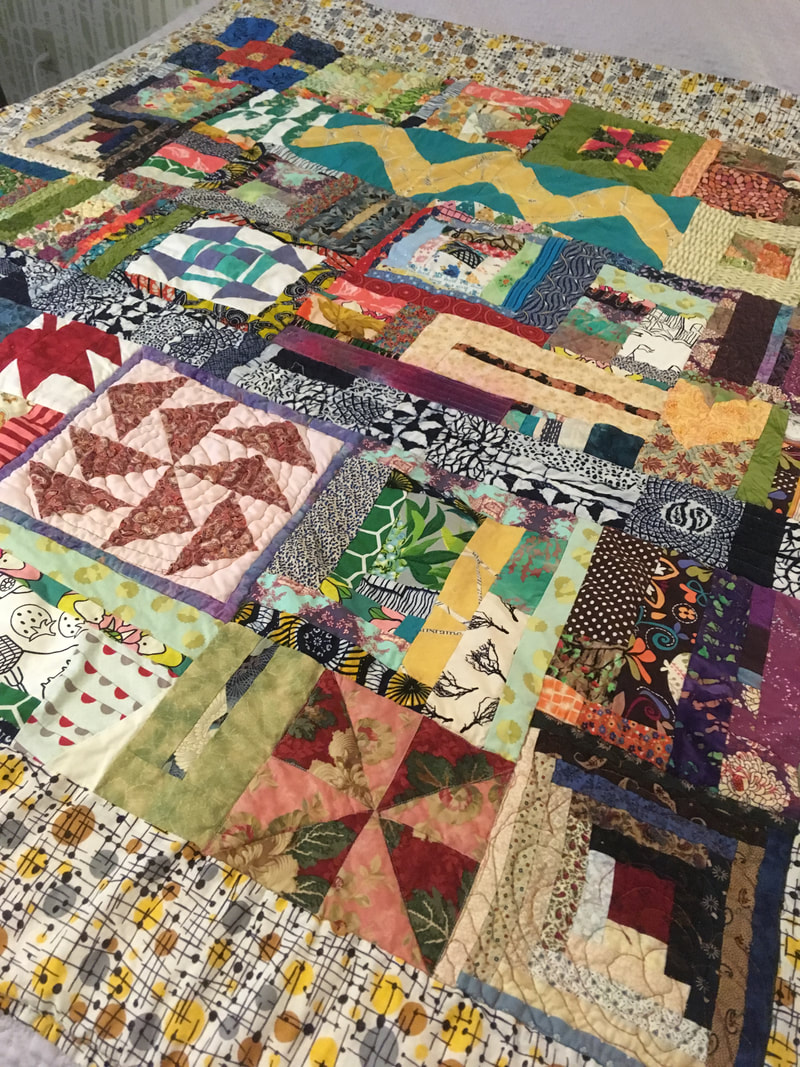
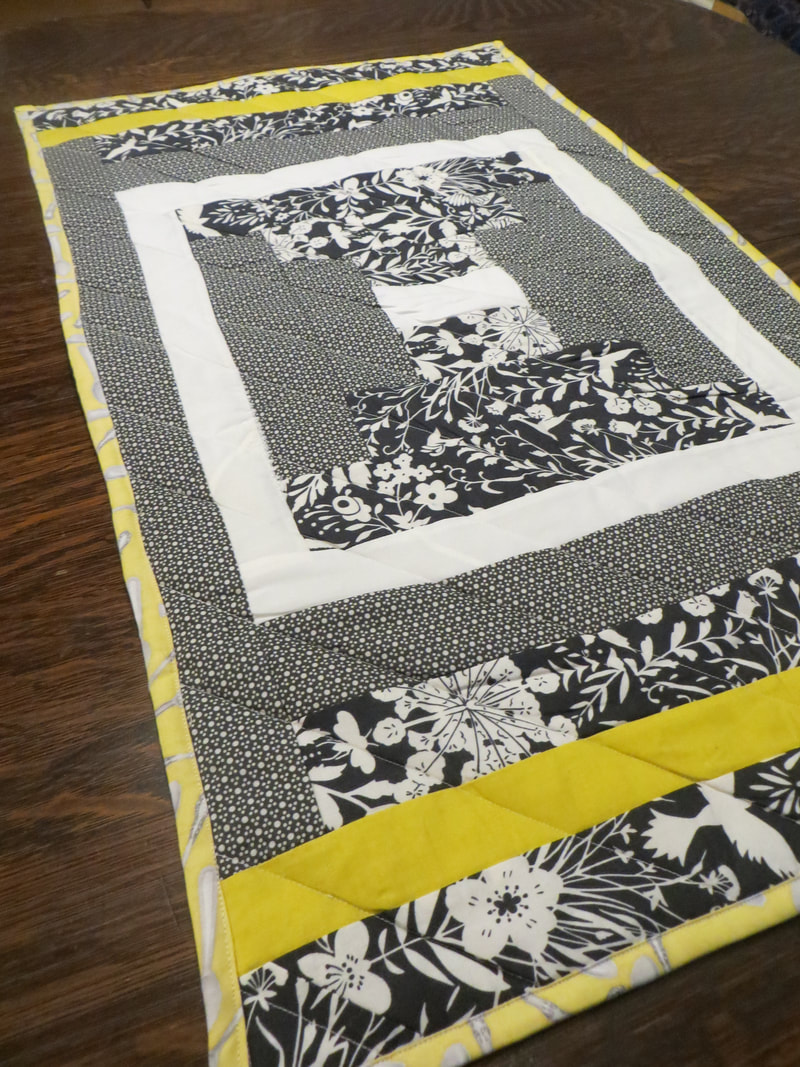
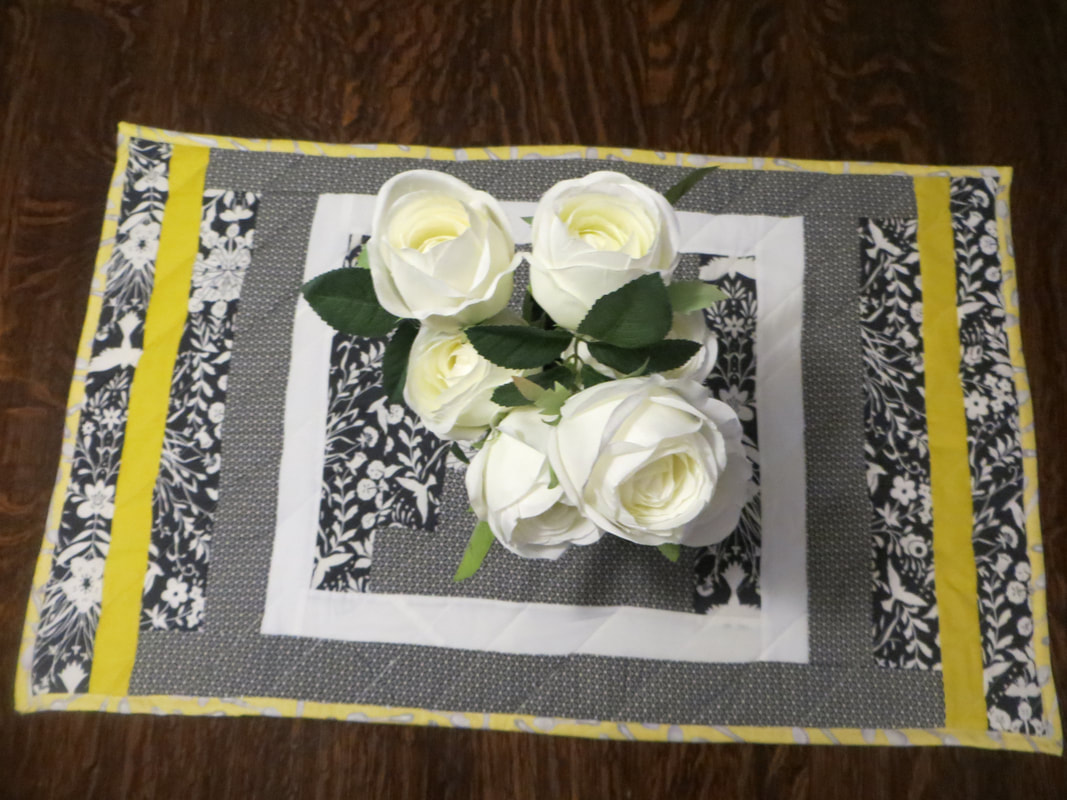
I made this for Trent B. as a holiday gift. Took small scraps of different color palettes and sewed them together into panels, eventually cutting them down into sections to make strips of varying widths. I also assembled a selection of yellow fabrics that went from lighter to darker. I then worked on assembling the strips in opposite directions (light on dark, etc...). A fussy bit was attaching the transition pieces on the side of the mosaic strips so that the different yellow fabrics transitioned in the middle of the mosaic strips. But in the end i like the effect.
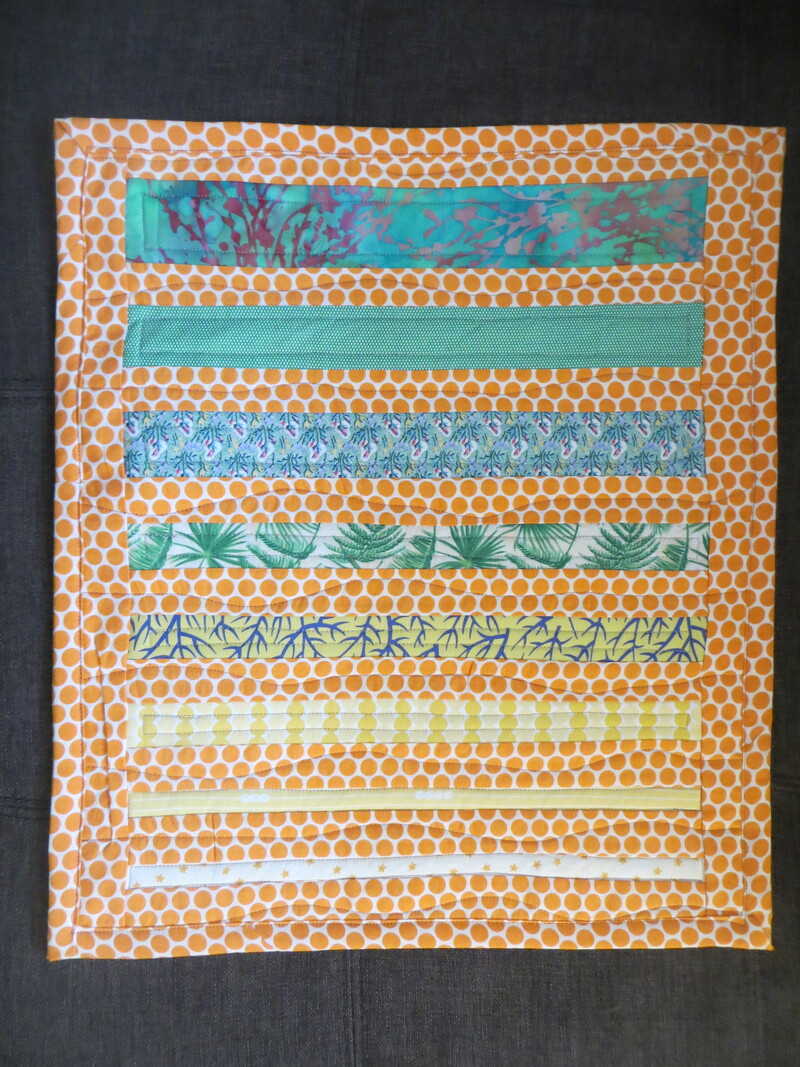
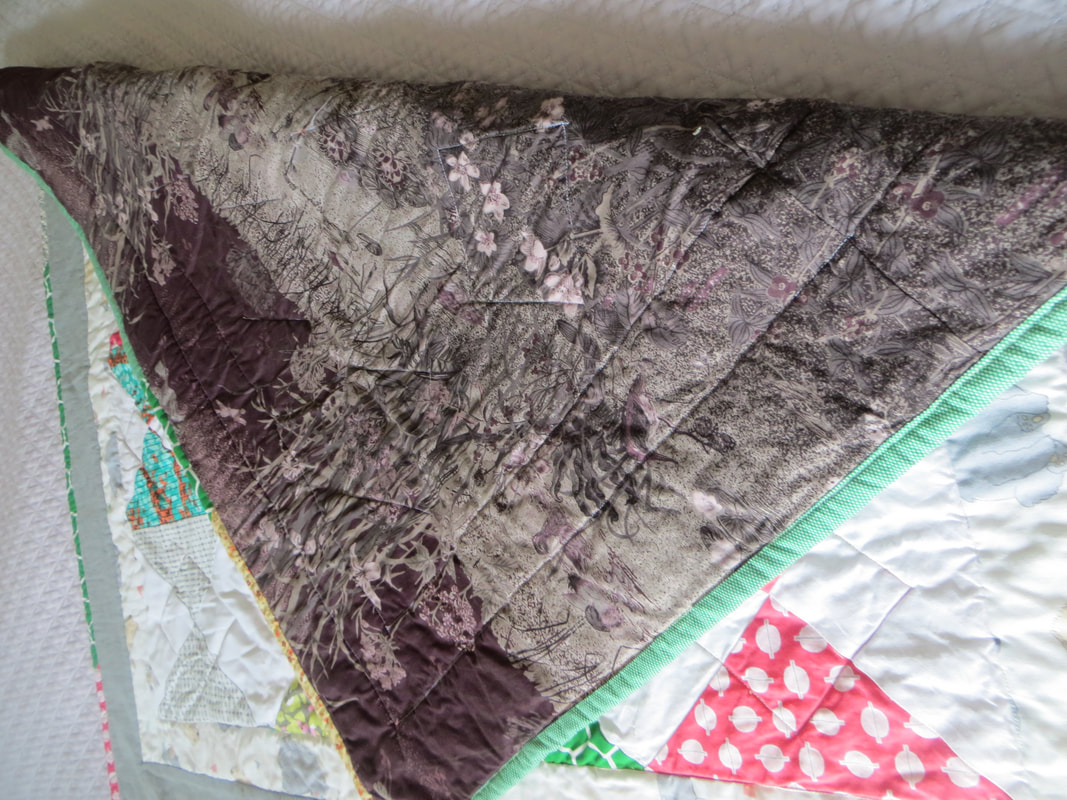
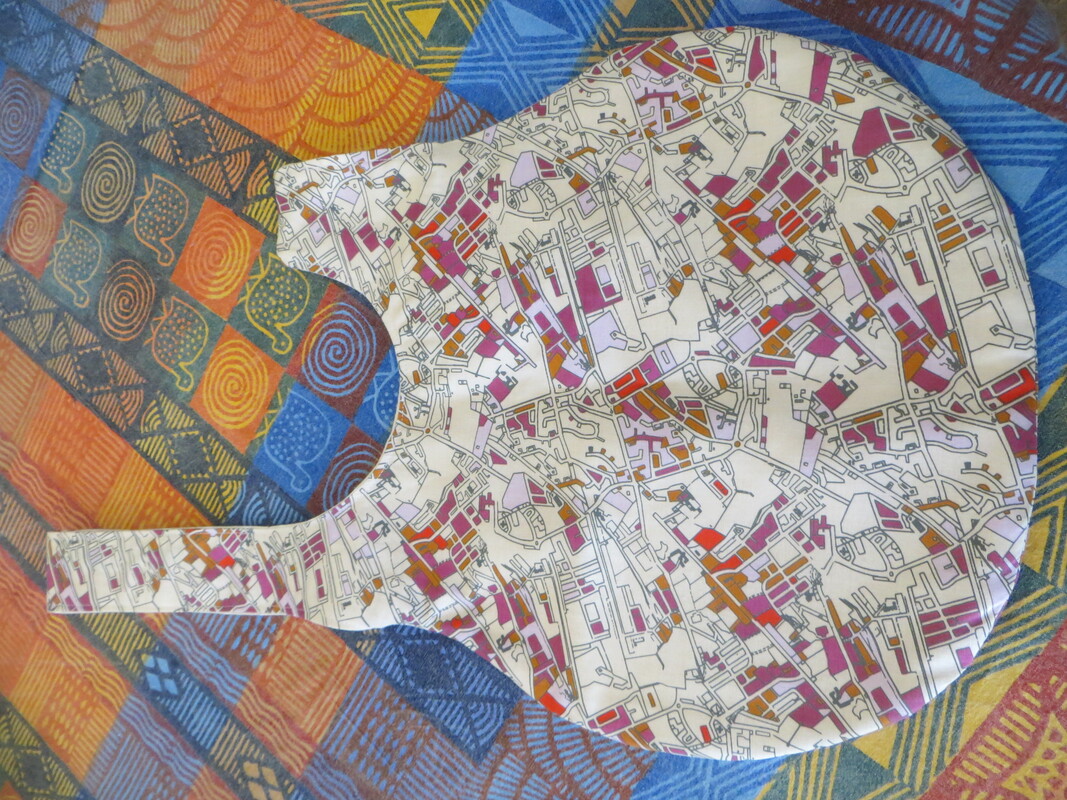
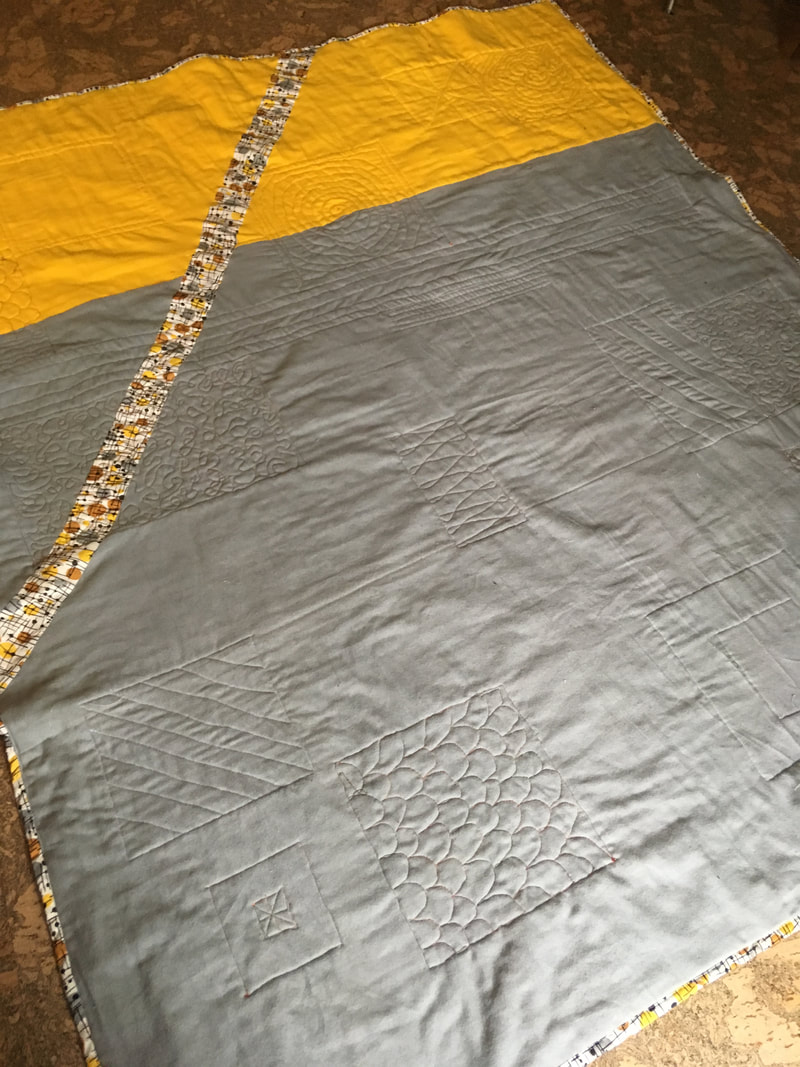
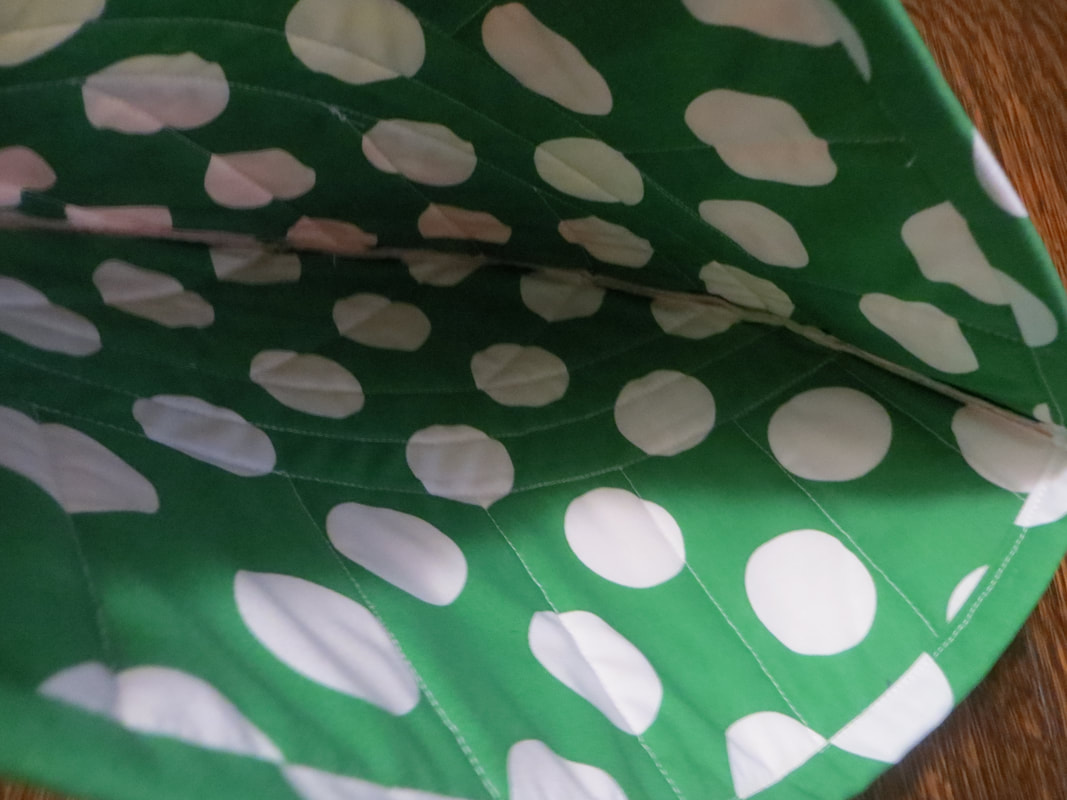
After it was all pieced, I used some upcycled batik on the back and then quilted it simply with wavy lines, and then bound the whole piece in the lightest yellow fabric to highlight the contrast. Added some tabs at the top to hang it, and bob's your uncle! Hope it provides some inspiration and visual distraction!
After it was all pieced, I used some upcycled batik on the back and then quilted it simply with wavy lines, and then bound the whole piece in the lightest yellow fabric to highlight the contrast. Added some tabs at the top to hang it, and bob's your uncle! Hope it provides some inspiration and visual distraction!

 RSS Feed
