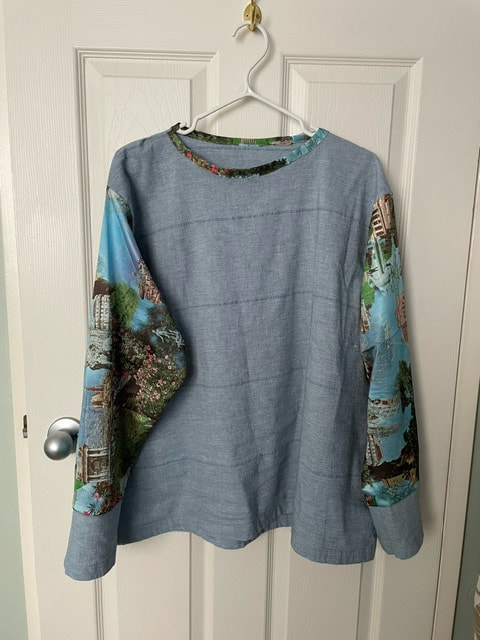
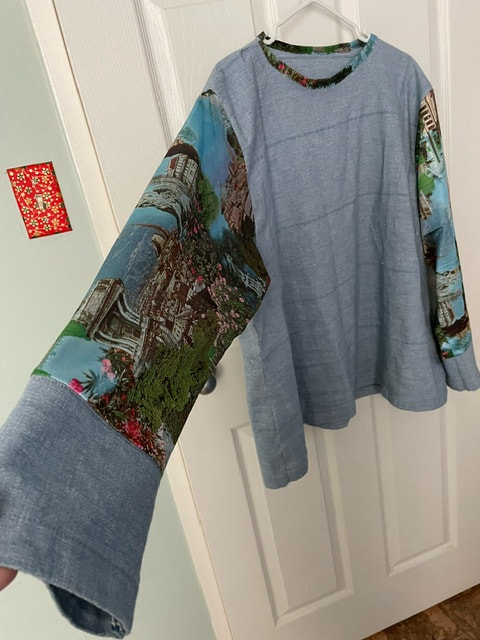
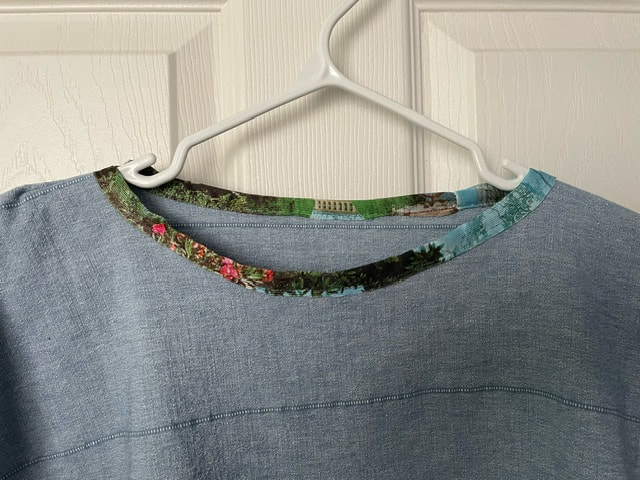
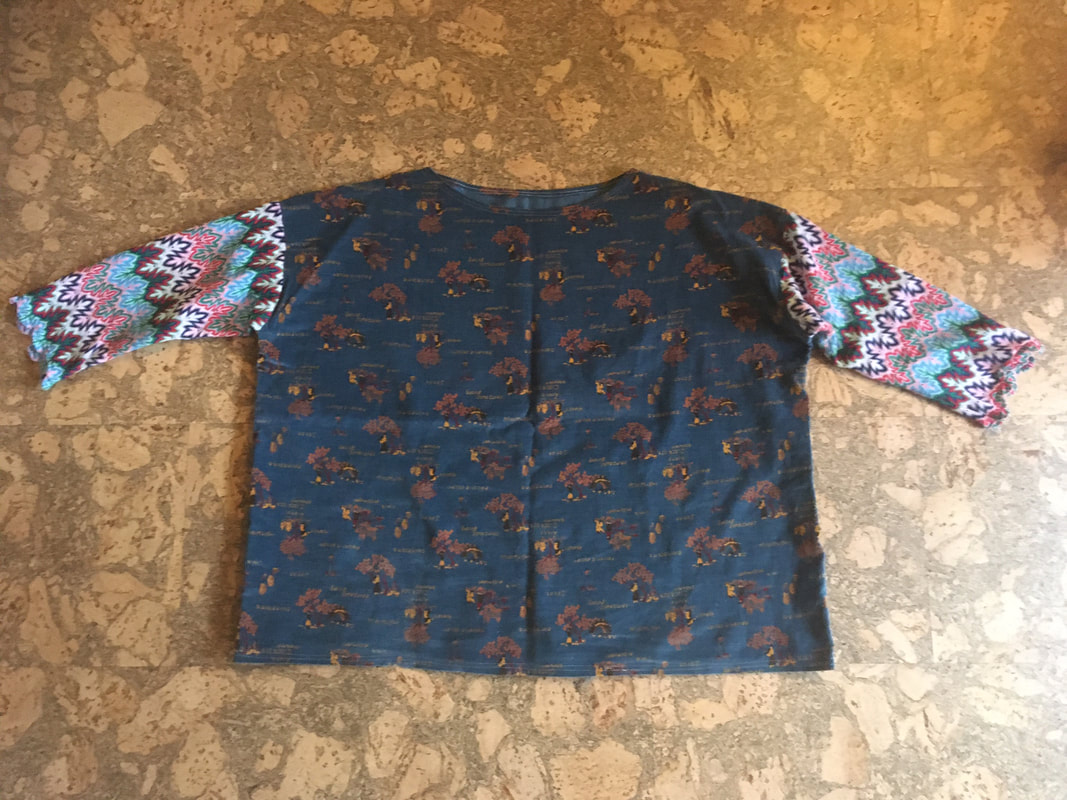
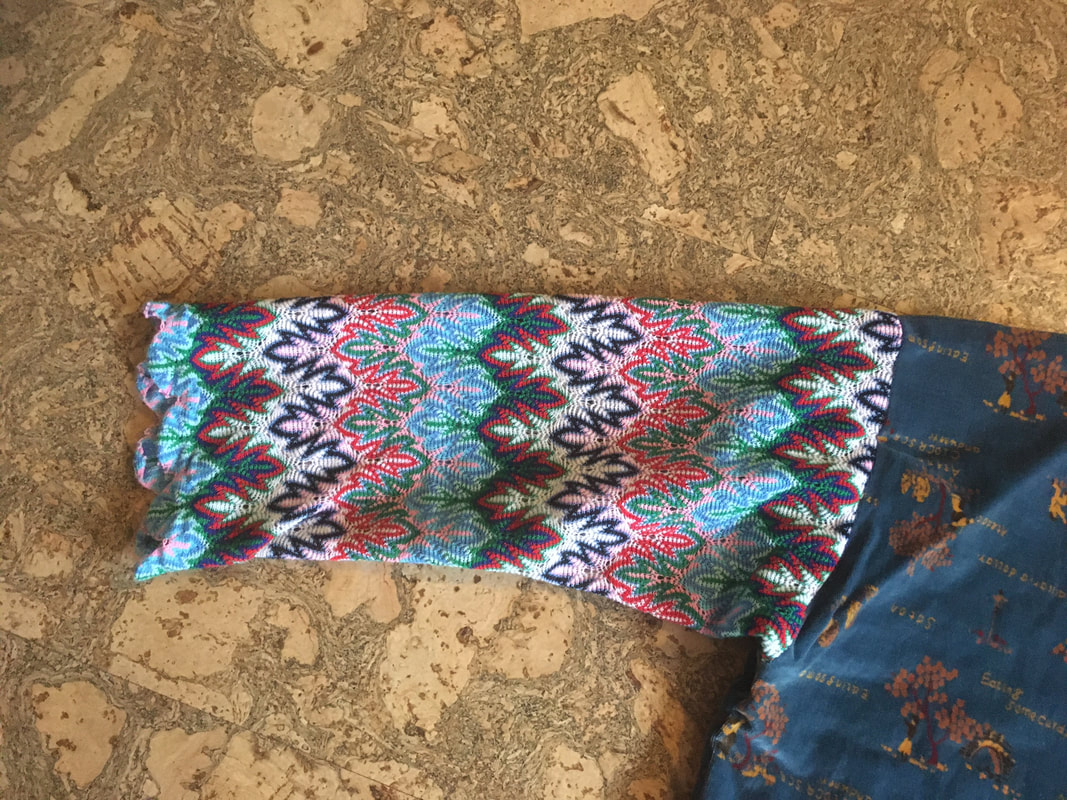
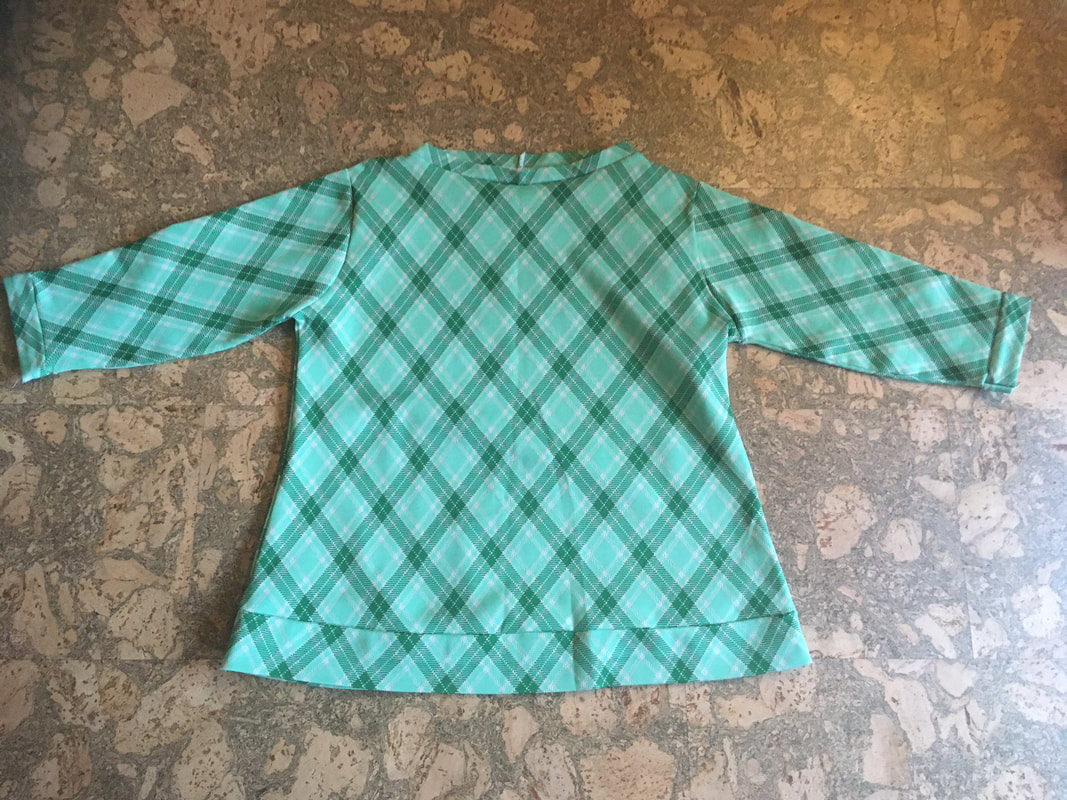
I am interestd in doing some more wearable sewing this year, and so played around one day this month with some bits in my stash to make a shirt. It is pretty baggy/ not well fitted, but it is wearable, and I enjoy the color scheme. The solid blue is an upcycled cotton curtain, and the colorful poly is a remenant from the Hintonburg fabric swap that I got for 2$--- what a steal! I self-drafted the pattern using a shirt I already own--- it also isn't super well-fitting/ is boxy, so I guess I should have guessed this would be the same. But I still like it, and did my best to take it in here and there to give it a bit of shape. While it is not the most fashionable, I do love the sleeve fabric (which I also used to bind the neck), and I enjoy the extra-long sleeve cuffs. Toyed with adding some pockets with the sleeve fabric but I think will leave it as is for now. I have already been wearing this, and look forward to more experiments as the year unfolds!
|
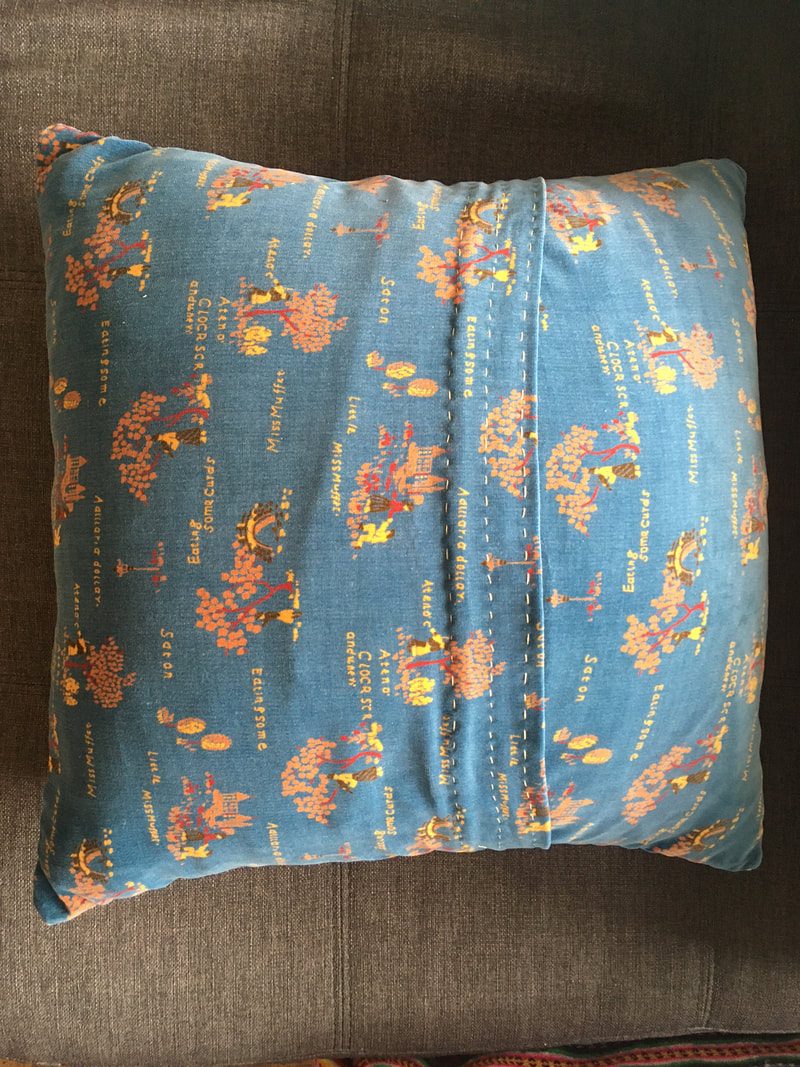
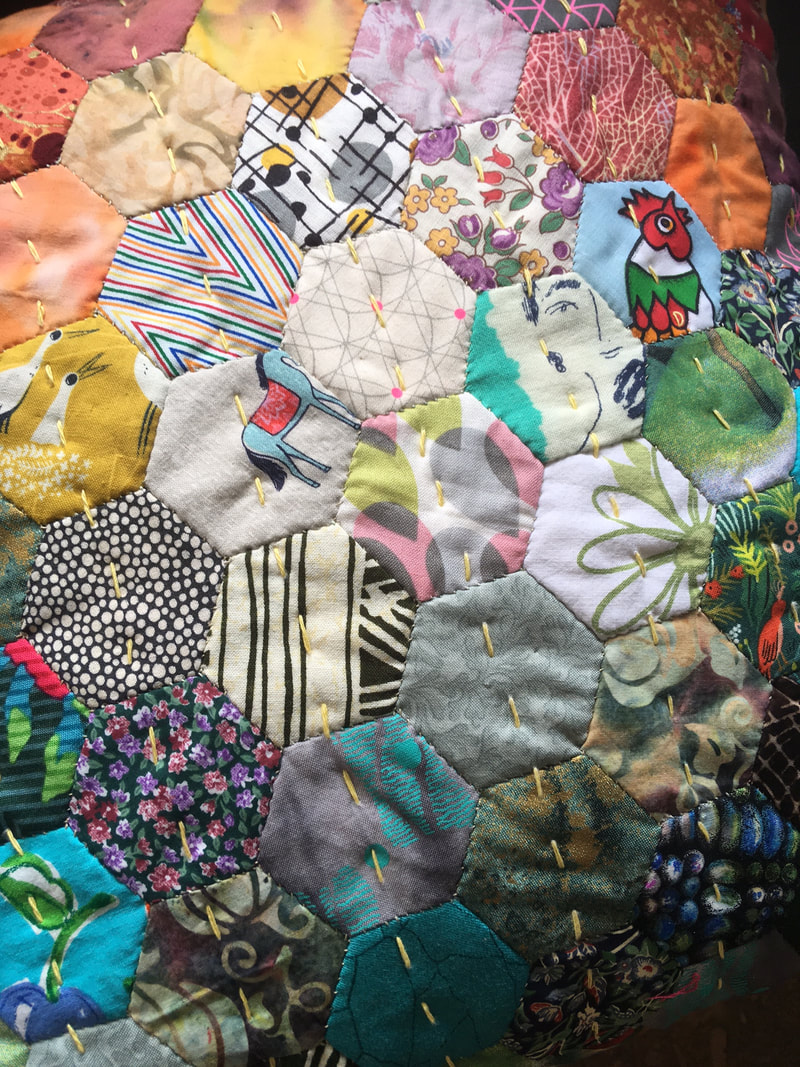
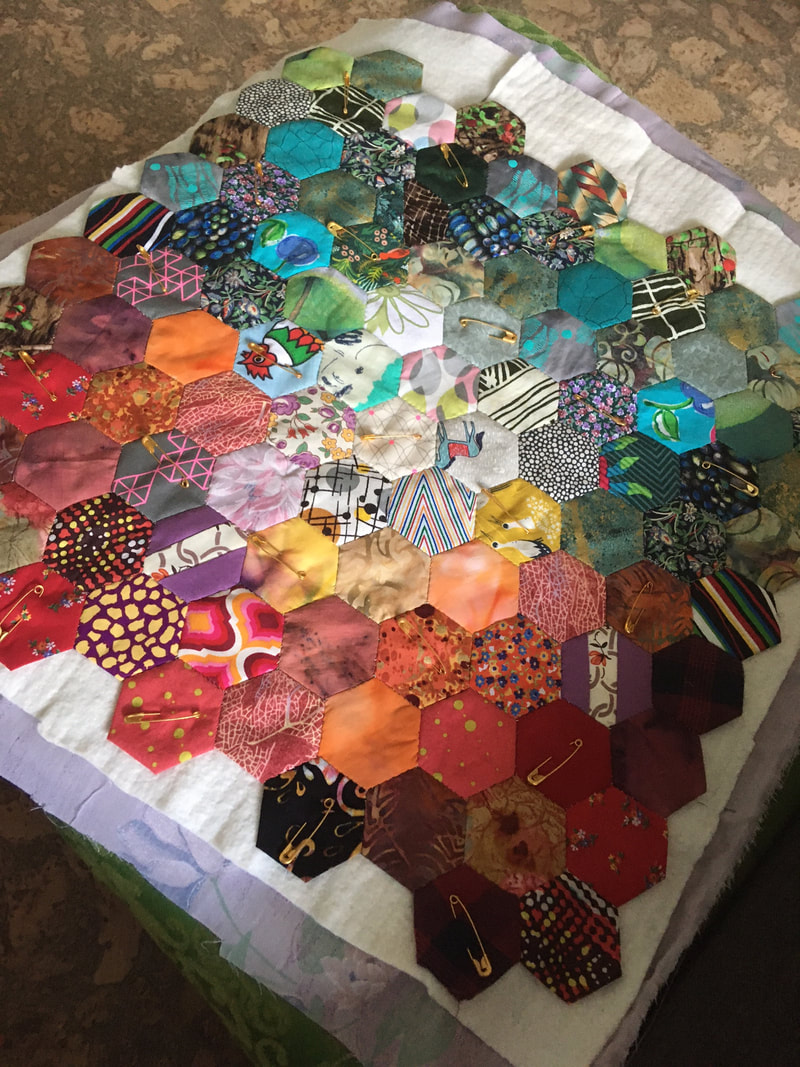
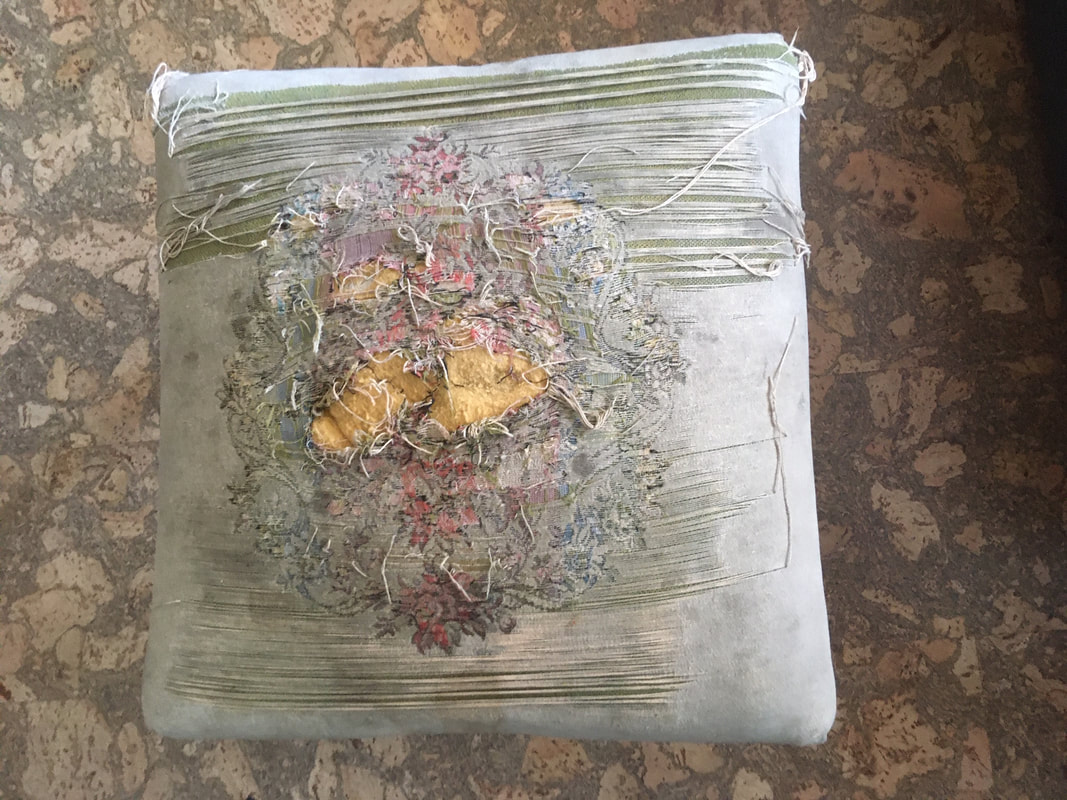
I had an emergency appendectomy in May 2021, and during my recovery I was exhausted, and couldn't muster more than staring at the wall for a while. But as I started to come out of the depths of the recovery space-- still not really ready to pick up a book but wanting to do something with my hands-- I started making hexies again. I think I needed some time away after making mom's epic hexie quilt a couple of years ago. And I was also craving a bit of eye candy I think. Either way, I started hand sewing them up, and eventually had enough to start sewing them together. And so I did. And then I had enough to make a pillow covering. And so I did.
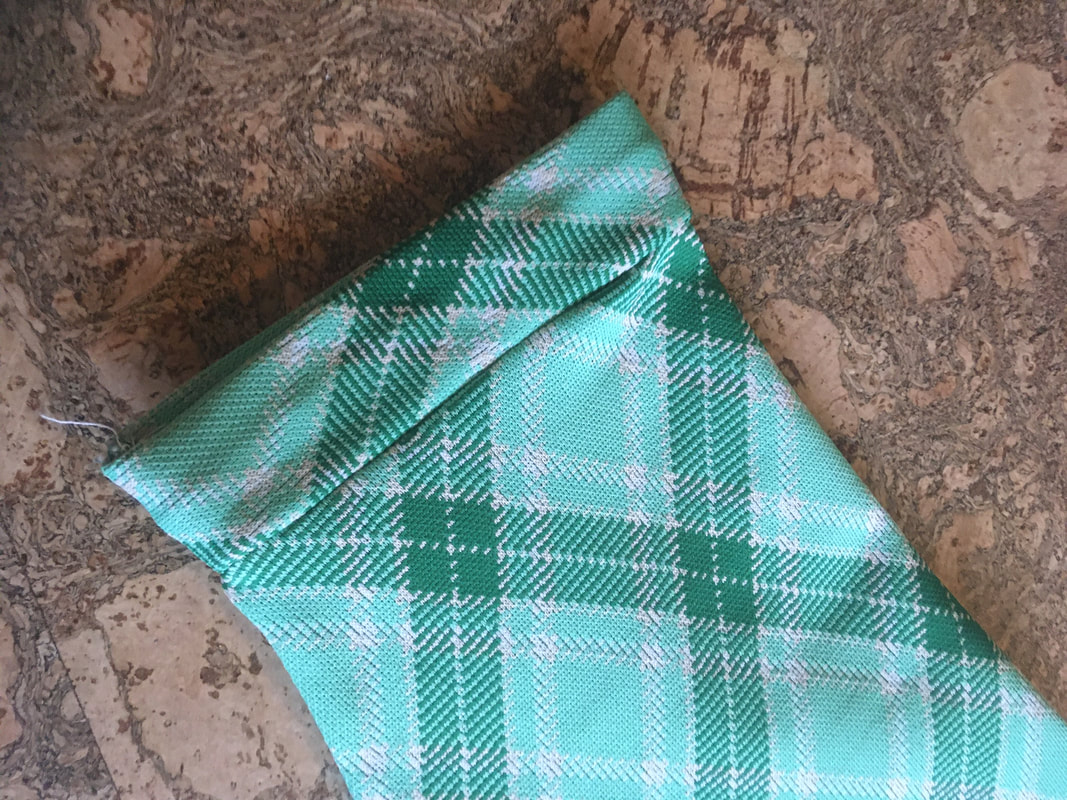
Every stitch is hand done, including the construction of the pillow case itself (since I could not lift over 10 pounds and my sewing machine weighs much more than that). So once I had the hexies sewed together, I sandwiched them with some batting and did a very simple hand quilting job with some yellow embroidery thread. I then created a flapped backing (with the leftover fabric from one of my recent shirt experiments) and spent a bunch of time hand sewing the backing to the front to make the case itself--- first with a simple straight stitch to attach them all together, and then a blanket stitch to reinforce and contain the raw edges a bit. And so, this is my appendix pillow-- a hand-sewn souvenir from my adventures in healing. Slightly random, but I have been playing around a bit with making my own clothes. I have made several skirts before, but shirts are a relatively new endeavour. When we were able to go into stores, I used to love exploring the fabric section at Value Village to find random fabrics I could play with. And this spring I started playing a bit with the ones I have found over the years.
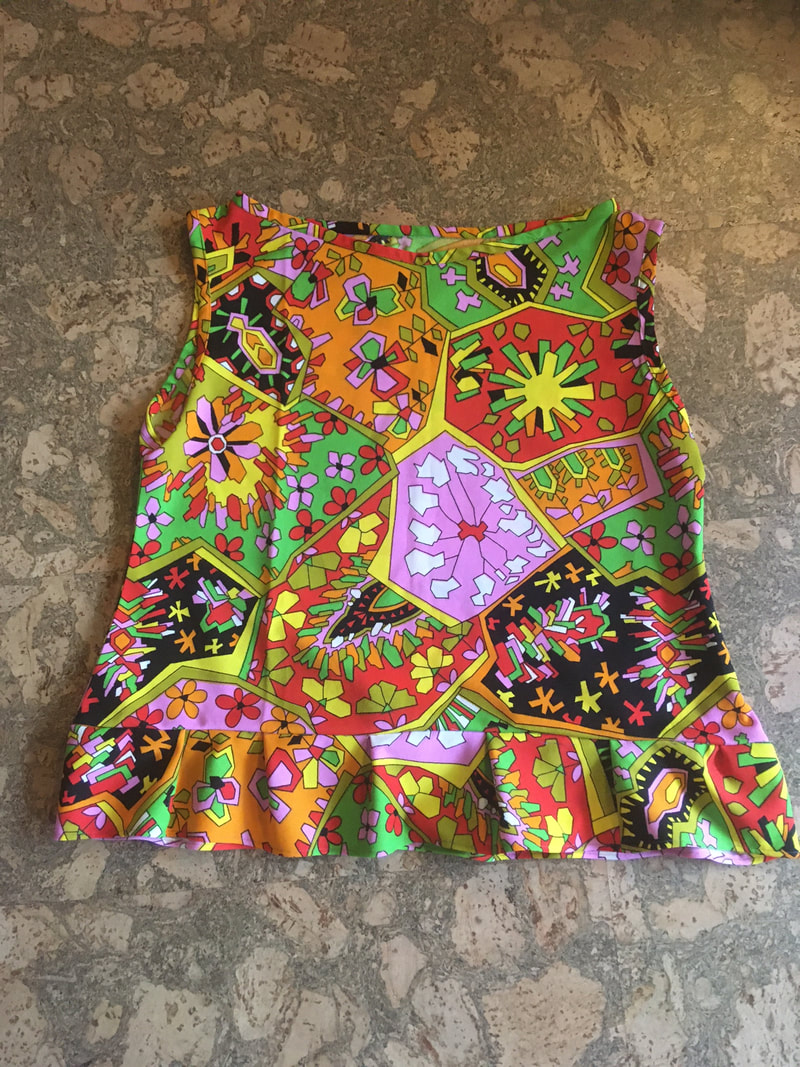
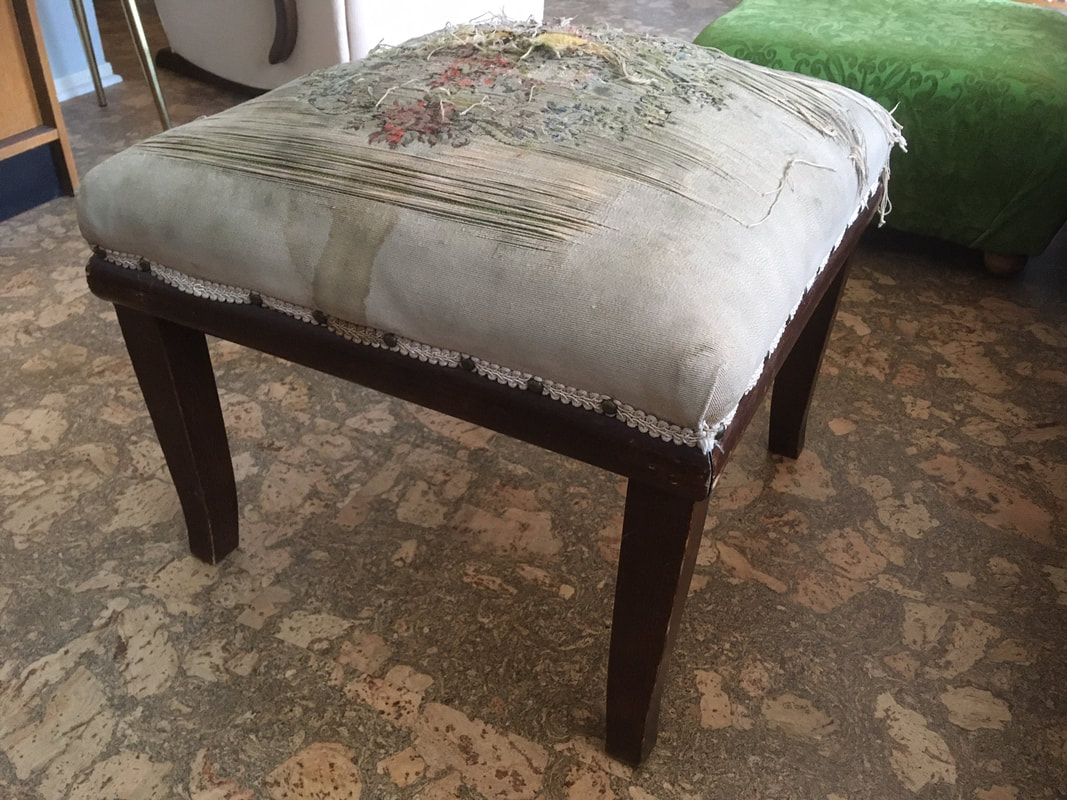
The blue and red shirts were made using a free pattern from Tessuti Fabrics and frankly isn't super well sized--- the body is pretty big and the arm holes are small even at the largest size. But I like the neck line, and it is super simple to sew together, so I will keep playing with it. The blue shirt is made with some very quirky velvet embossed with quotes and pictures from the little miss muffet children's rhyme. And for the sleeves I used some wonderful tablecloth remnants with scalloped edges--- not conventional and they don't really go together (and who needs a velvet shirt?!) but I love it! The red shirt I used the same pattern, but will take it apart to widen the arms so it is more wearable. The green and multi-colored shirts were patterns I just made up myself using existing shirts as a quasi-template. For the multicolored one I played around with adding a peplum which was something different to try. And for the green I had fun experimenting with collars and cuffs. Anyway, none are perfect and it is all a big experiment for fun, but I love having these random me-made pops of color in my wardrobe, and look forward to being able to go back to Value Village to trawl the fabric section for treasures again soon! I always feel mildly awkward about taking things from the curb, but my sister saw this footstool out on the curb during her run and texted me to go grab it. I did (since I have been wanting to get a stool for my little balcony), but with much reluctance-- not because of its condition but because I am always nervous that people didn't actually leave it there to be taken and they still wanted it.... But in the case of this beaten up stool, in the end it was a pretty safe bet.
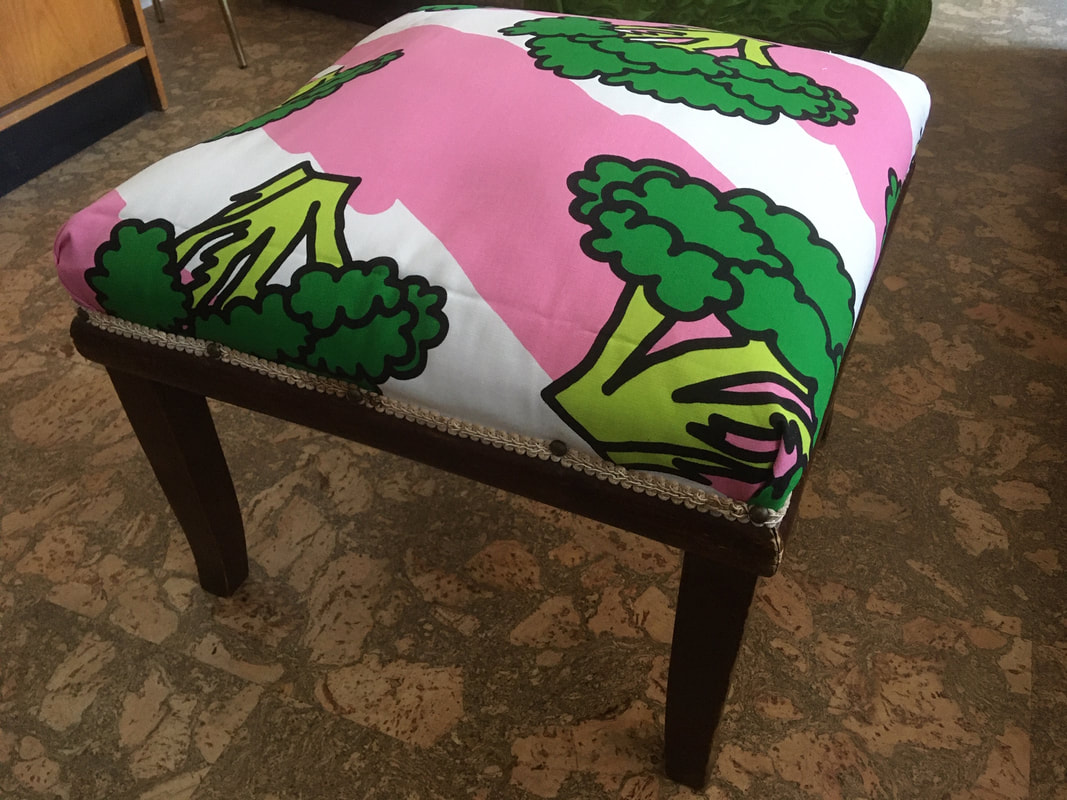
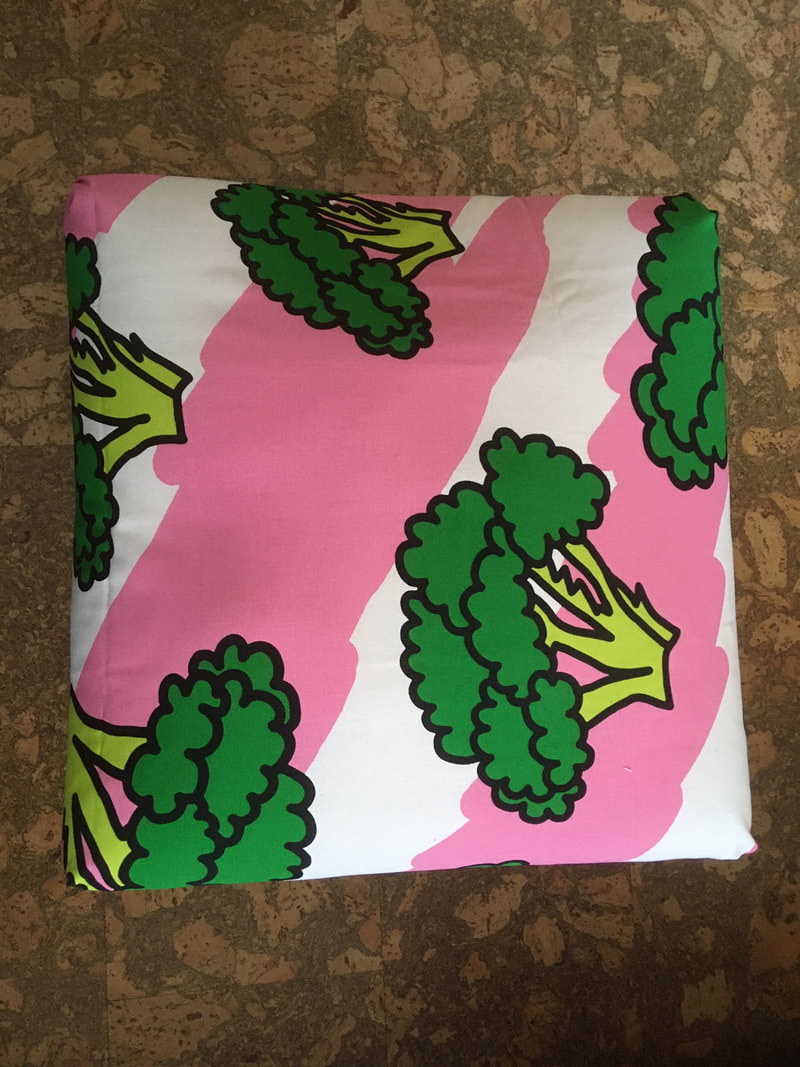
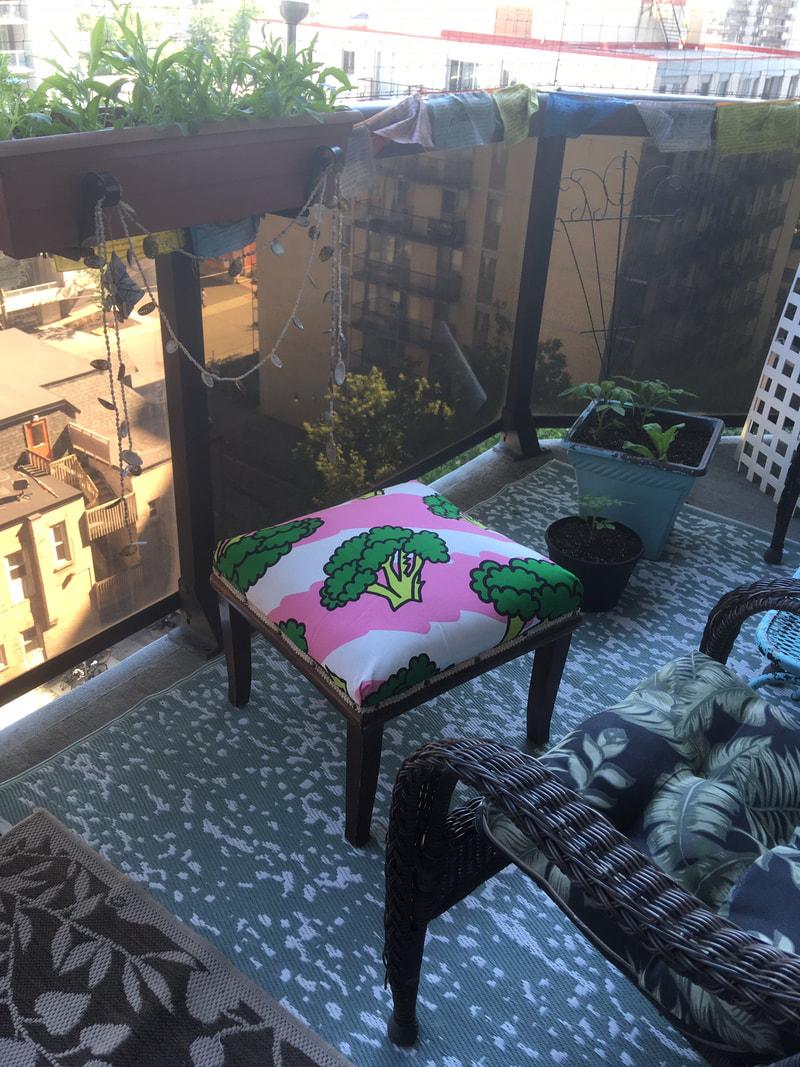
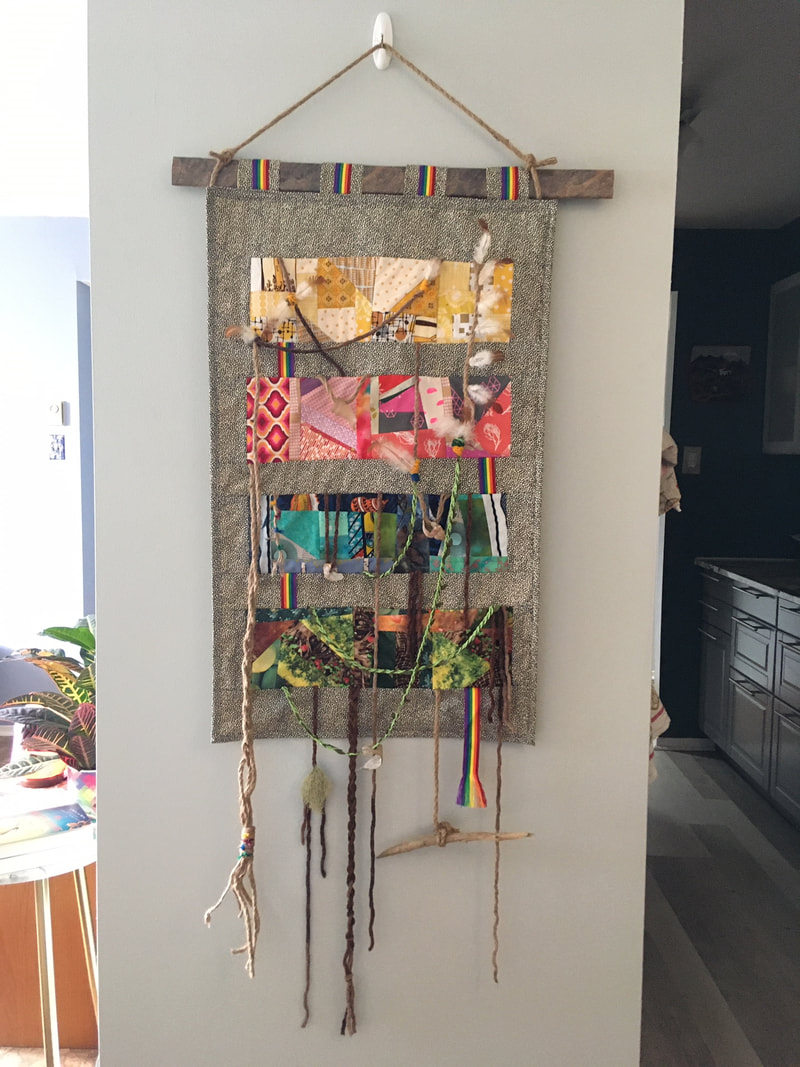
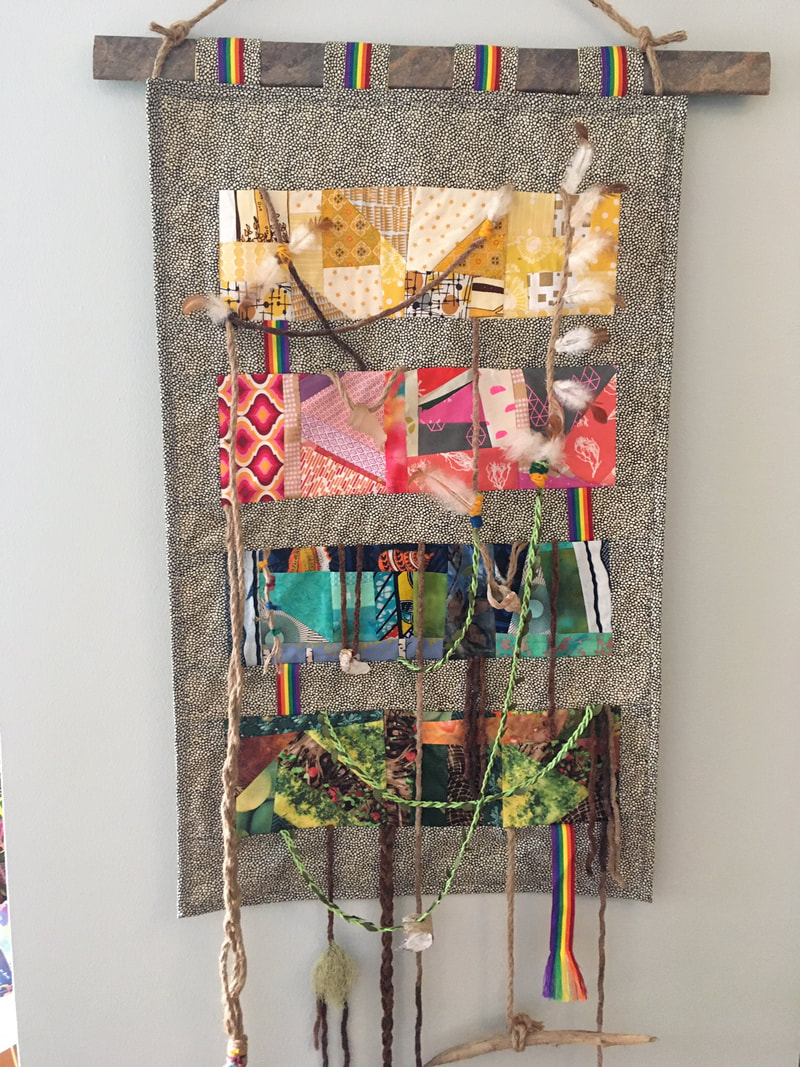
Obviously was in rough shape, from the "before pictures"--- so to transform it, I basically used a butter knife to remove the finishing nails and took off the trim, and then slowly pulled out all the staples and removed the existing covering. The foam and springs underneath were in not too bad of shape, so I just used what was there. Luckily I had a weird piece of graphic broccoli canvas fabric that I wasn't sure what to do with... so voila! I cut it to fit and stapled the new piece on to the wooden frame as before, and hammered back in the finished brads with the old trim--- why not! My sister is disappointed in my fabric choice, but I think it is a charming (if slightly unattractive) upgrade. And my balcony is a lot more comfortable as well! It is not weather proof of course, but since it was free, I am not too emotionally invested in its long term beauty-- as long as it stays comfy to use, I will be happy. An elaborate, multi-medium wall hanging I did for a university class I was taking in Winter 2020. Luckily they gave an option to do a creative project instead of a paper, so I leapt at the chance.
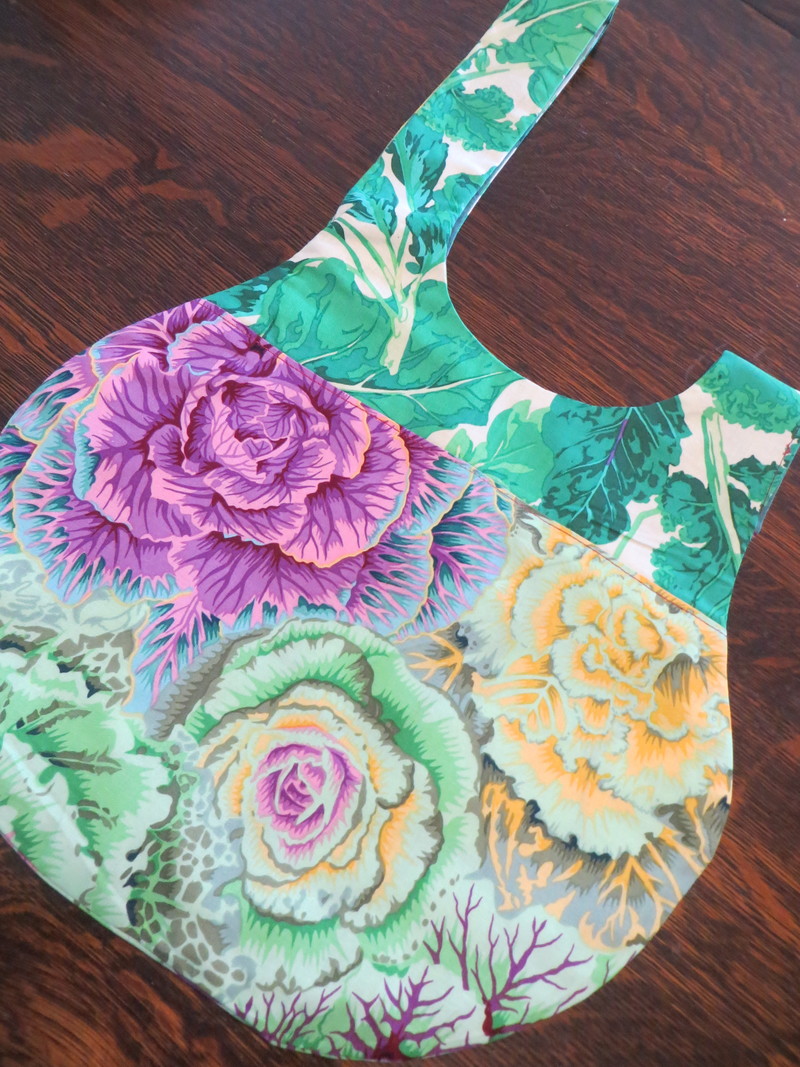
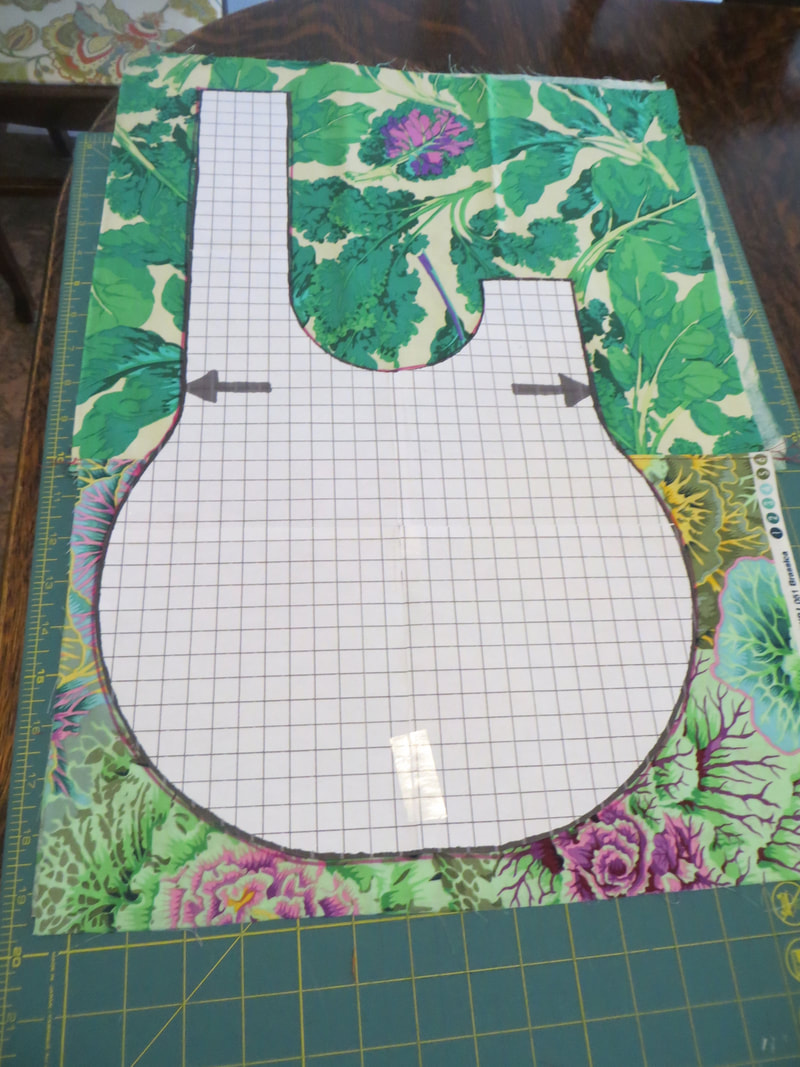
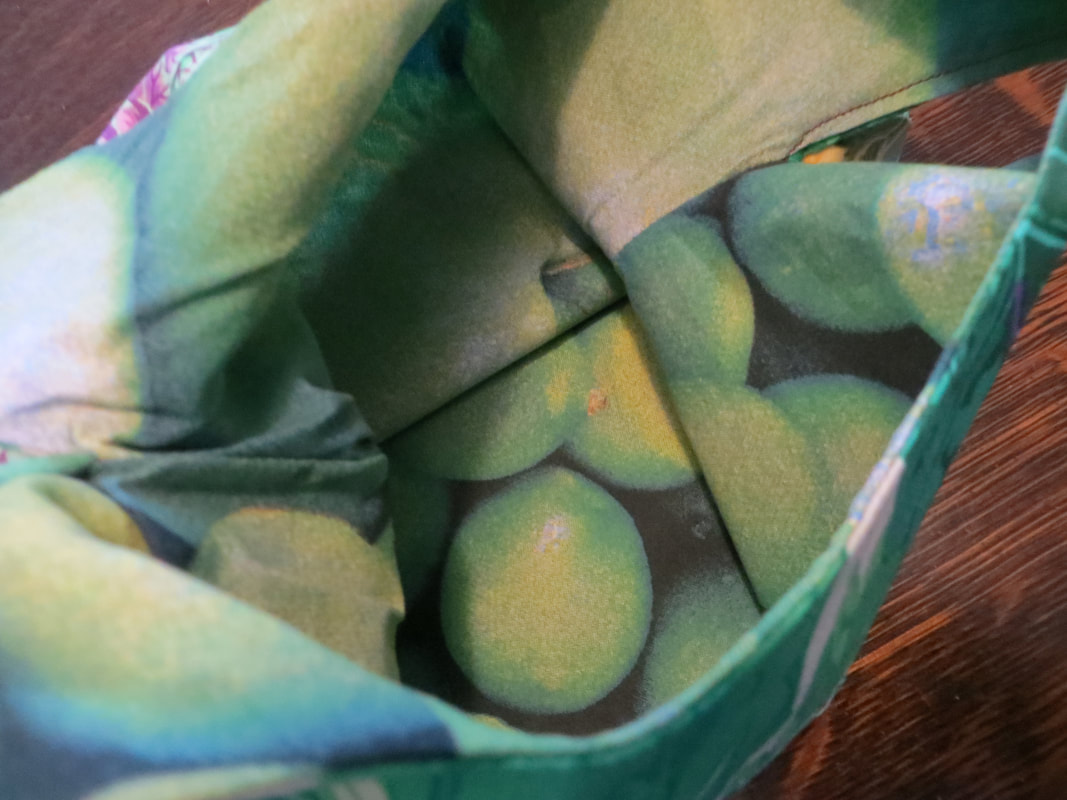
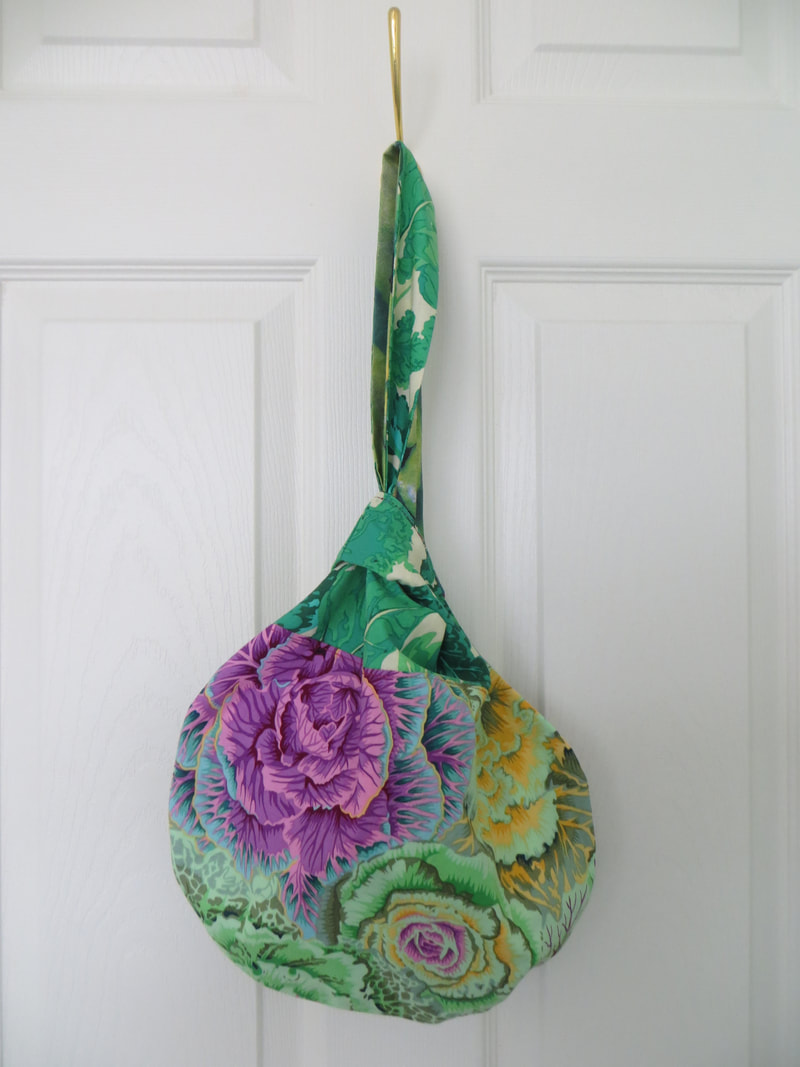
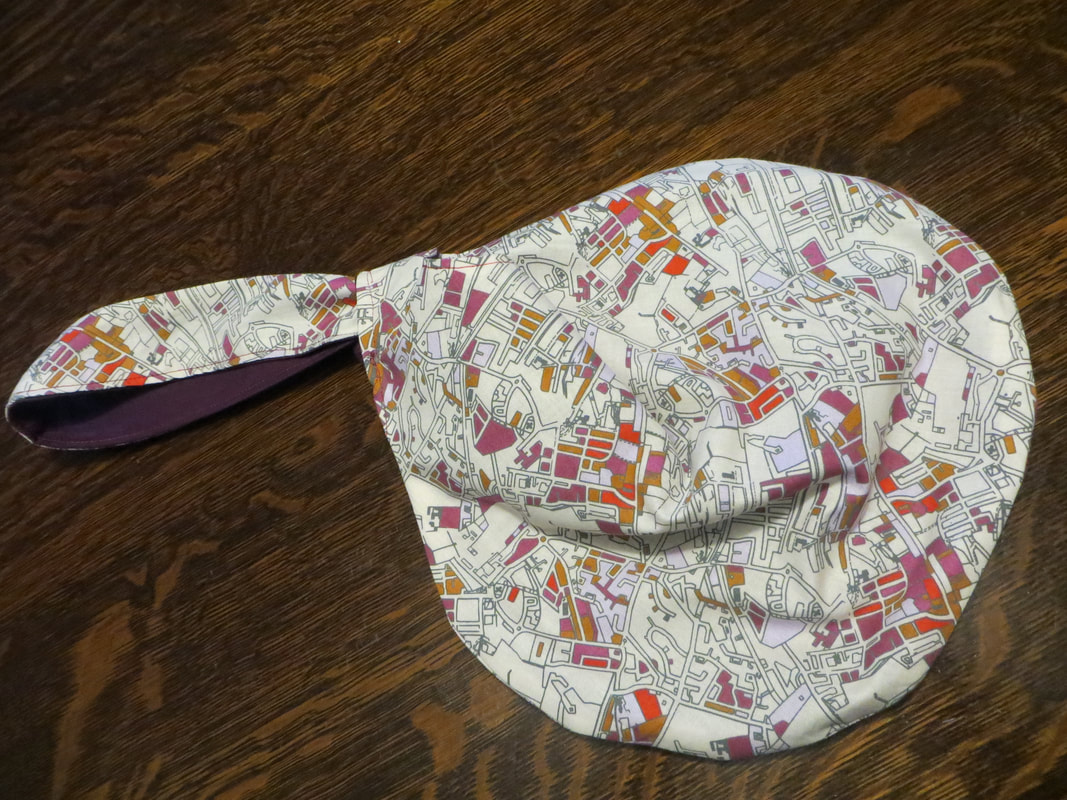
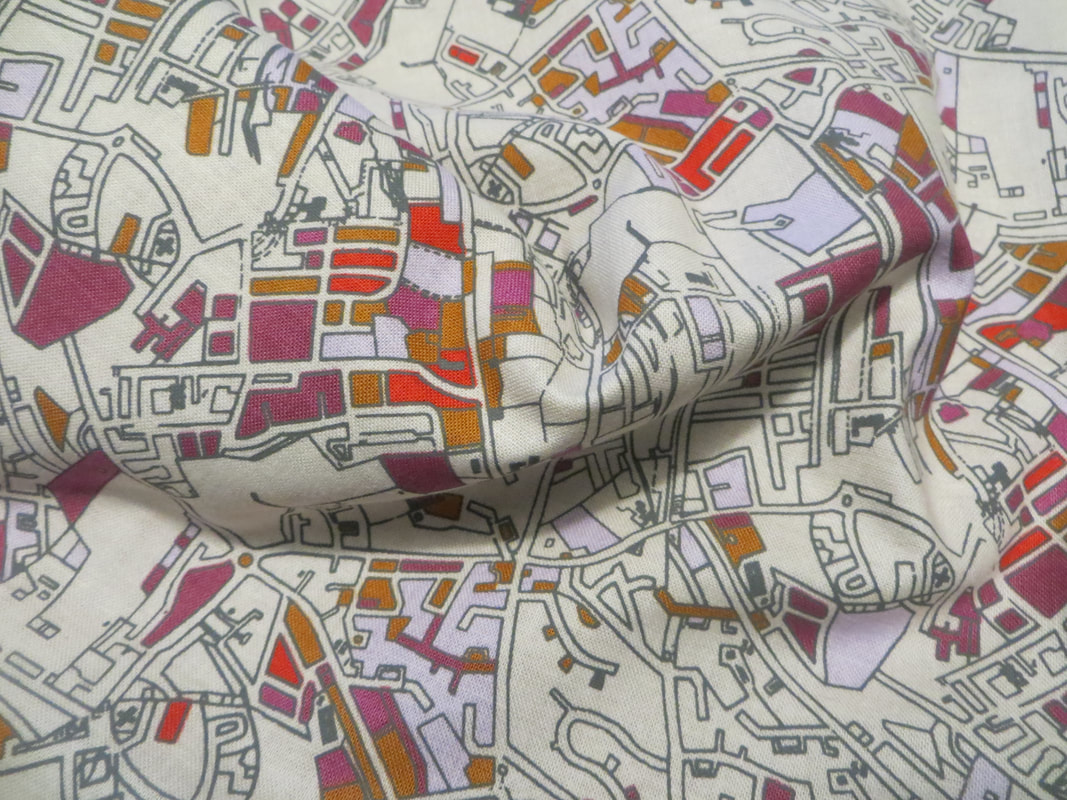
This is essentially my representation of Gaia or Mother Earth. We have the four elements represented (wind, fire, water and earth, from top to bottom) made up of mosaic panels of color-coordinated upcycled fabric scraps, and rimmed in a pebble-esque black and white border, representing the static of electronic/digital life that surrounds us. The panels are connected throughout by various ropes and vines, sometimes with feathers (for air), glass (for fire), shells (for water) or bark/moss (for earth). And each panel is connected with a small rainbow strip of ribbon, which spills out at the bottom along with the rest of nature, representing the spirit of the earth and how it spills out despite us trying to keep it contained. To the left, there is also a jute strand coming out of each panel that are braided together as the piece unfolds, and shows the interwoven connection between the elements. I planned it all out rather meticulously, backed it in a yellow fabric, and then used a quilt-as-you-go method in order to embed the ends of the ropes at different places into the piece. It was a bit time-consuming but paid off in my opinion. I then trimmed it all up and bound it in binding made from the "static" fabric. I added some final elements hanging from he bottom of the hanging (stick, etc...). To display, I made the hanging tabs at the top, and found a branch to hang the final piece with. This is now living in my dining room, and I am kind of in love with it. A fun project to have done, and am appreciative of having had the opportunity through taking a class-- not sure I would have made it otherwise. A very interesting project to plan out and execute. And interestingly, I based the design on some experimenting I had been doing earlier with mosaic panels before even taking the course and contemplating doing an art project--- serendipity worked out well! I was casting around for a new easy-sew lunch bag, and happened upon The Chilly Dog's pattern for a Japanese Knot Bag. I had not encountered this design before (it seems I am very late to the game), but was thrilled at how quickly this charming bag came together. There is a little bit of fussing to get a few of the elements to come together (particularly at the end with the short loop and closing everything up), but the guidance provided in the blog post was really helpful, and I was very happy with the result.
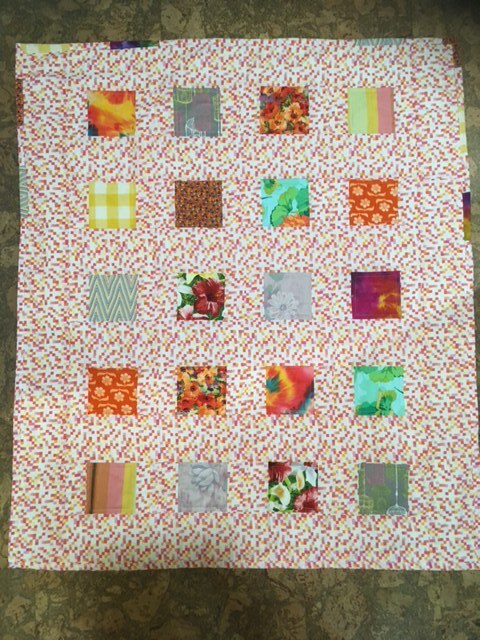
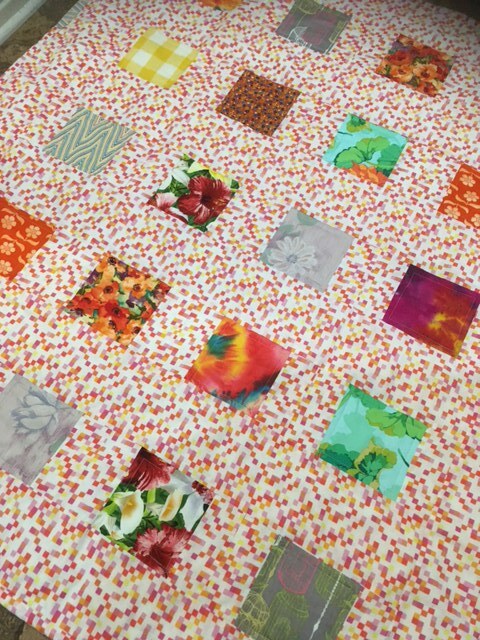
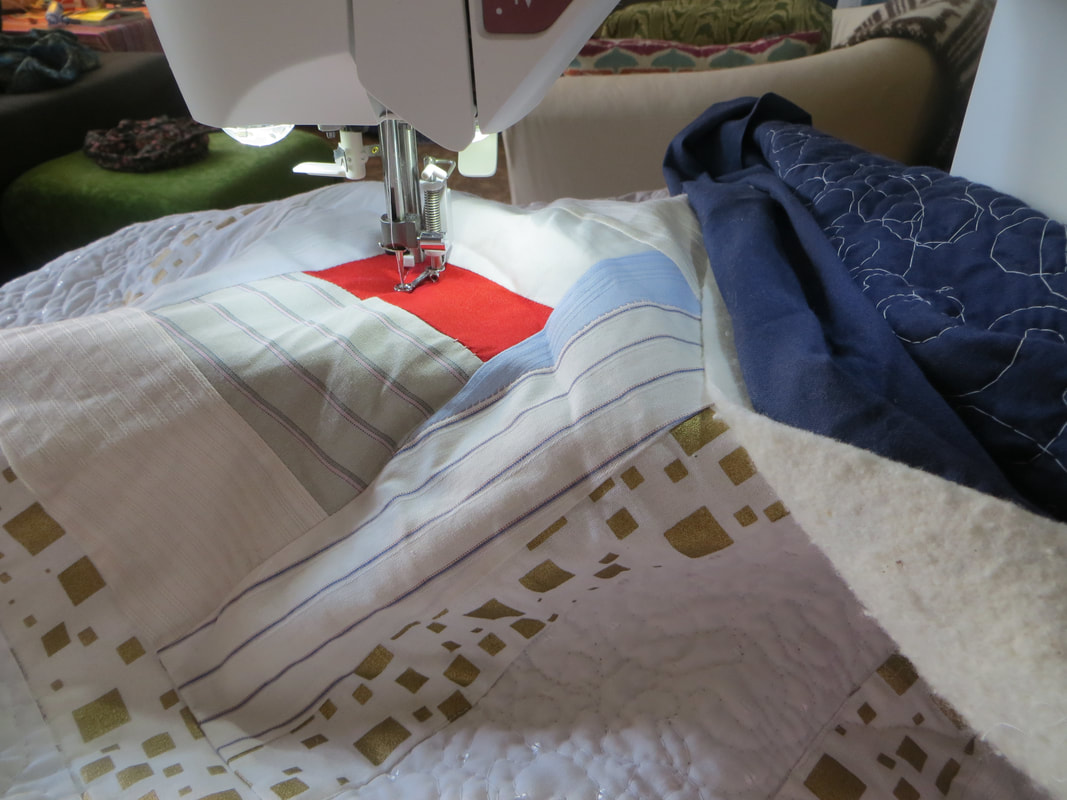
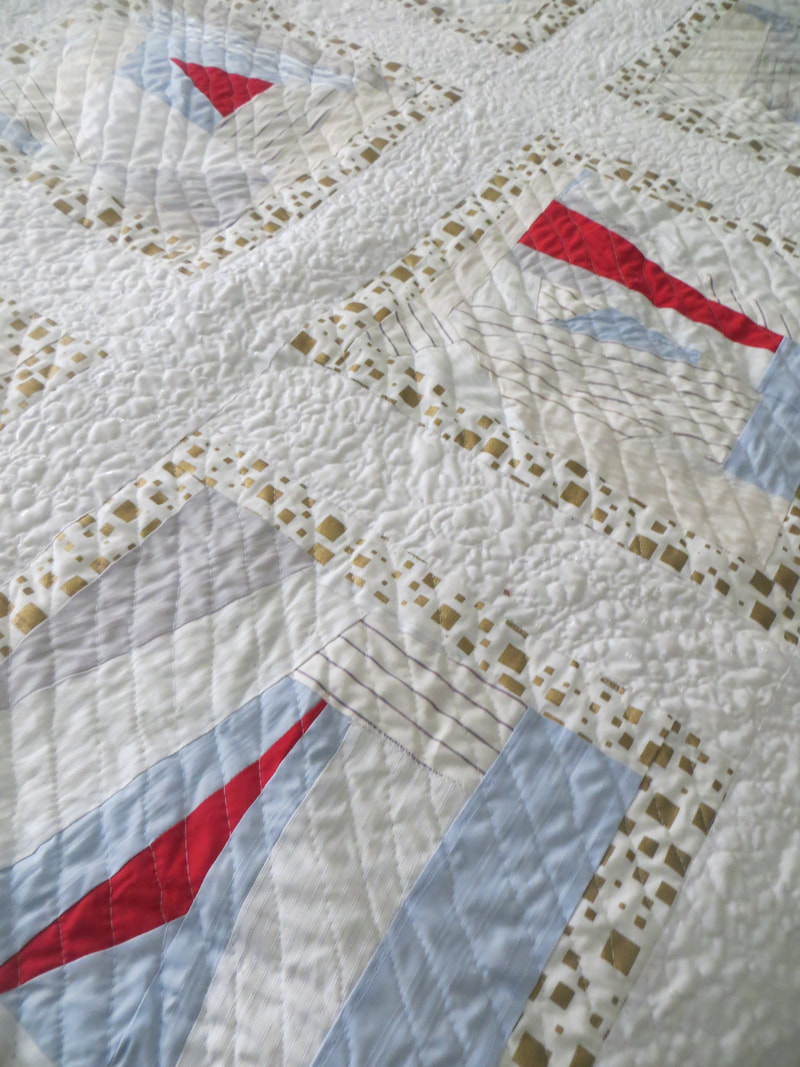
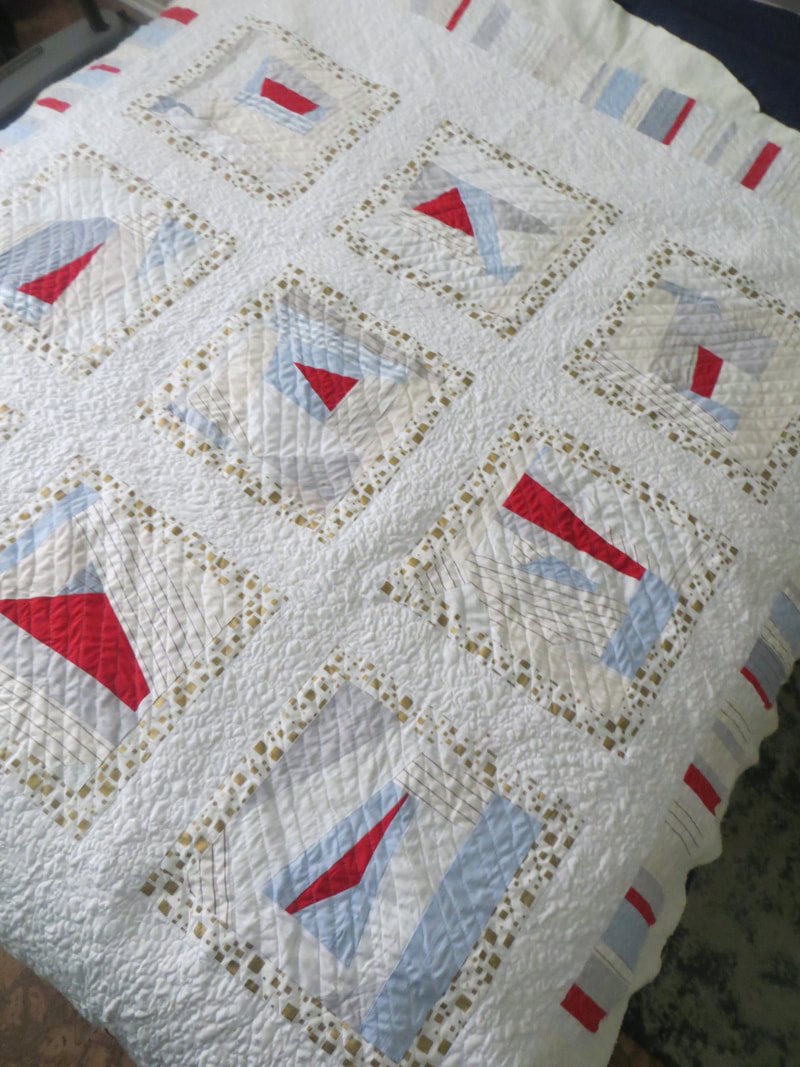
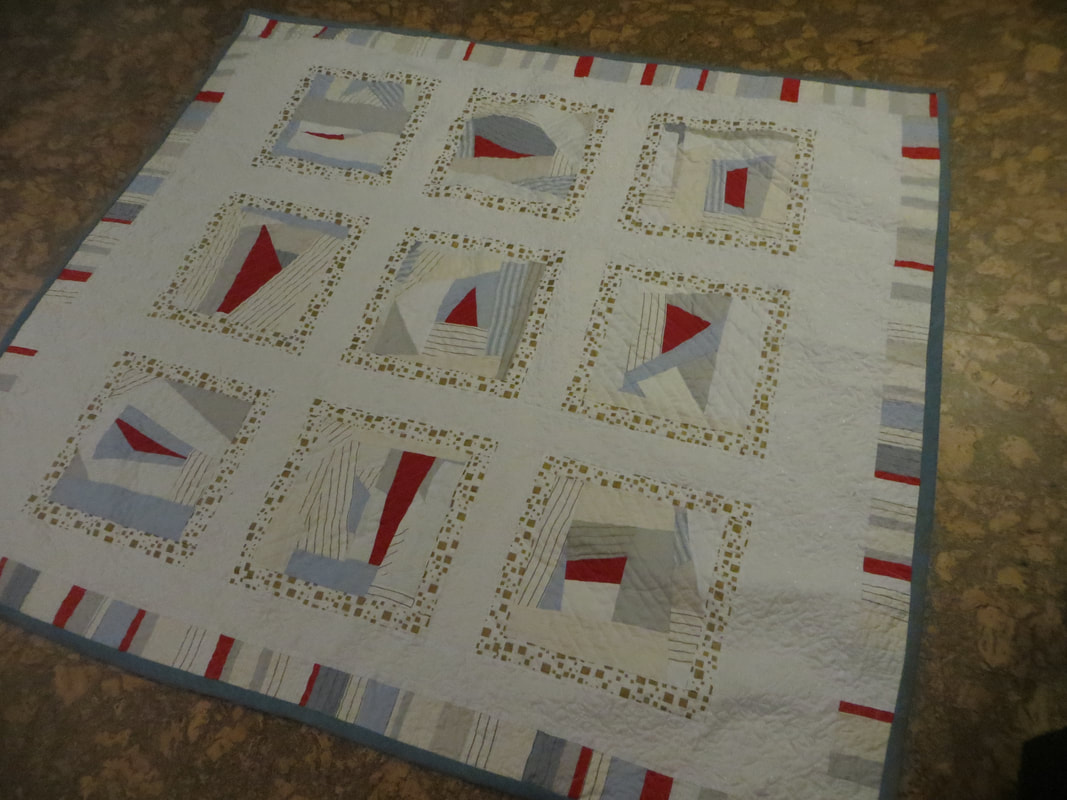
BONUS#1: I finally got to use the charming cabbage-themed fat quarter I had picked up many moons ago! BONUS #2: Enjoyed making and using it so much that I whipped up another one for Anne-Marie B. who was leaving the Refugee Hub to move to the federal government. Made her a lunch bag with an urban/bureaucracy vibe to it--- I hear it is used frequently, so am glad she is enjoying this little gem of a bag as much as I am. Will likely be making more of these in the future. Fun pattern to bump into-- thanks internet/ The Chilly Dog! Whew! This quilt was a long time coming... I had purchased a bunch of shirting cut-offs for very cheap at a recycled fabric sale, and was inspired to turn them into a quilt. They were all of a similar, quiet color palate, so I thought it would be fun to cobble the scraps together in random patterns and punctuate their 'buttoned-down' neutrality with shards of bright red. And so I started improvising the piecing and ended up with 9 cool blocks to work with, along with a tiled border echoing the colorway for this quilt top. I framed the blocks in a cool gold-tiled cotton to highlight the pattern, and connected it all with another shirting remnant that has little embroidered balls of shiny thread. Very fun!
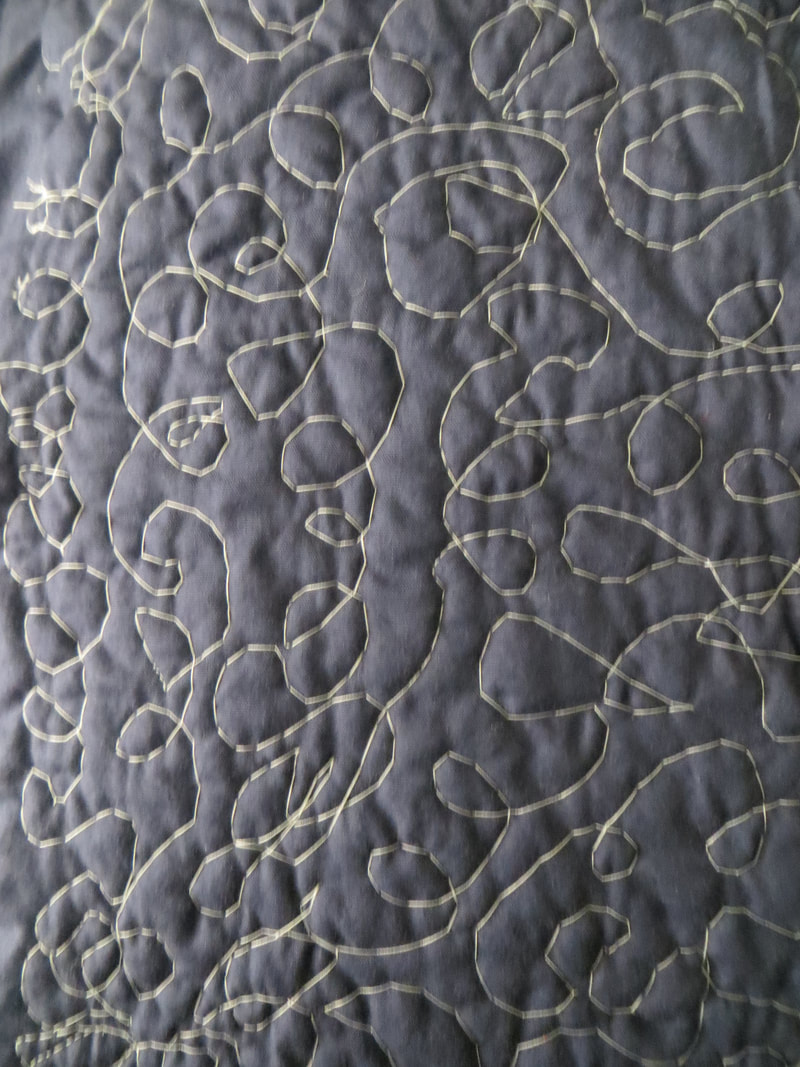
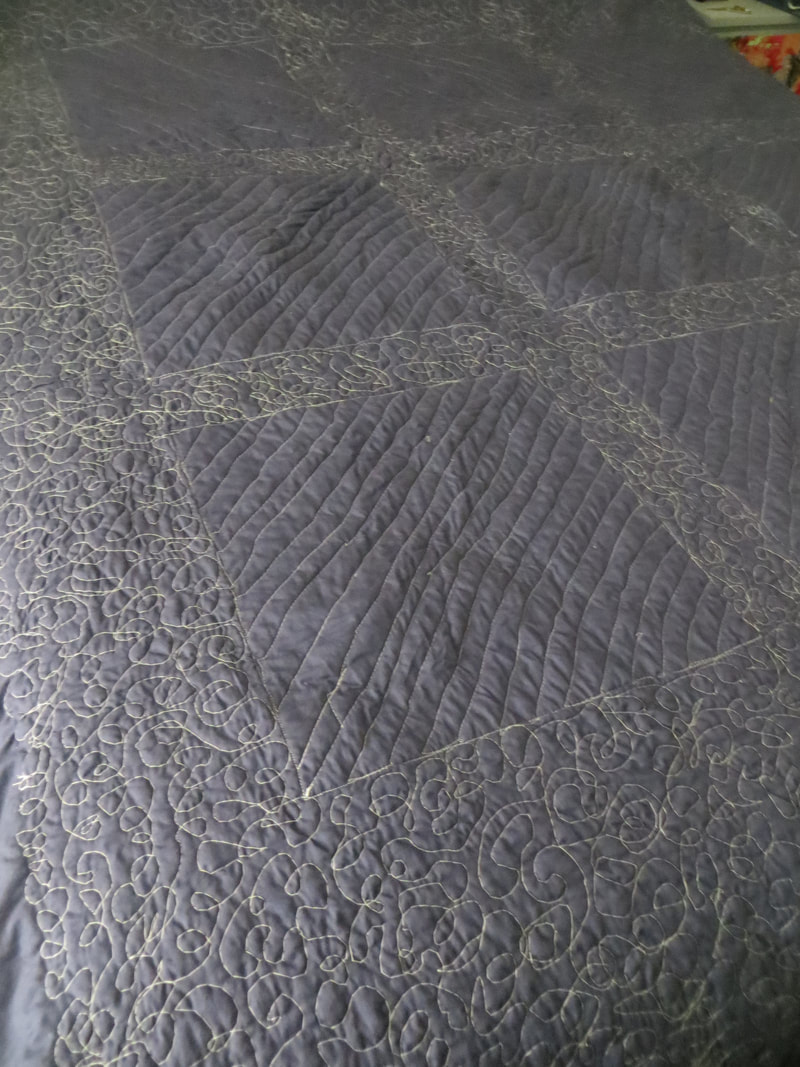
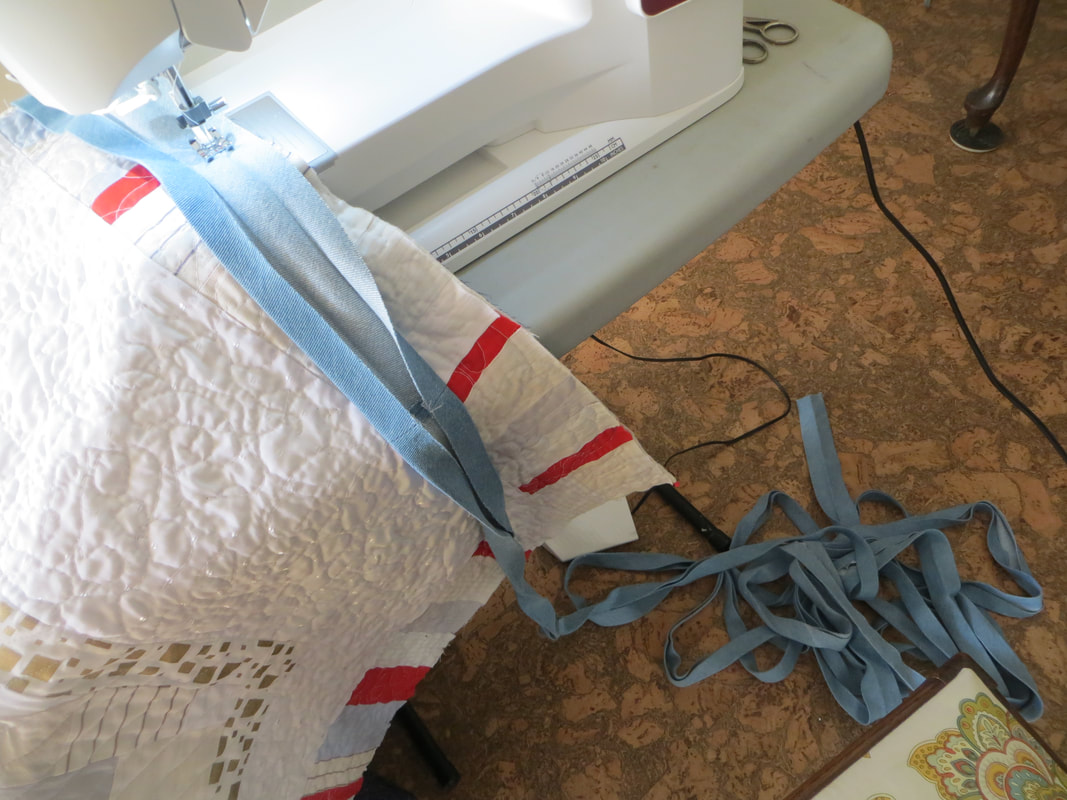
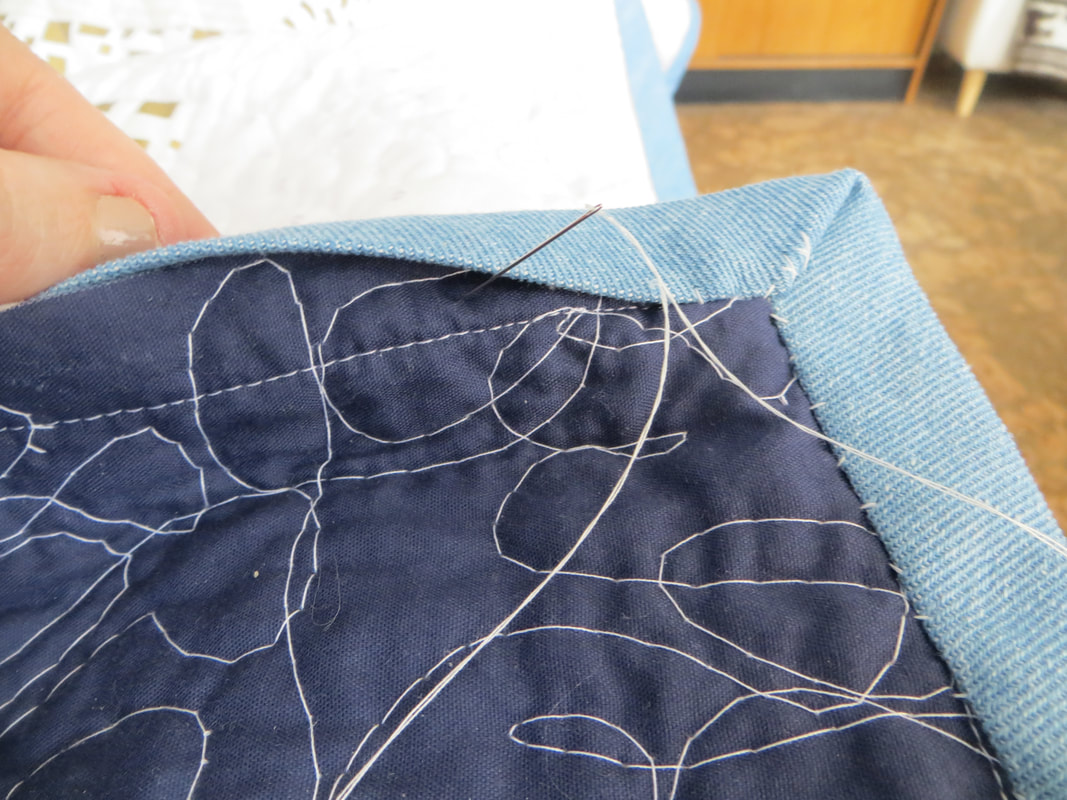
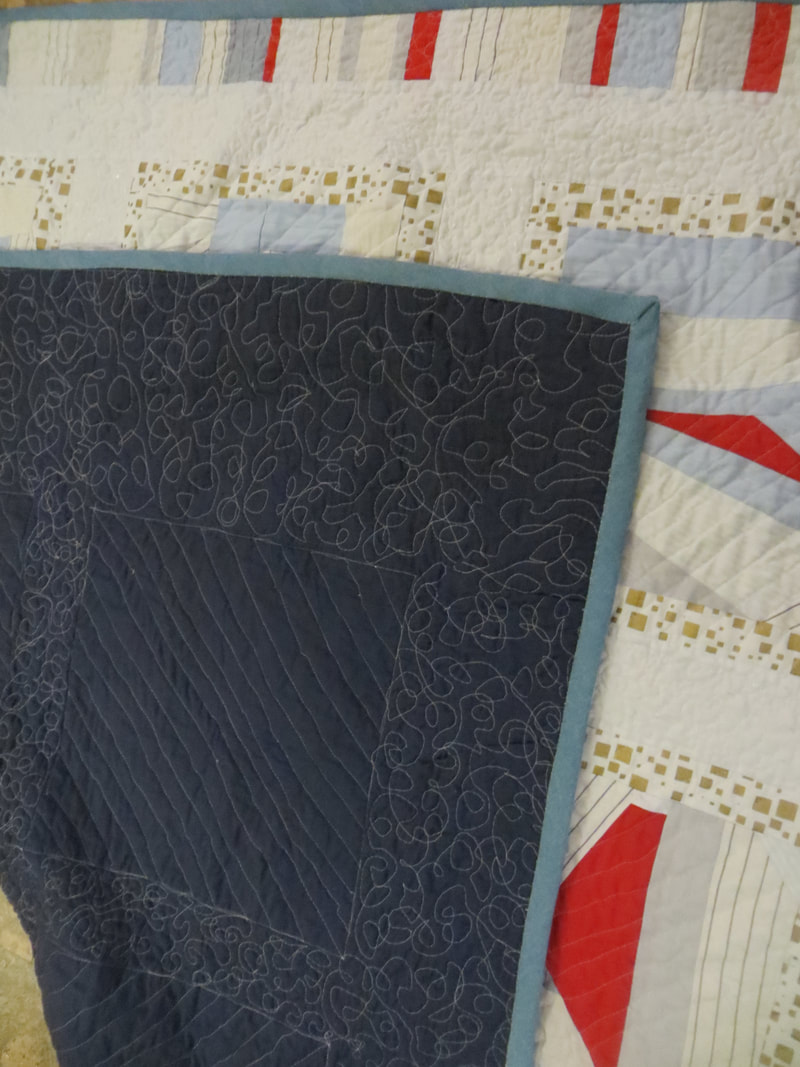
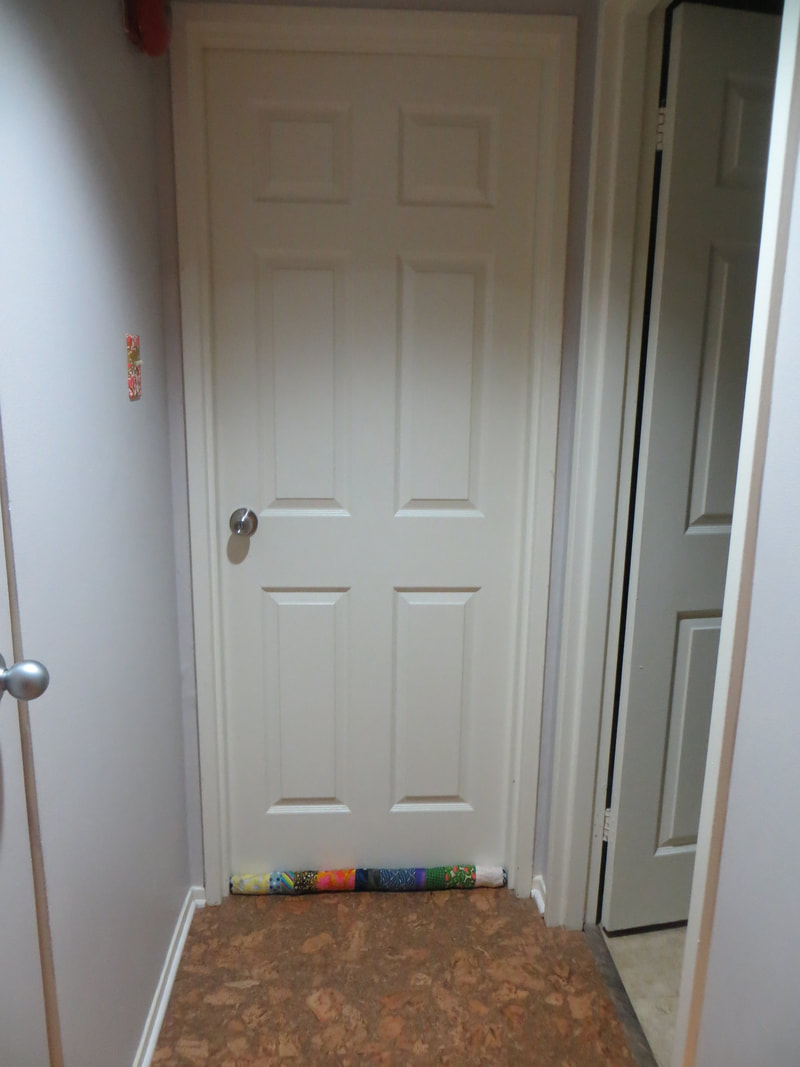
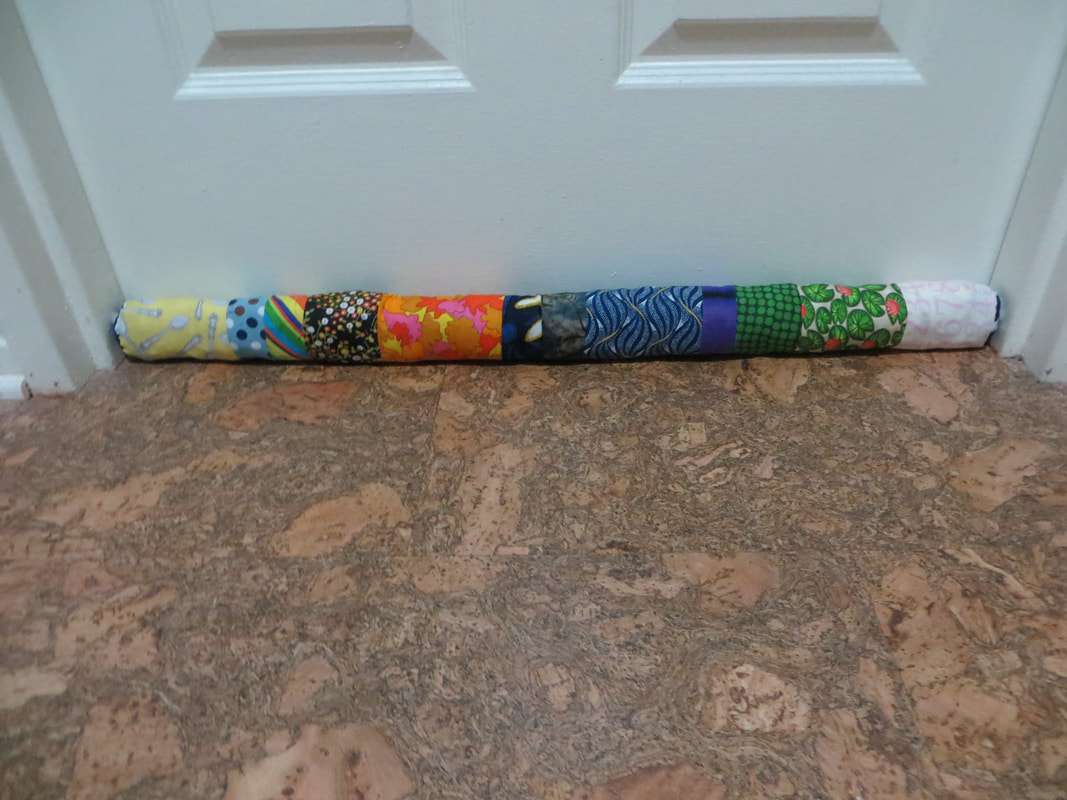
And so the quilt top was done... in 2016.... I love this design and really wanted to quilt this piece properly, but with my 25 year-old machine whose feed dogs would not lower, I just couldn't do it justice. So I took this home to my mother's sewing room in New Brunswick with an ambitious vision of freemotion quilting the entire thing, while framing out the sharded squares with a more geometric pattern. As you will see from the pictures above (especially on the navy backing), this is what I eventually achieved, but it took FOREVER to get any traction on the quilt, since every time I went home and tried to work on it, we had mechanical problems or the thread tension was off or the free motion foot wasn't working.... Until this 2017 holiday season! I received a new and wonderful sewing machine for the holidays, and thought its maiden voyage should include vanquishing this beast of a project. To my utter delight, the new machine took to the free motion quilting like butter, and I had all of the outer freemotion border pieces done before leaving to come back to Ottawa! With that, all I had left was to frame in the sharded squares, trim things up and sew on the binding. I machine sewed the binding to the front of the quilt, and then turned it and hand-sewed it with a slipstitch on the back. It took time to finish but I am really pleased with the final look. After a year and a half of languishing over this project, it felt like an epic start to the year to finally get this quilt finished. As it was my white whale for so long, I will be keeping this one, using it in my guest bedroom--- and I hope it had many years of delight and warmth to share! Here's to an inspiring 2018 full of new projects, new machines, new experiments and all things quiltingly awesome! A quick project using up some recent scraps, both internally and externally. I don't heat my bedroom or spare room, which means that in these frosty winter temperatures, the contrast between those rooms and the main space can be a little dramatic. No complaints when it comes to sleeping, but I wanted to manage the flow of air between the two spaces so I am not wasting energy.
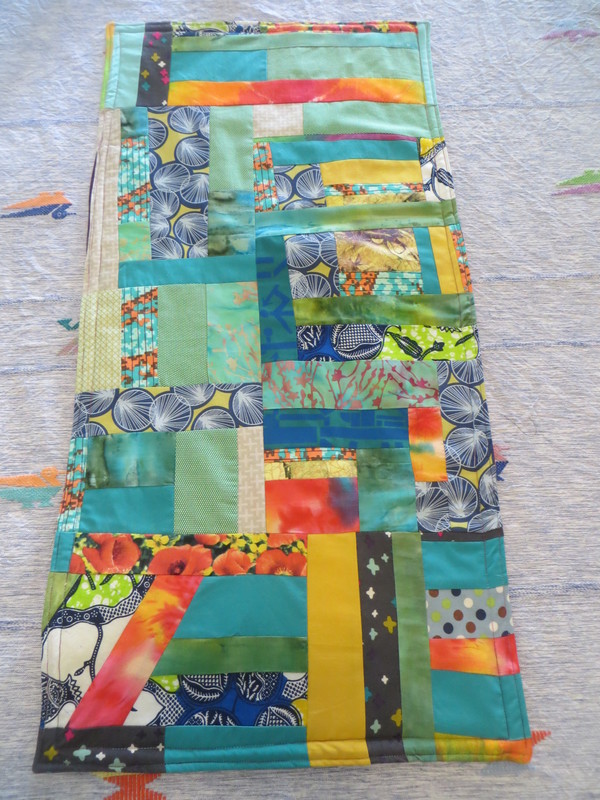
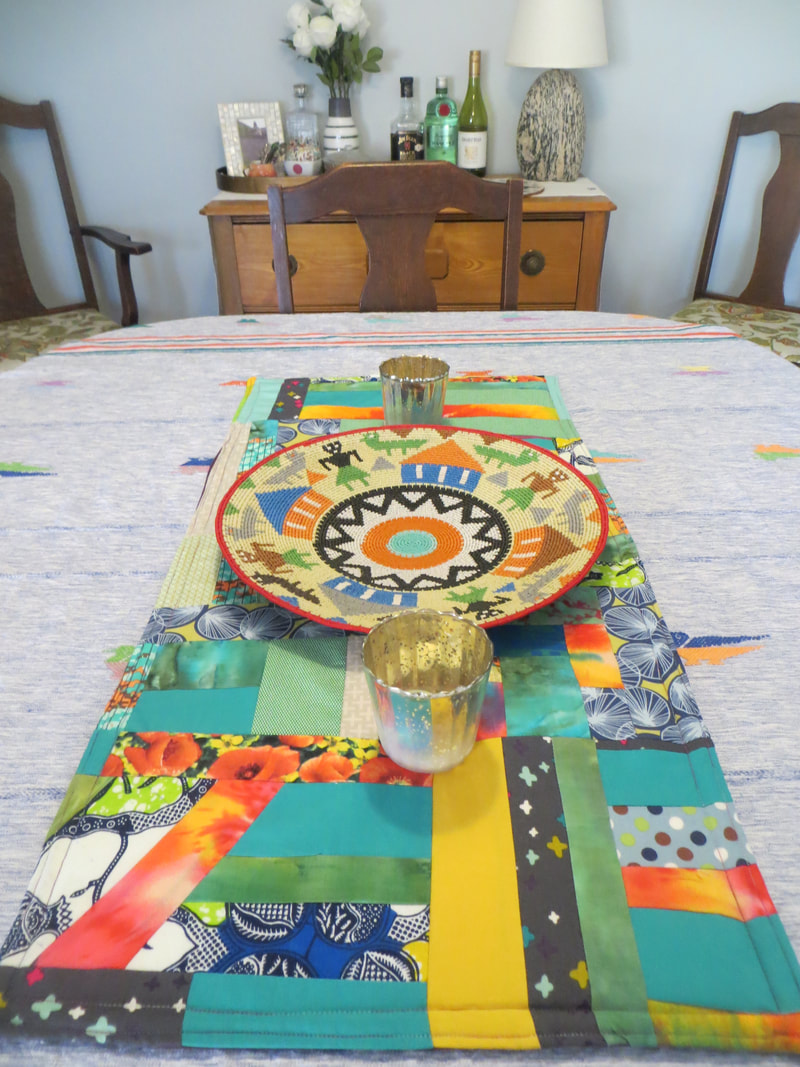
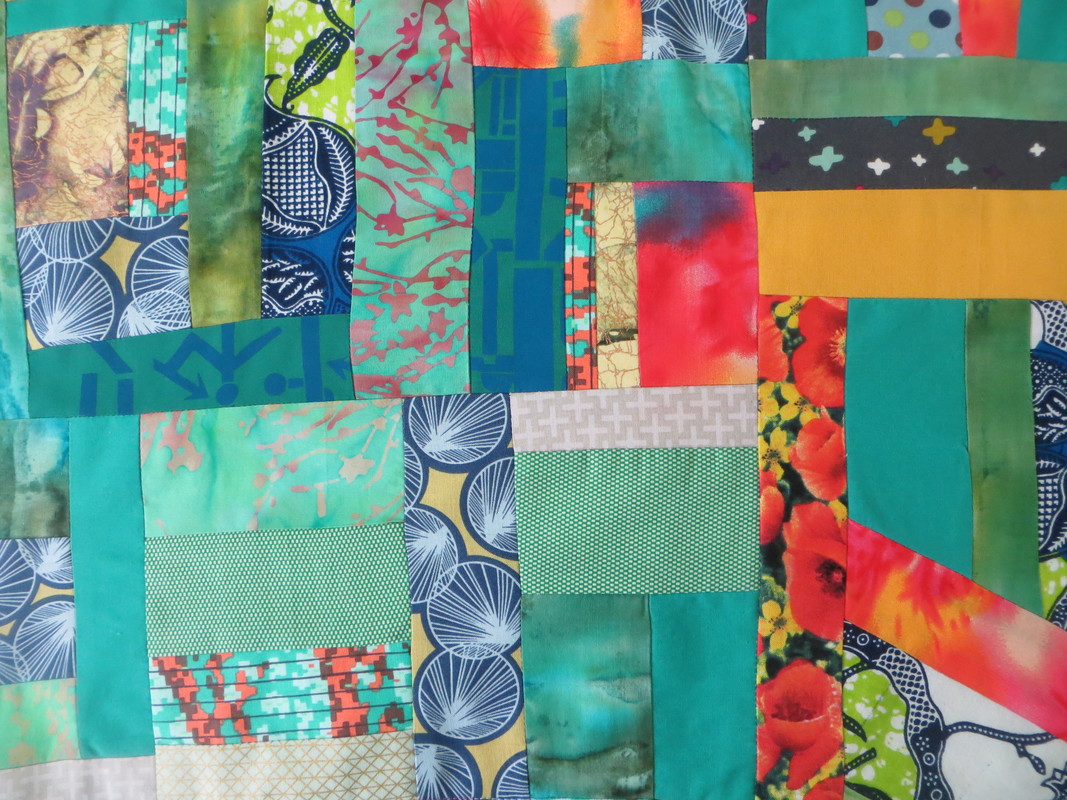
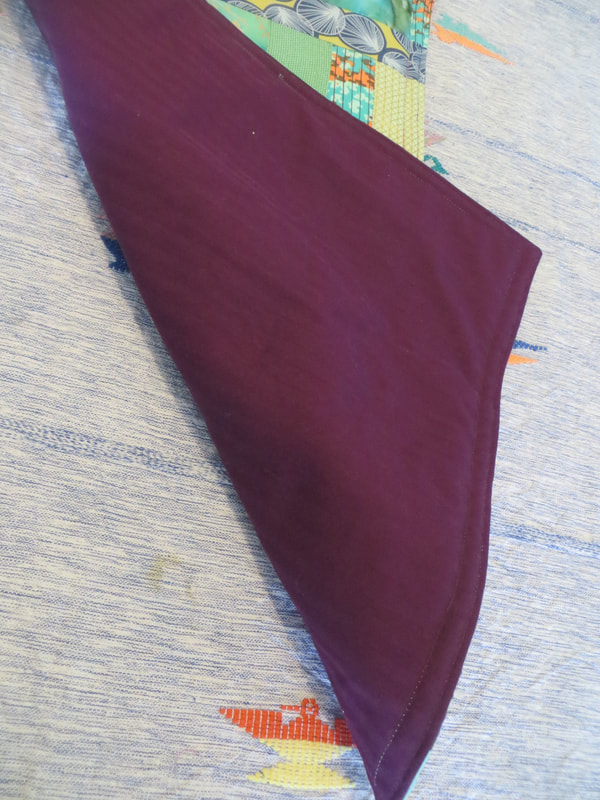
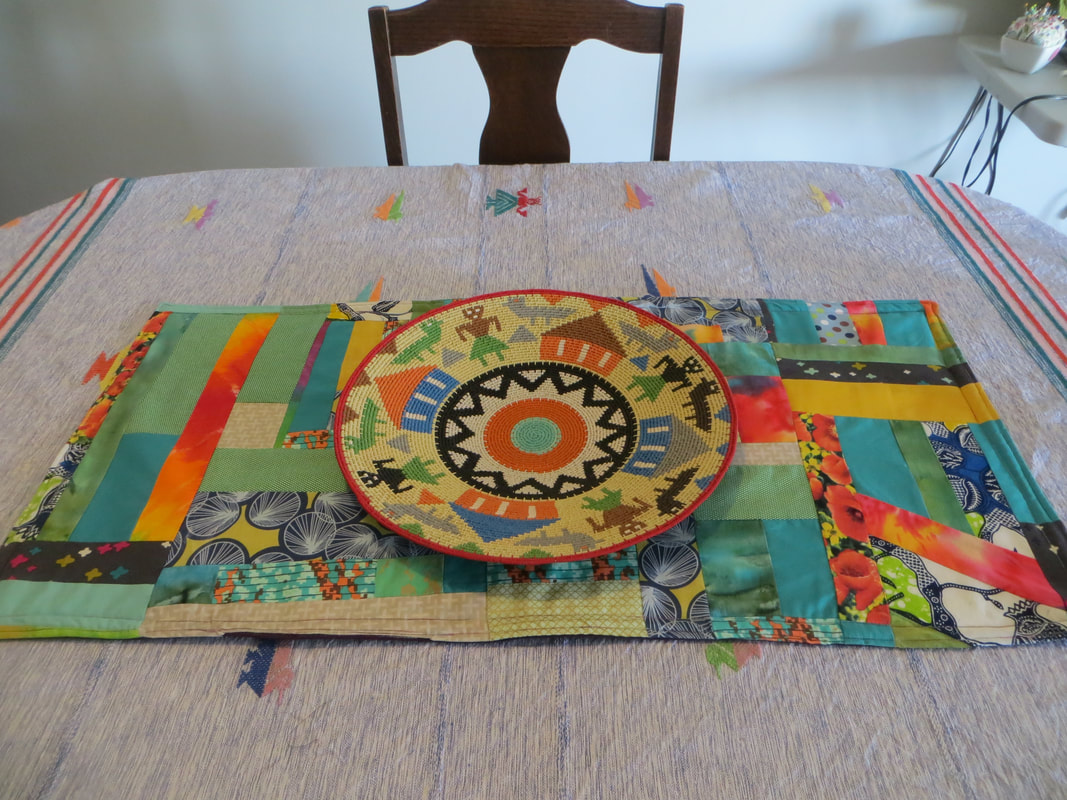
Enter the draft stopper! I didn't put much design into this--- just pulled some similar-in-length scraps from recent projects, sewed them together, connected the two ends with circular pieces to help form a tube, and then sewed it up leaving a gap in the middle to turn it inside out and stuff. For the stuffing, I also used some of the unsewable scraps I have been saving up from recent projects. So a double-recycling win AND an energy efficiency win! I had some nice colorful bits lying around from a variety of sewing projects lately, and thought I would put them to good use. Enter the scrappy table runner! To be honest, I was planning to put this up on Etsy to sell, but I botched the seam where I turned it inside out, so decided to keep it for now. Basically, I started sewing bits of pieces together to make pieces swaths, and then connected them together in pleasing ways until I had a swath that was approximately runner-sized. Nothing more complicated than that in terms of technique-- I was just looking to use up some scraps and create something pleasing to the eye. :) Double stitching around the border, sandwiched with light batting and backed in a substantial purple cotton, this should wear well, and looks nice on my dining room table with the telephone wire bowl I got in Joburg. So maybe it is fate that I screwed up the seam. Either way, I am happy to have turned some bits and pieces into something practical and beautiful. On to the next project!
Despite what one may conclude based on my recent posts, I do actually make quilts... I am working on two lovely lap quilts right now but, they are gifts so I will post more when they have been safely ensconced in their new homes so as not to ruin the reveal.
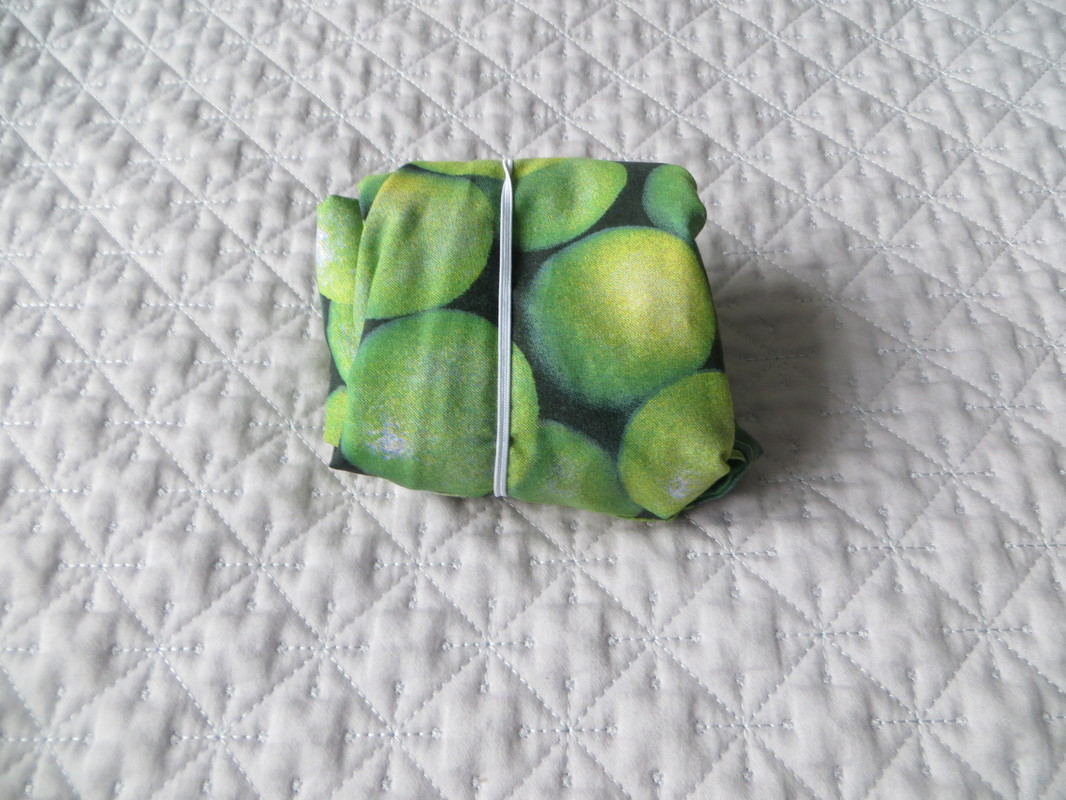
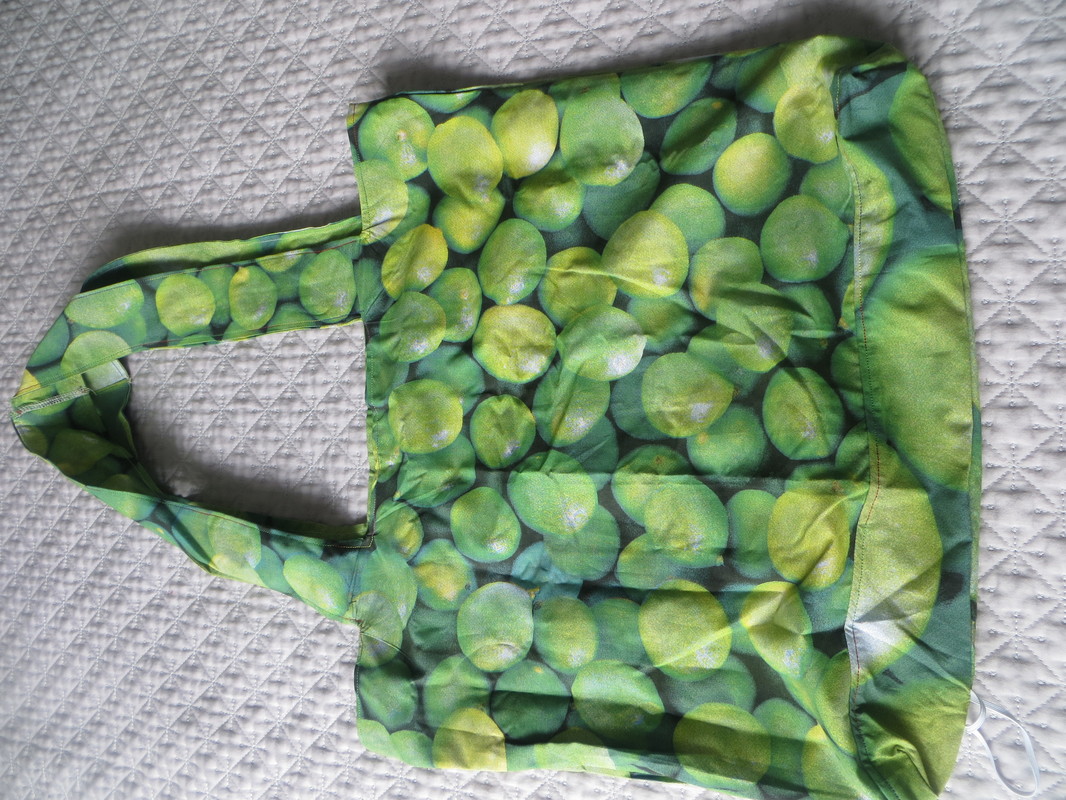
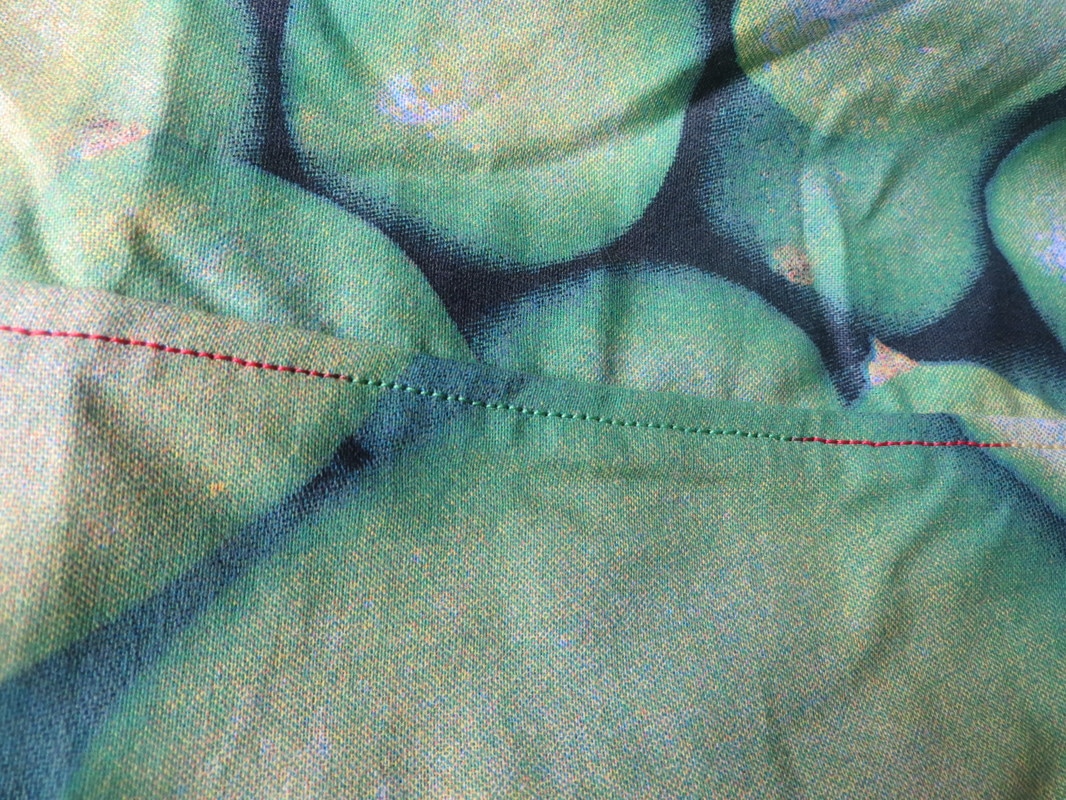
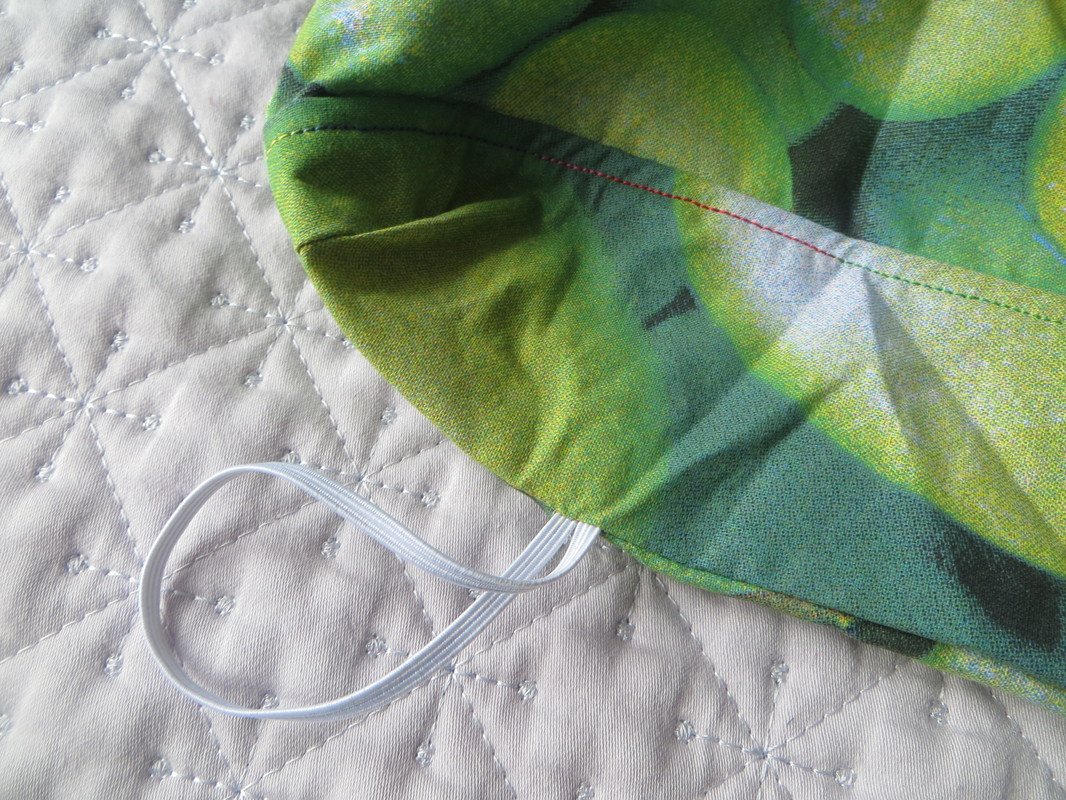
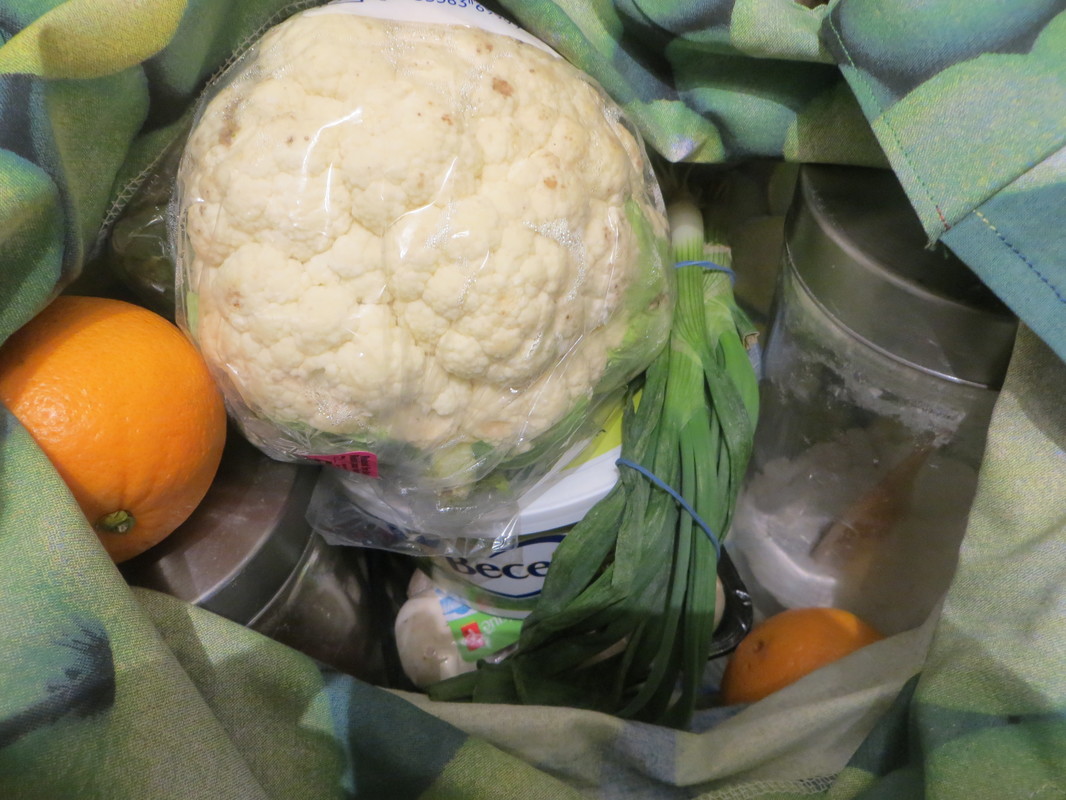
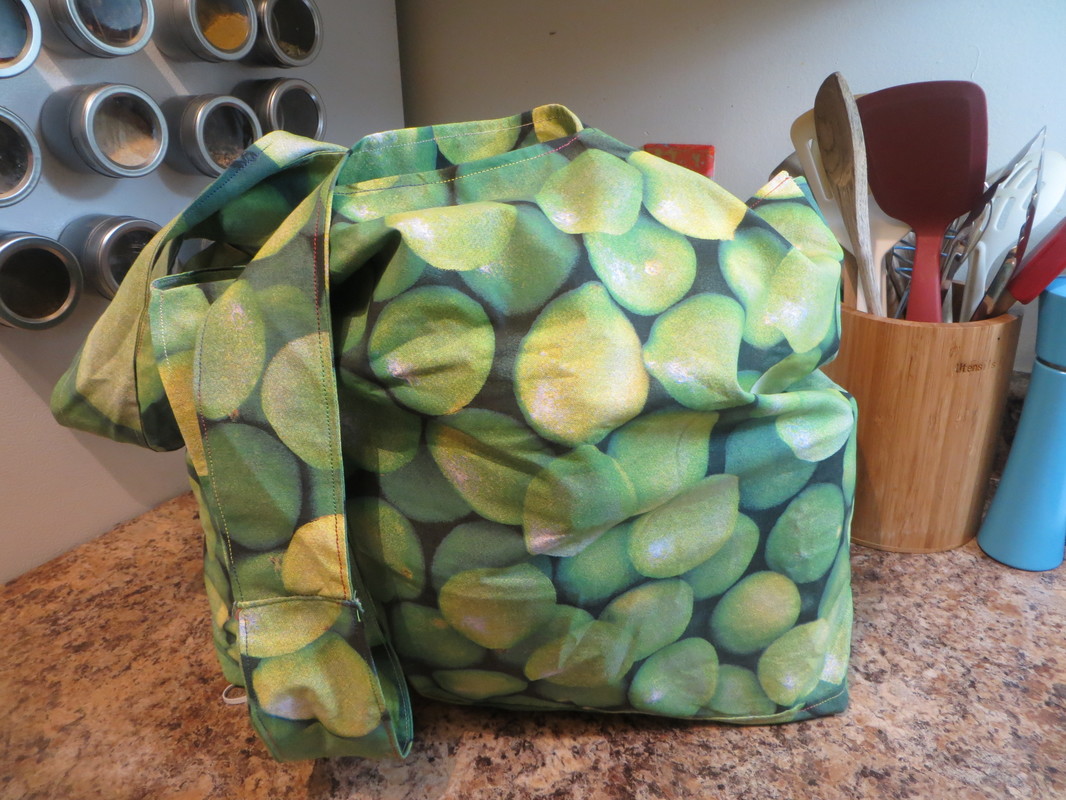
So in the meantime/ at the same time, I am still on the bag train, this time experimenting with designs for reusable grocery bags made with upcycled fabric. I got a big remnant piece of this slightly strange, graphic lime/apple fabric at Value Village and decided to play around a bit. I used as a 'pattern' an existing reusable bag that is well loved and I have had for almost 10 years, and then went to town! I am loving the design of this bag, though it does take a fair amount of time and fabric to make. Will play around with some other ideas in the coming weeks/months. Highlights of this effort include:
|
Welcome to quilterrific!
Ain't no party like a sewing party cause a sewing party don't stop Archives
January 2024
Categories
All
|


 RSS Feed
