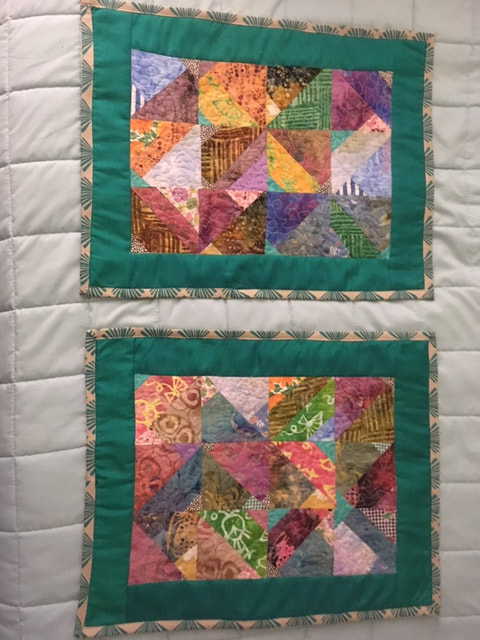
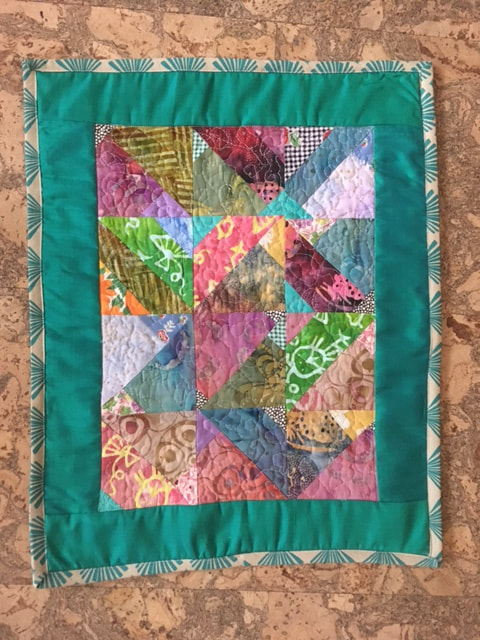
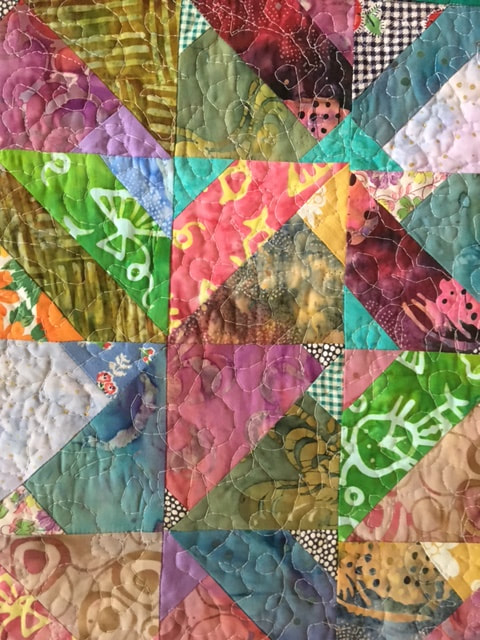
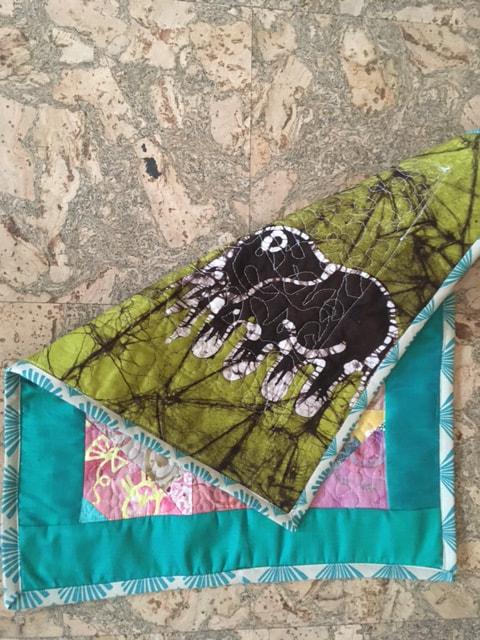
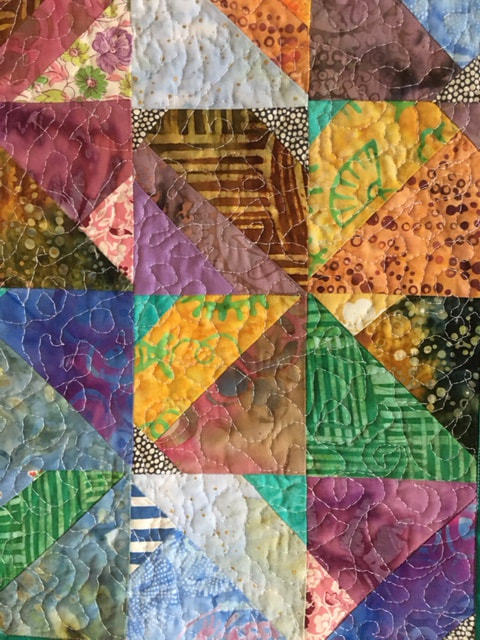
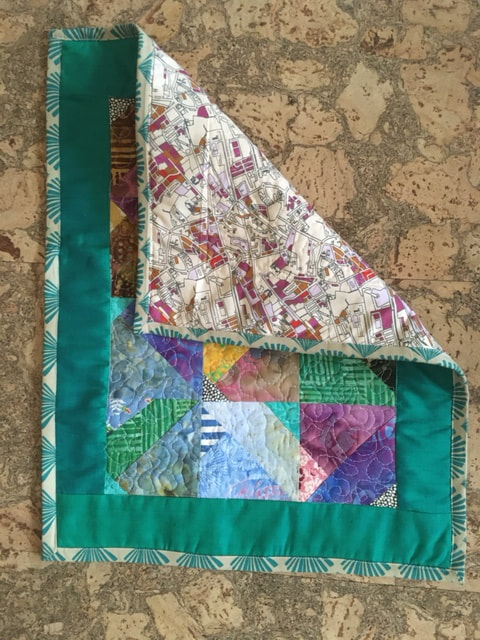
I have two friends with birthdays over the holiday season, so I decided to make the holiday babies matching altar mats. Inspired by fractals, I used some of my batiks as a base, and then broke things up with strips and triangles from different fabrics to (hopefully) create some evocative fractal patterns. I also used some upcycled silk sari fabric for the border, and made some matching binding. I quilted both mats with loops and swirls to contrast with the angular fractal piecing design. I backed Jenn C.'s with some of my urban city scape fabric, and Katherine K.'s with some of the batik elephant fabric I have in my stash. I really enjoyed experimenting with the piecing for this project, and love how they came out in the end!
|
Well not futile as much as time consuming. I still enjoyed the process!
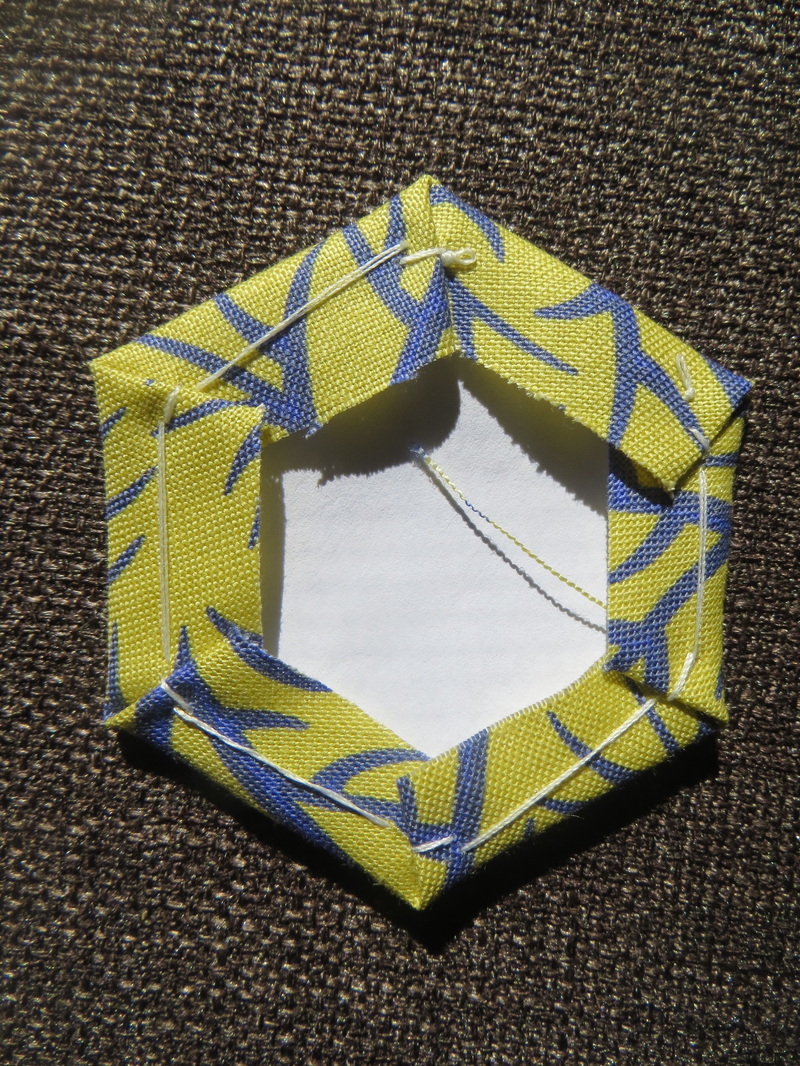
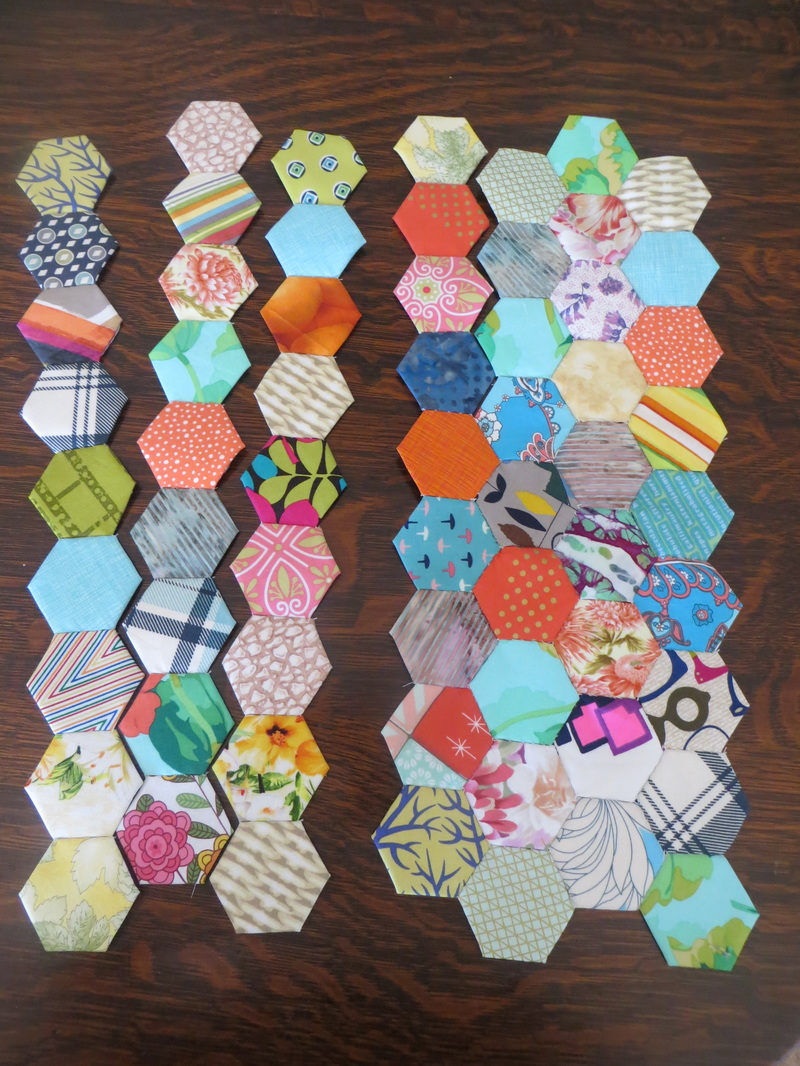
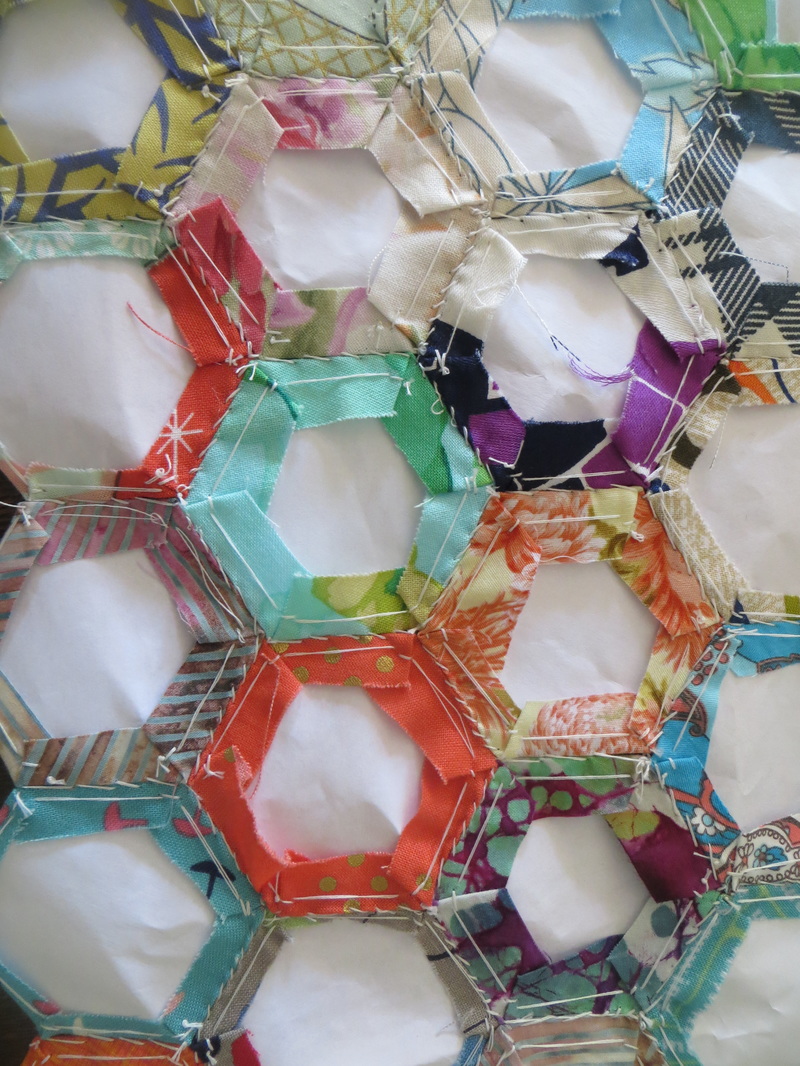
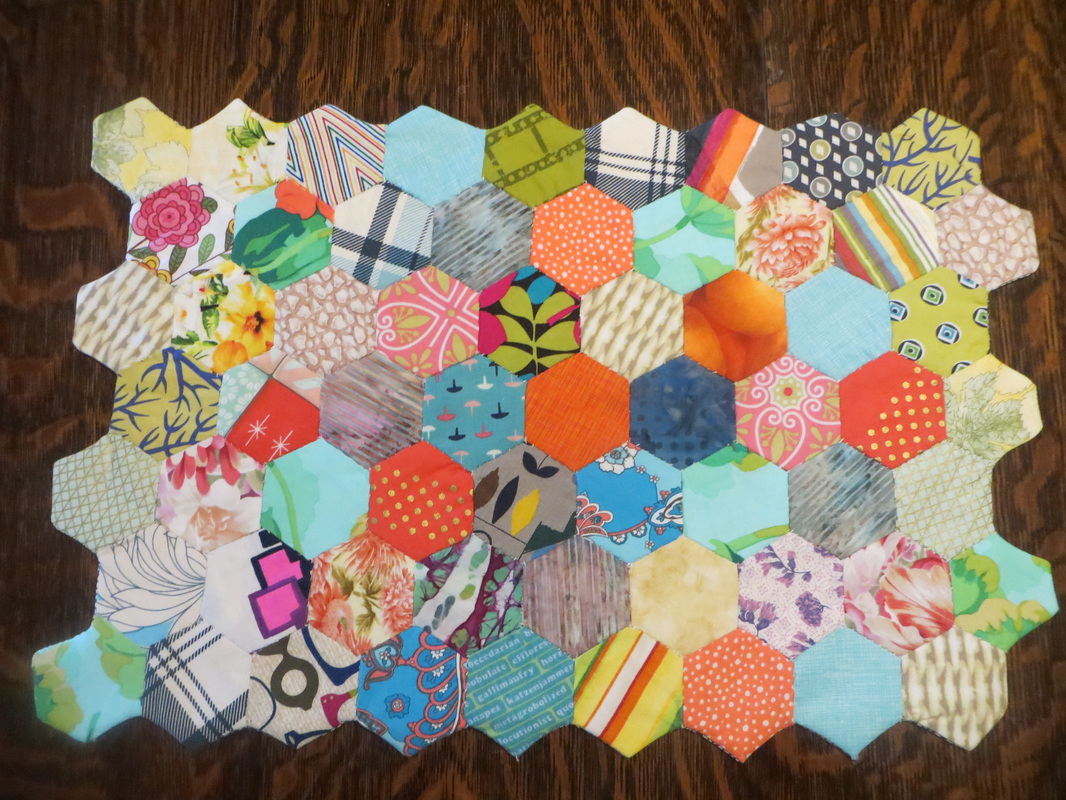
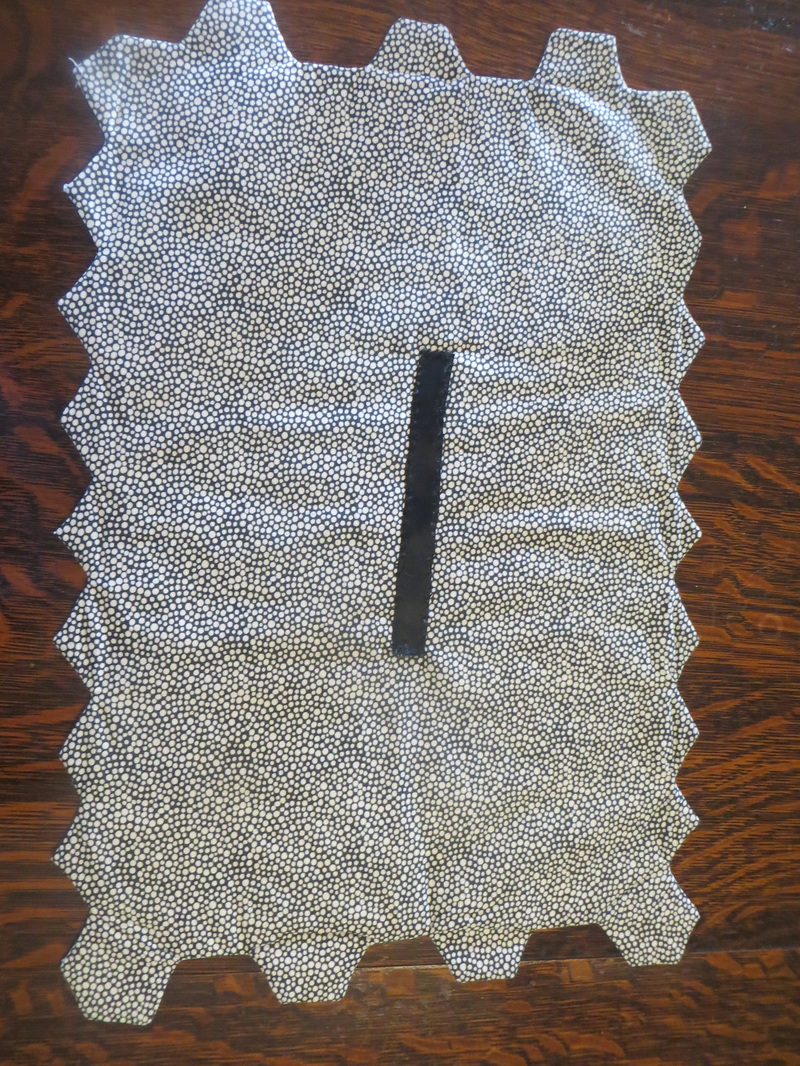
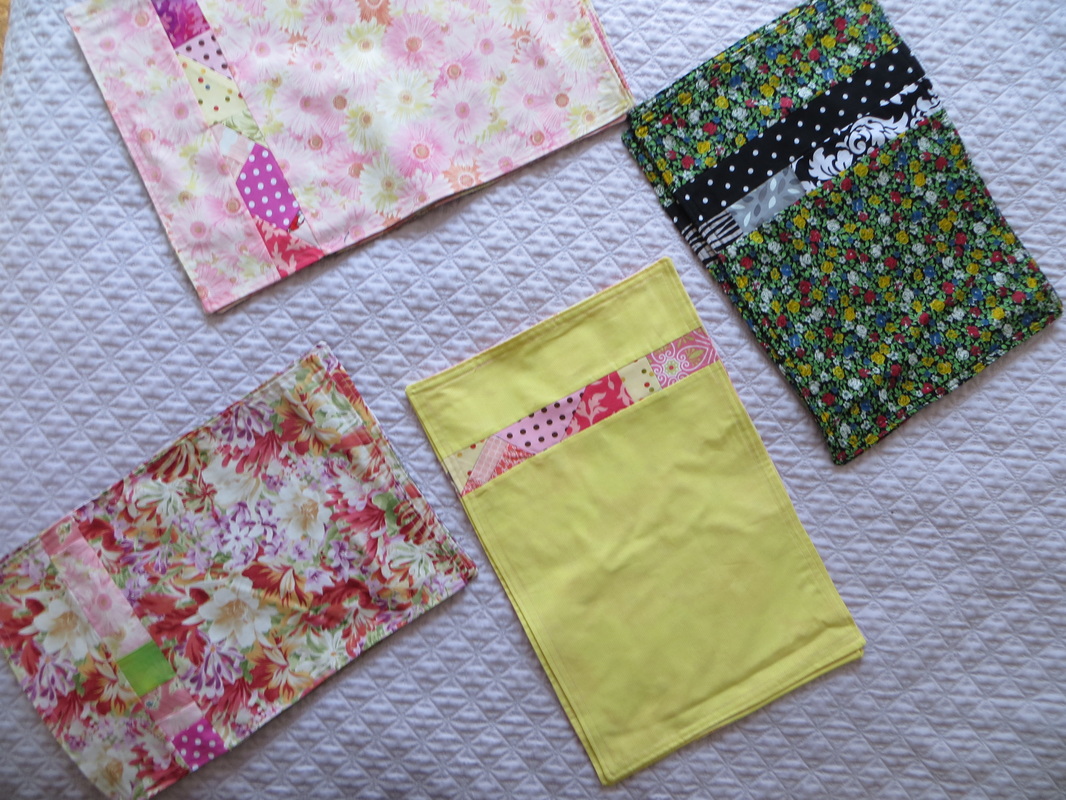
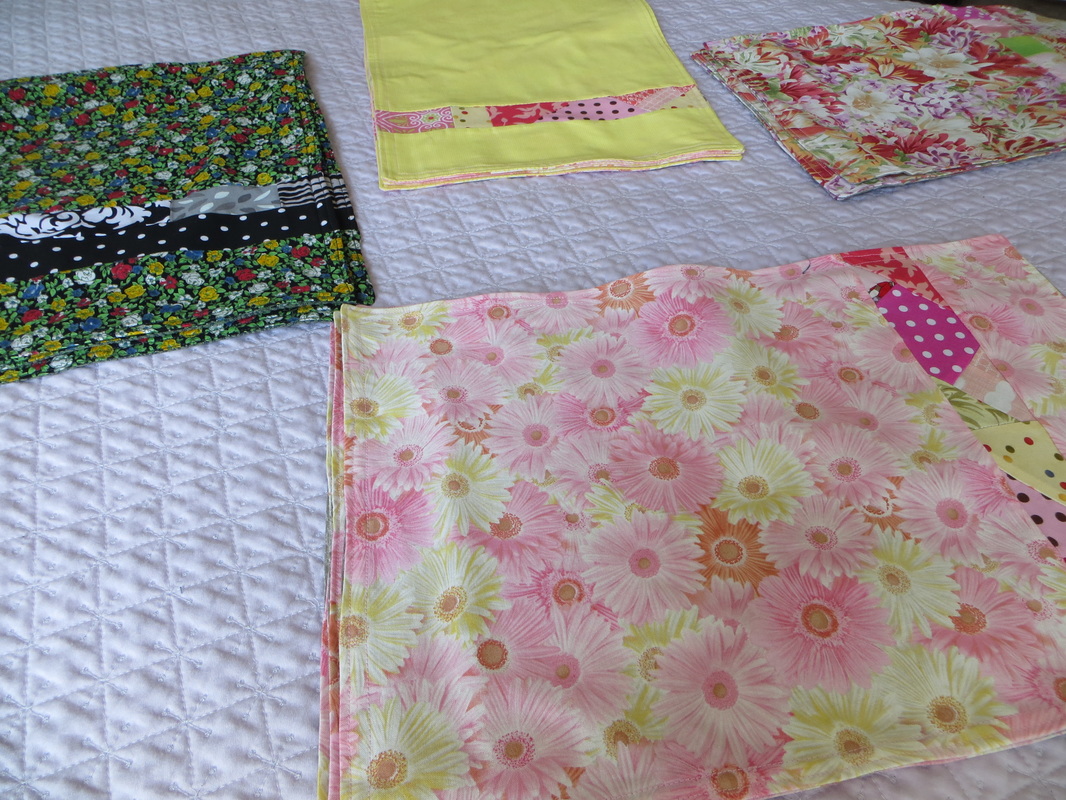
I have never officially tried proper English paper piecing, so thought I gave it a go. I learned that it is a TIME CONSUMING process more than anything, so if you do take it up, you will be in it for the longer-haul working on and off over a few weeks, but it was a fun thing to have as an ongoing piece of hand-sewn work to have by the couch. So, I printed off templates for 2" hexies, and got cutting-- both the paper hexagons as well as going through my fabric scraps and cutting out bits of fabric to sew around the templates. This is a great way to use some of those favorite prints of which you only have snippets left in your stash. With all of the materials ready to go, I started making the hexies which essentially involved hand-basting little pieces of fabric over the paper pieces. Over and over again.... Since this was a test project for me, I didn't put too much thought into the design, but did lean towards lighter colors in the orange, yellow and blue families. Once I had about 100 of these little hexies made, I took some time to pay them out the way I wanted them in the final version, and then first sewed them into rows along one side just to get the hexagon. I then sewed the rows to each other which was a bit awkward in terms of angles, but came out fine in the end. To finish the mat, I used a technique inspired by the "My Poppet Makes" website, which essentially involved tracing the final perimeter of the final piece on to the lining, cutting that out, undoing the basting on the outer-edge hexies, and then sewing fully around the perimeter of the mat following the lining template. To turn it inside out, I cut a hole in the backing, turned it and then covered over the hole with a piece of ribbon. Not too difficult a technique--- just a time consuming one. But again, as a long-term, hand-sewn, scrap-busting project that can be picked up now and again over a few weeks (or months), it holds appeal. Will take it up again for sure! I have been experimenting with a series of placemats, and thought I would document the outcomes. Four sets so far, with four matching placemats in each set. They are simple in design, with a side left panel of pieced complimentary colors. There was a fifth set in purple which I gave to my sister as a housewarming gift. A bright addition to any table!
|
Welcome to quilterrific!
Ain't no party like a sewing party cause a sewing party don't stop Archives
January 2024
Categories
All
|

 RSS Feed
