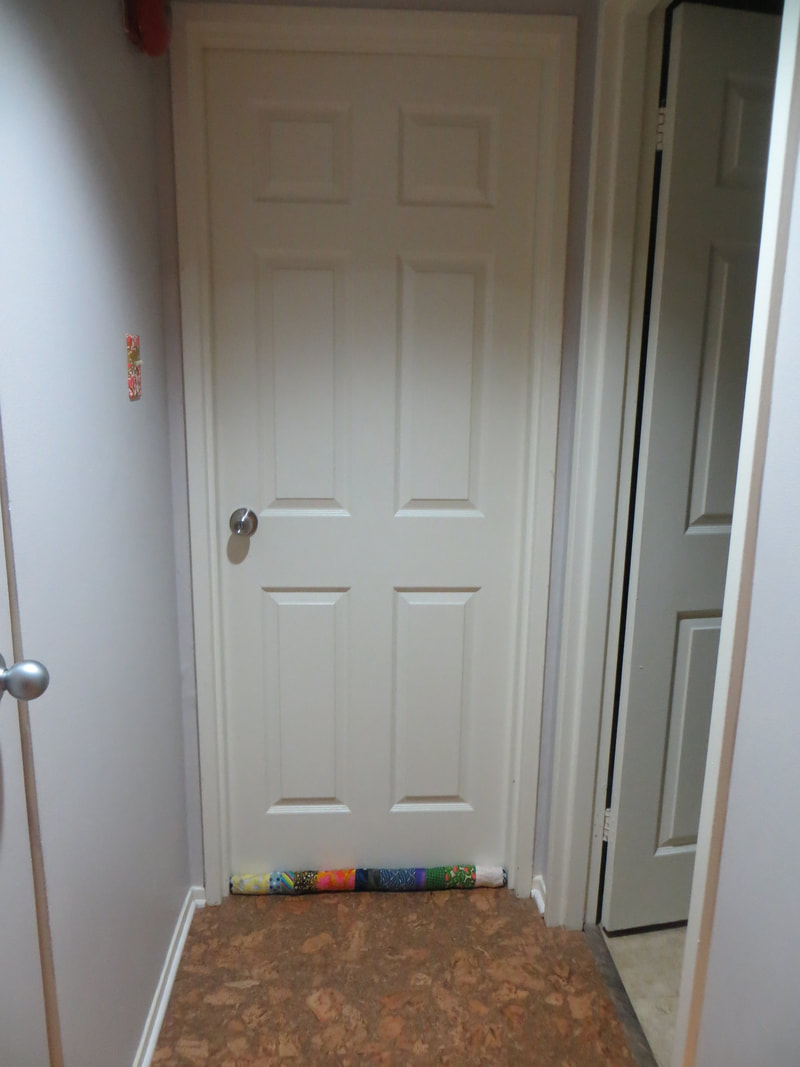

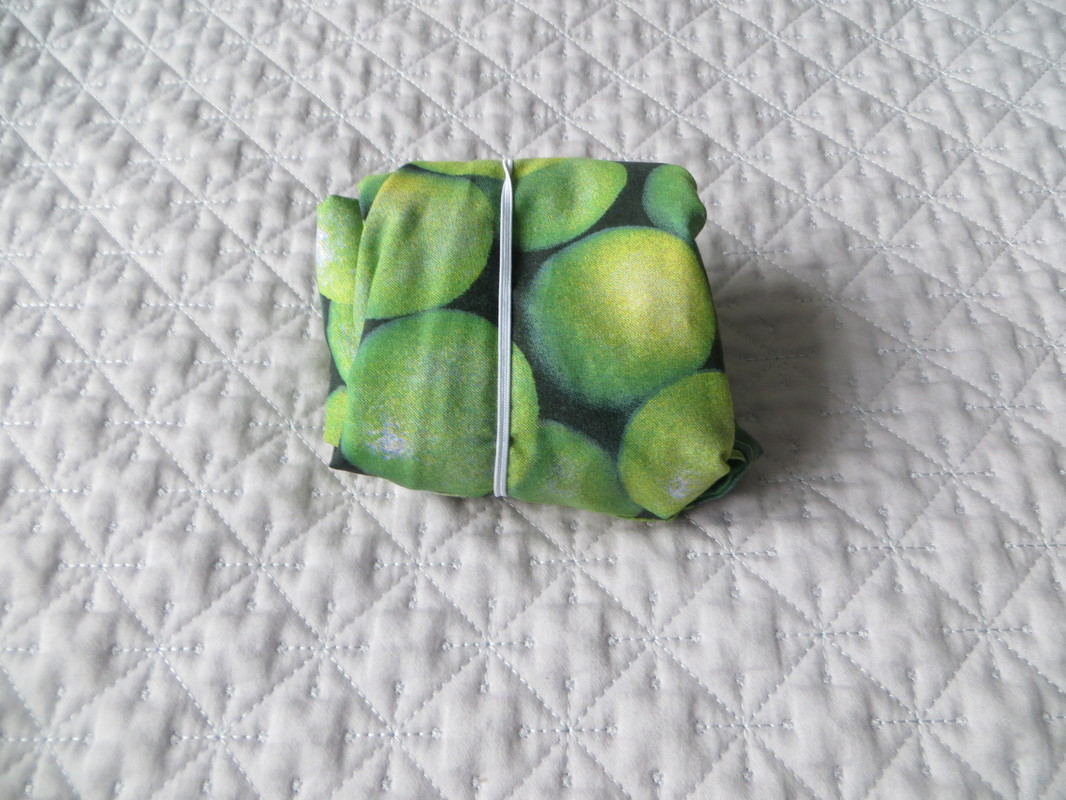
A quick project using up some recent scraps, both internally and externally. I don't heat my bedroom or spare room, which means that in these frosty winter temperatures, the contrast between those rooms and the main space can be a little dramatic. No complaints when it comes to sleeping, but I wanted to manage the flow of air between the two spaces so I am not wasting energy.
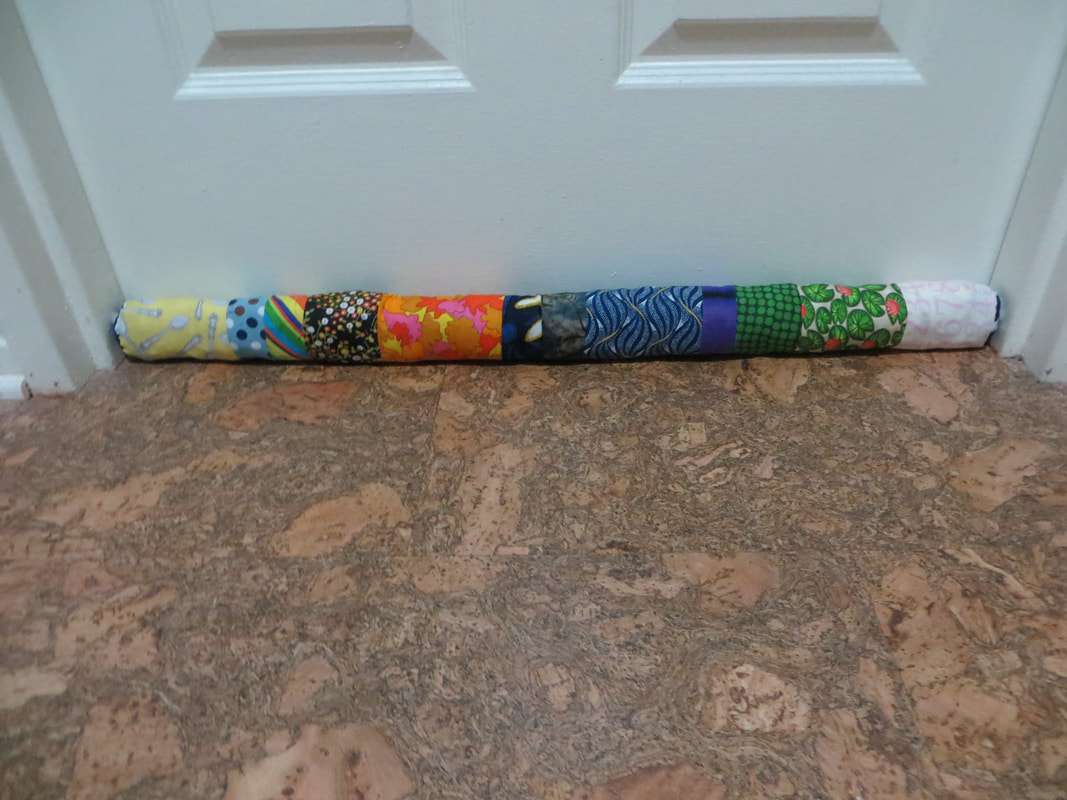
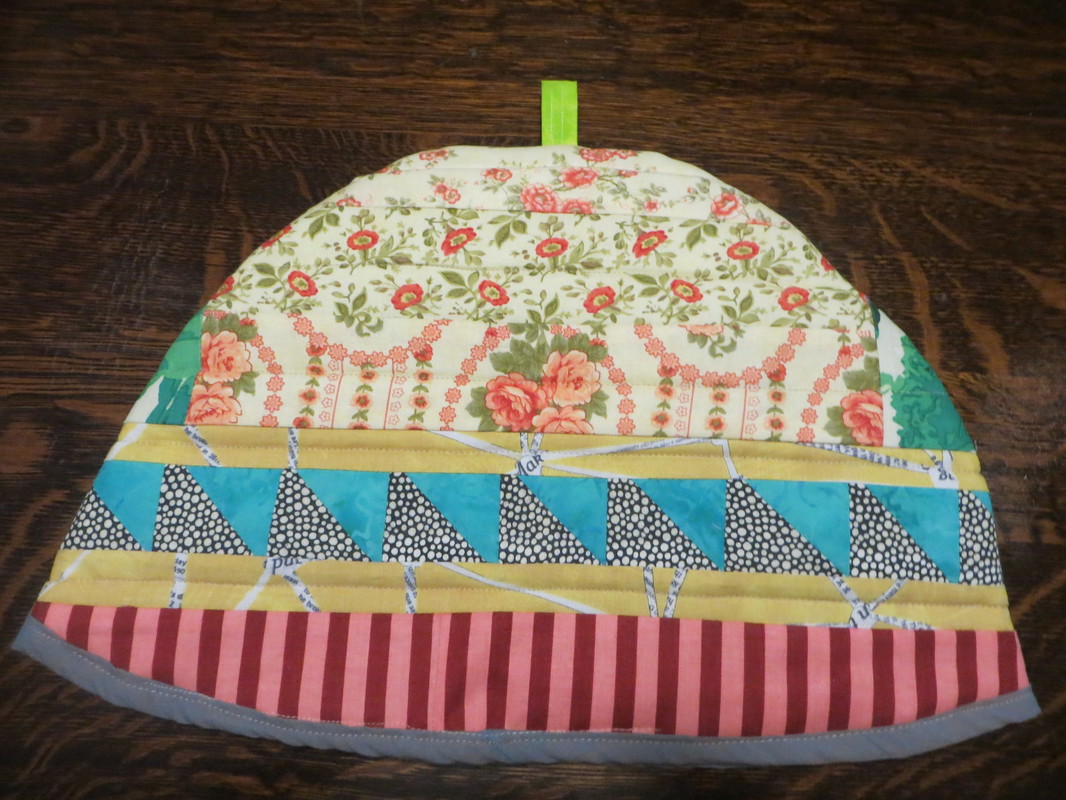
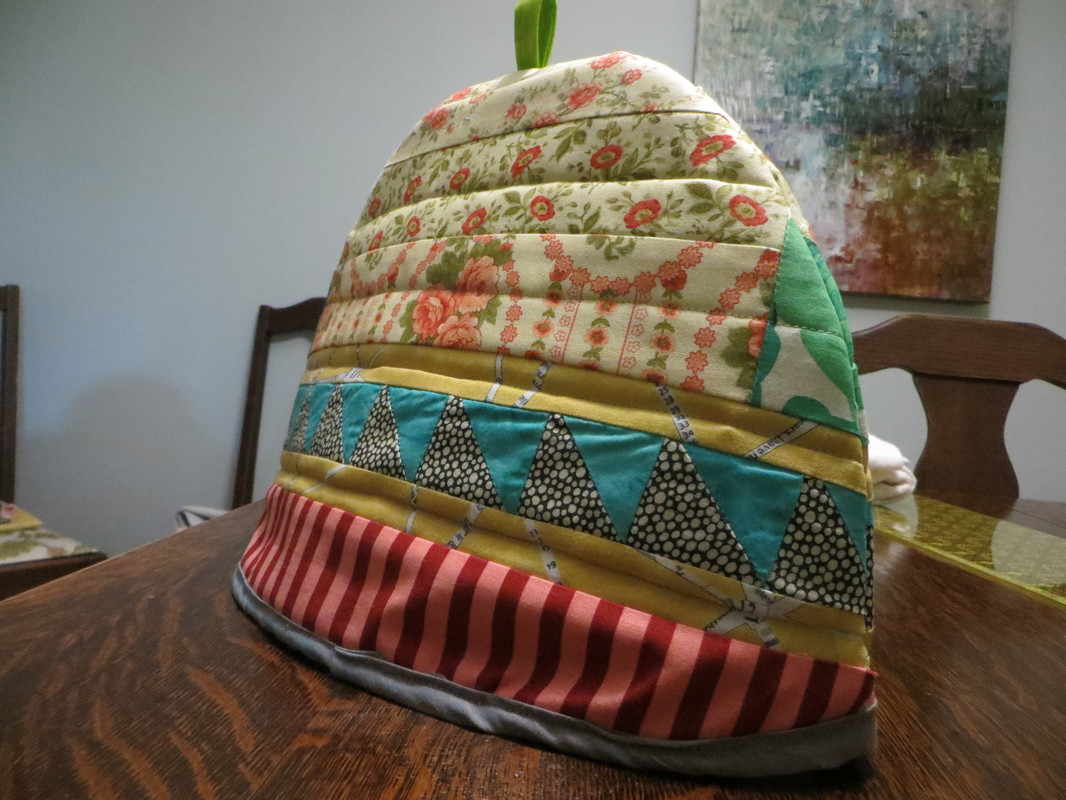
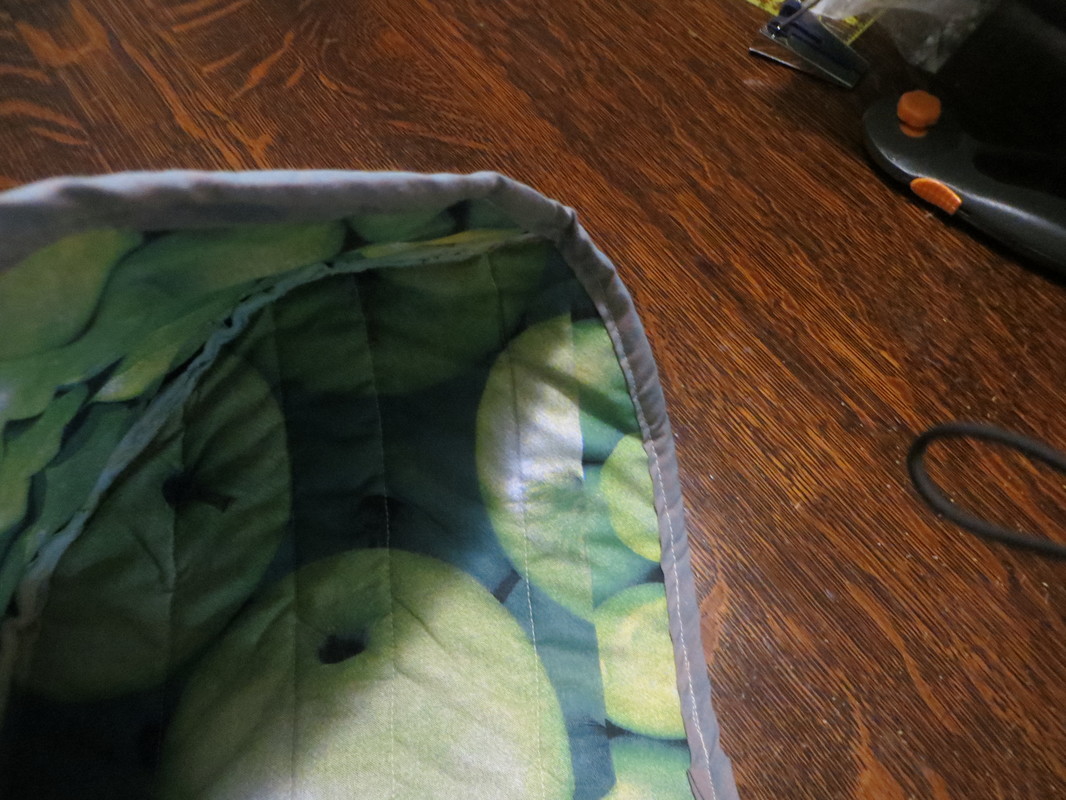
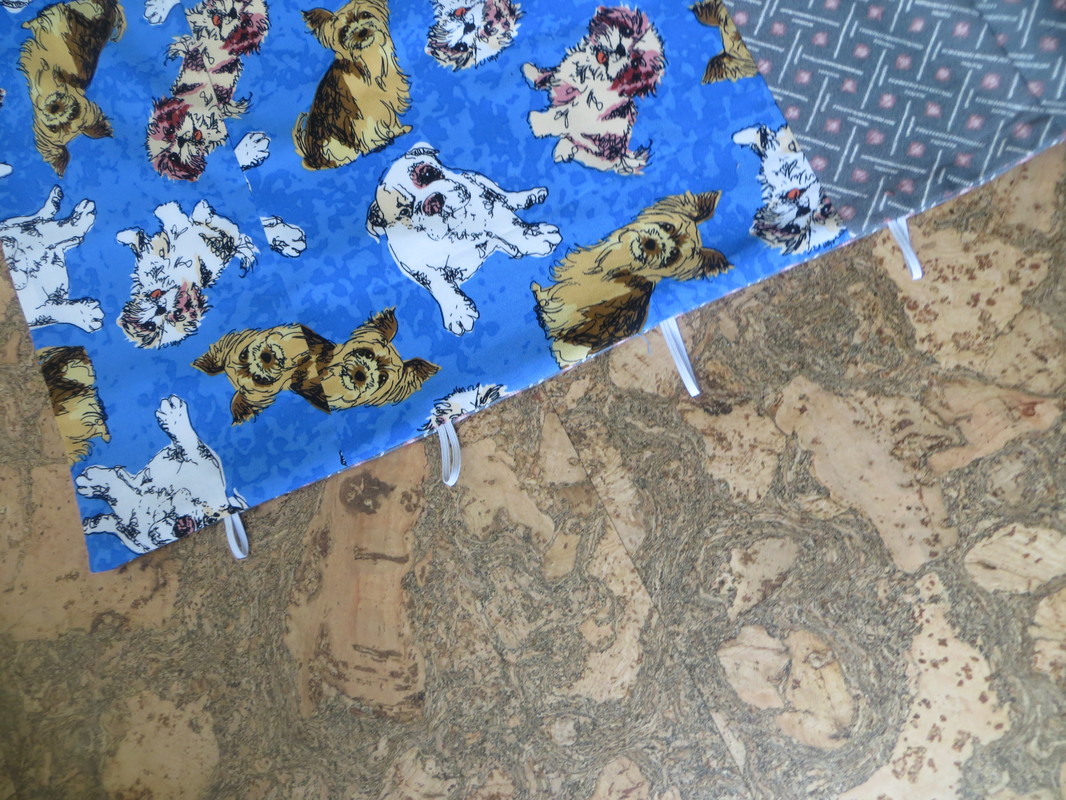
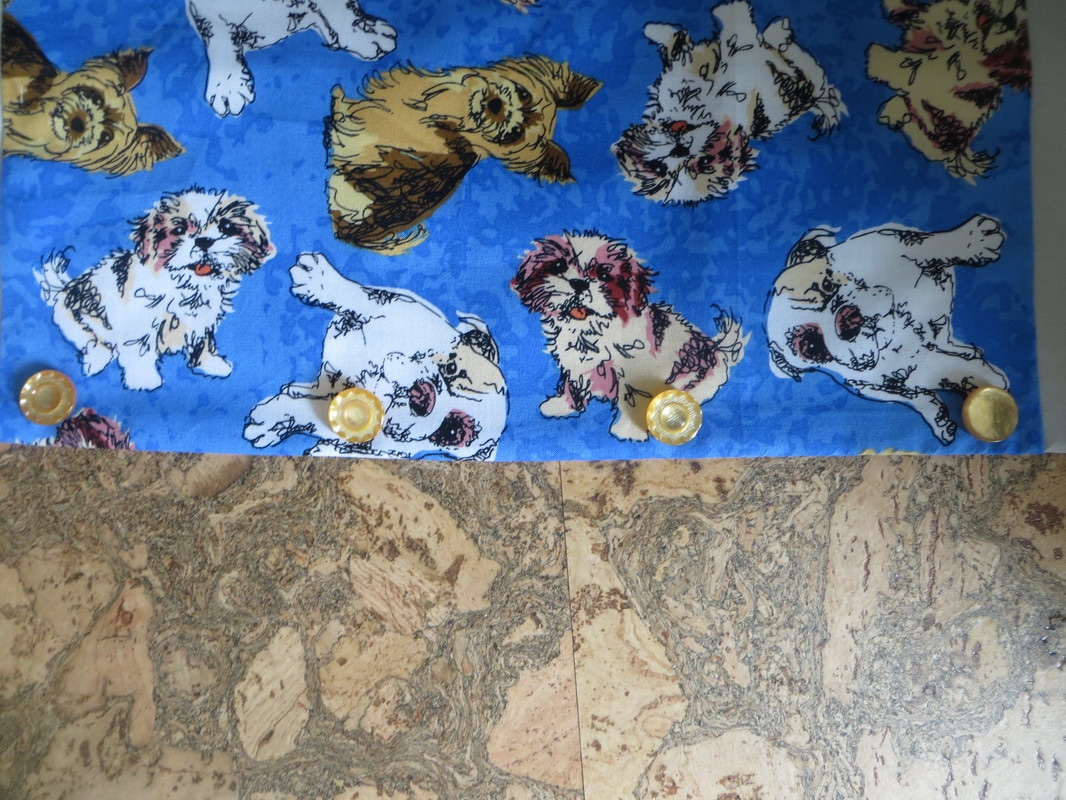
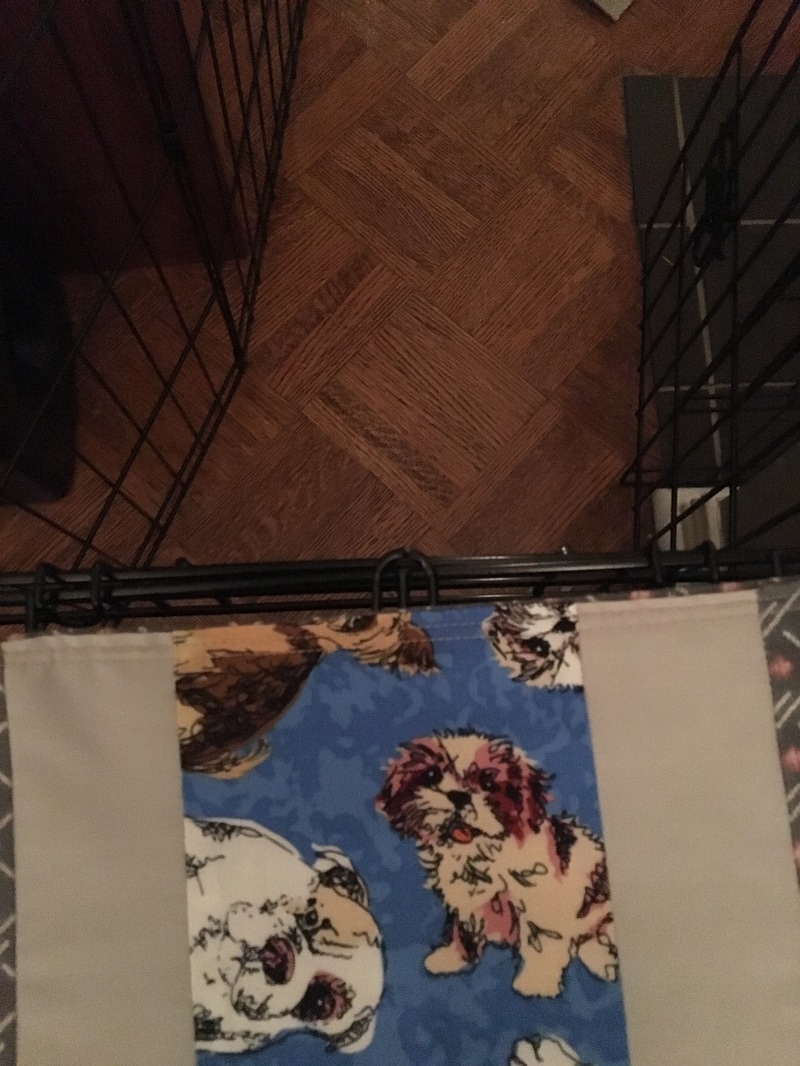
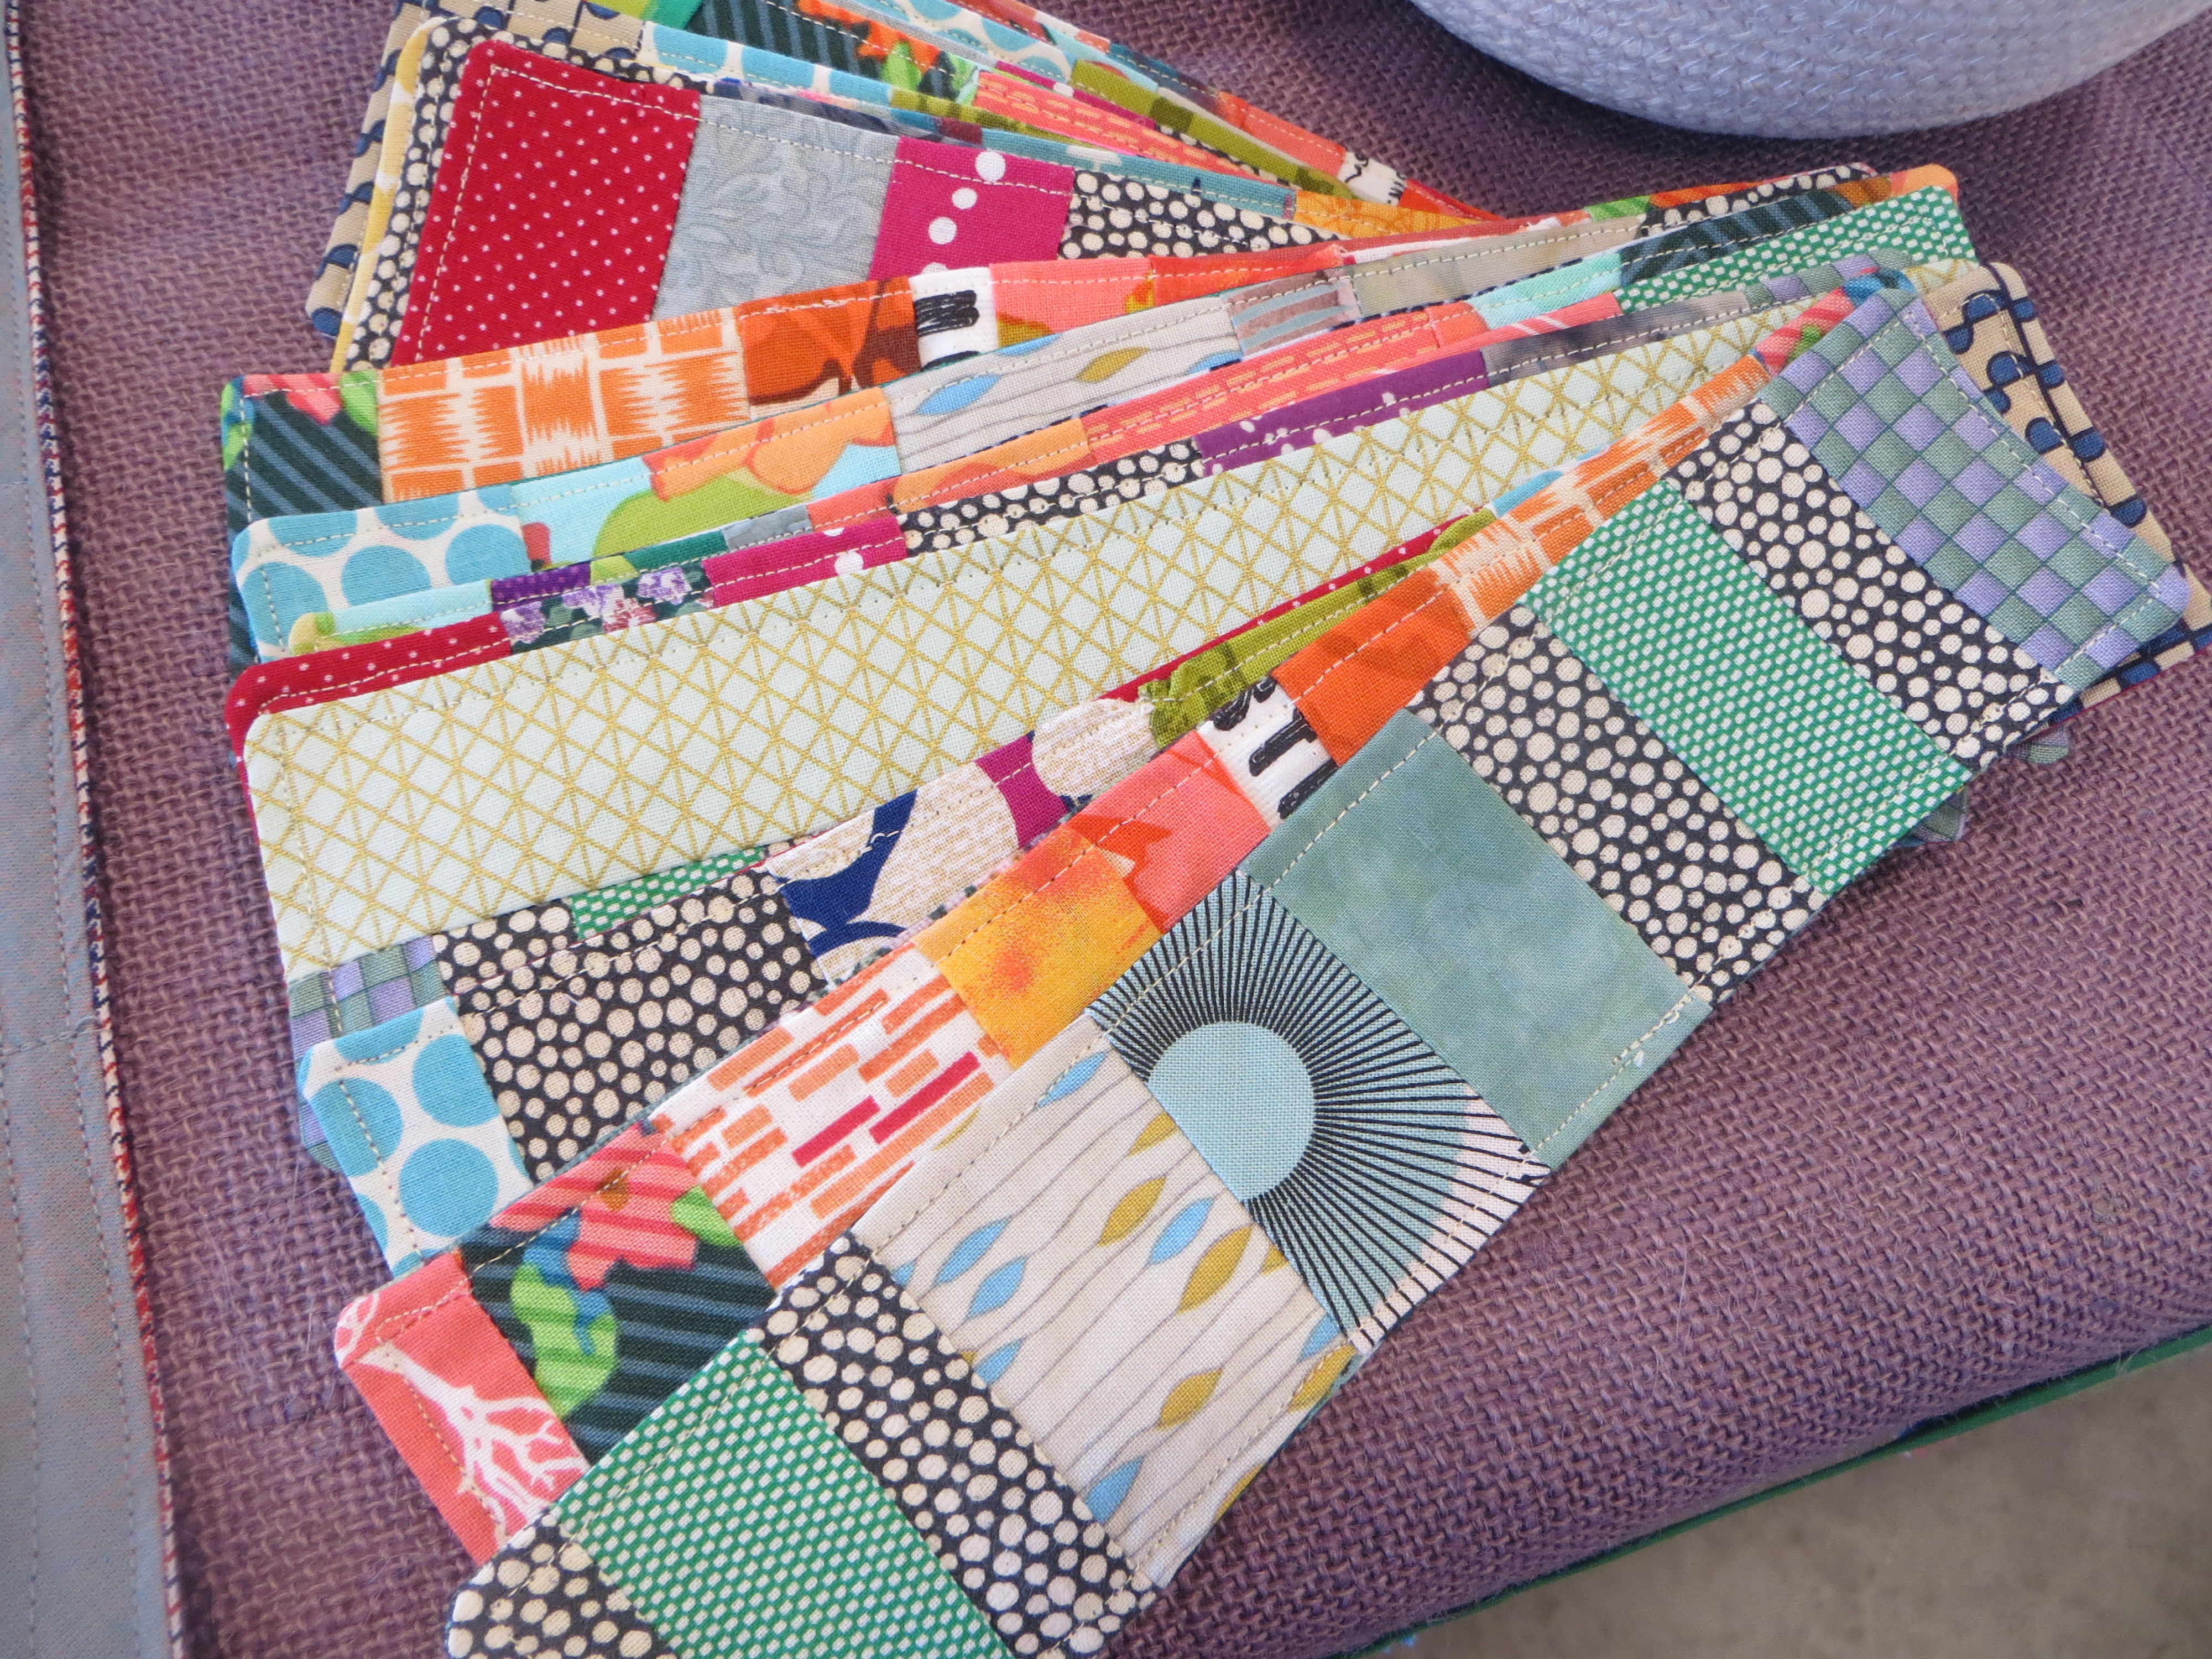
Enter the draft stopper! I didn't put much design into this--- just pulled some similar-in-length scraps from recent projects, sewed them together, connected the two ends with circular pieces to help form a tube, and then sewed it up leaving a gap in the middle to turn it inside out and stuff. For the stuffing, I also used some of the unsewable scraps I have been saving up from recent projects. So a double-recycling win AND an energy efficiency win!
Enter the draft stopper! I didn't put much design into this--- just pulled some similar-in-length scraps from recent projects, sewed them together, connected the two ends with circular pieces to help form a tube, and then sewed it up leaving a gap in the middle to turn it inside out and stuff. For the stuffing, I also used some of the unsewable scraps I have been saving up from recent projects. So a double-recycling win AND an energy efficiency win!


 RSS Feed
