A bit of an experiment: a wall-hanging-come-runner-mat for Natalie F. as part of a gift exchange. I am experimenting with the concept of cool fabrics poking through a solid-ish background (see next post) and this was a first attempt at the design. I really like how it came out, and hope she does too!
|
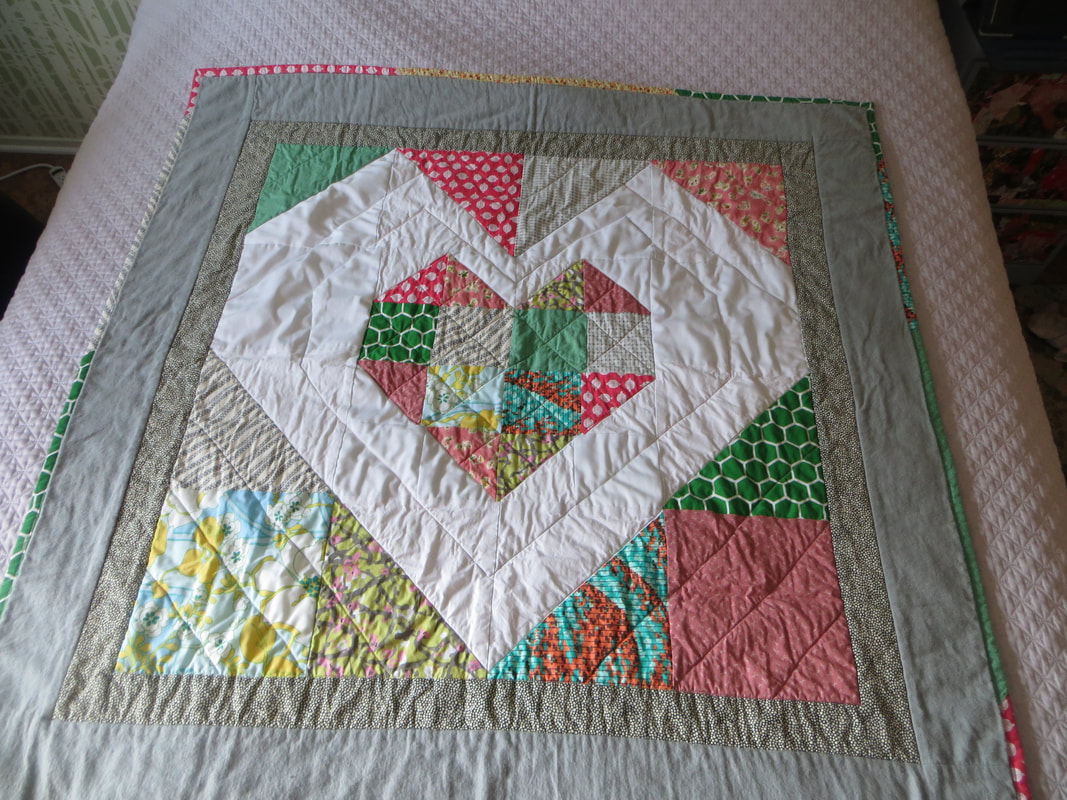
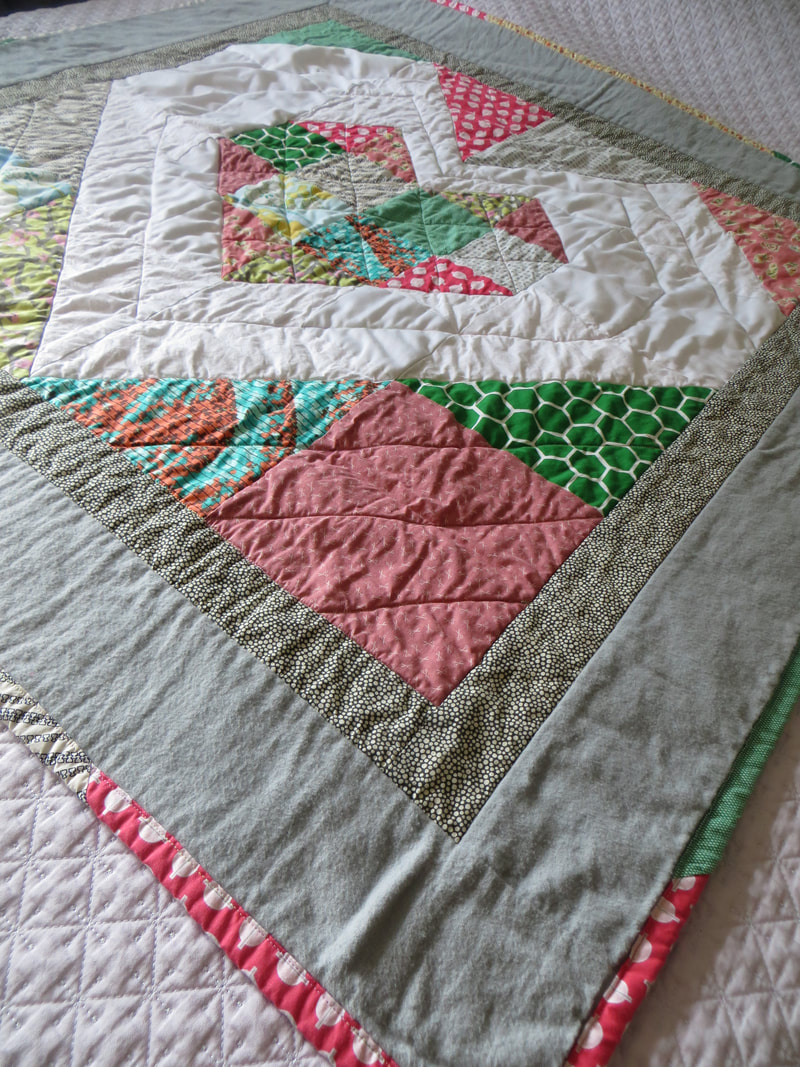
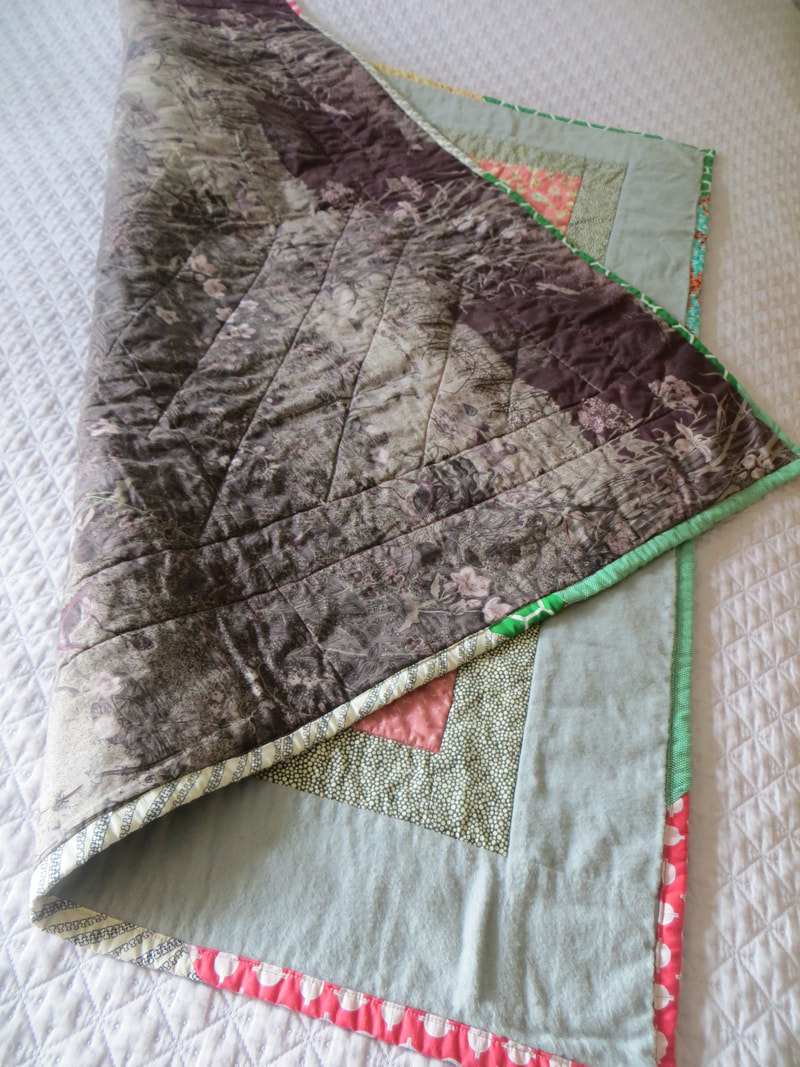
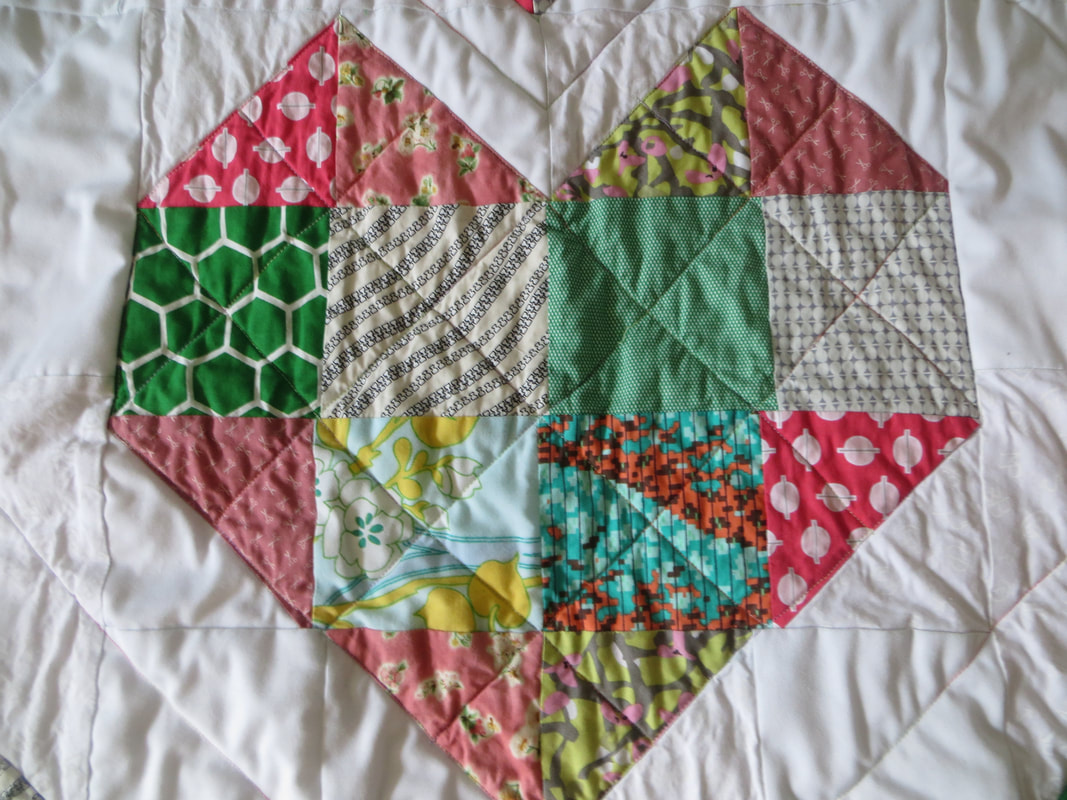
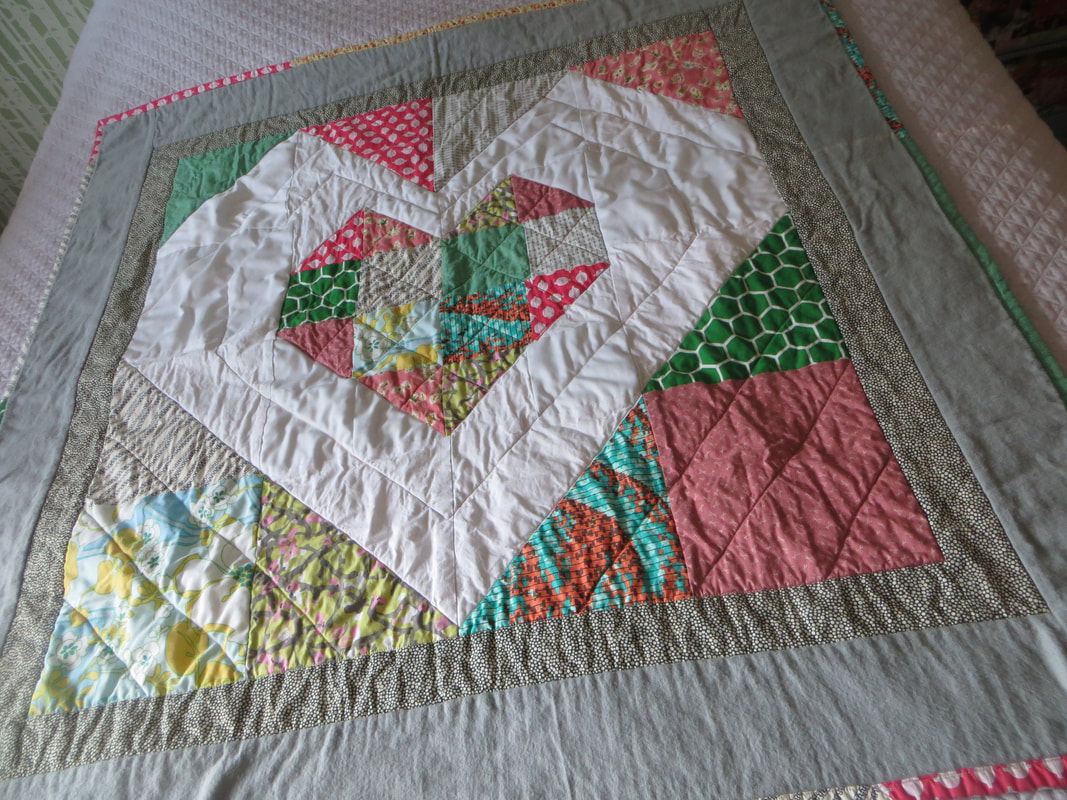
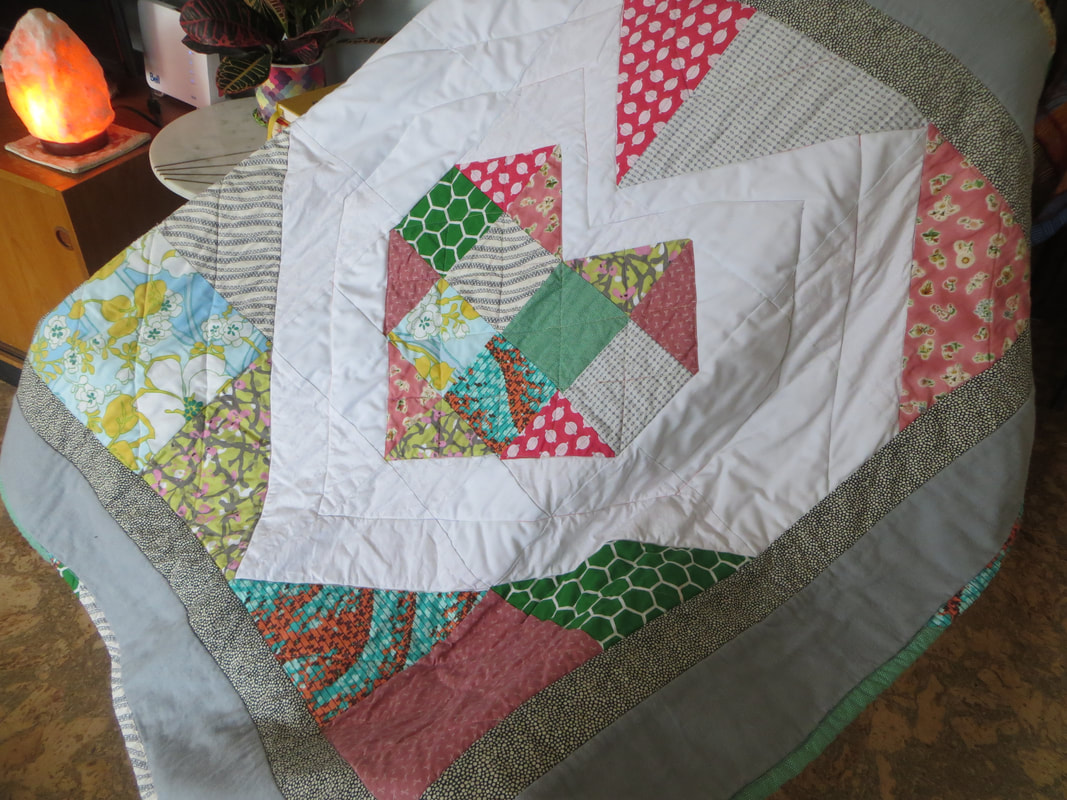
I made this little ditty for Bekkah C., one of my dear childhood friends, and her new baby son Nicolas. It's coming a little late, but as they say, better late than never... sigh. :)
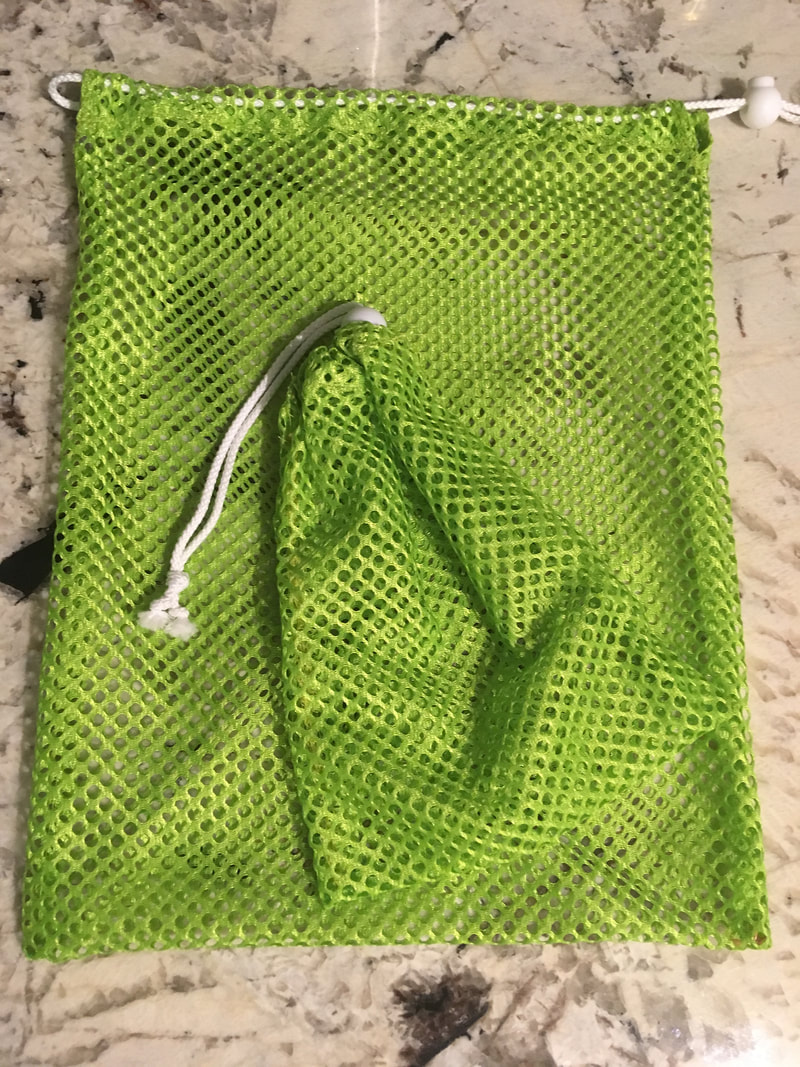
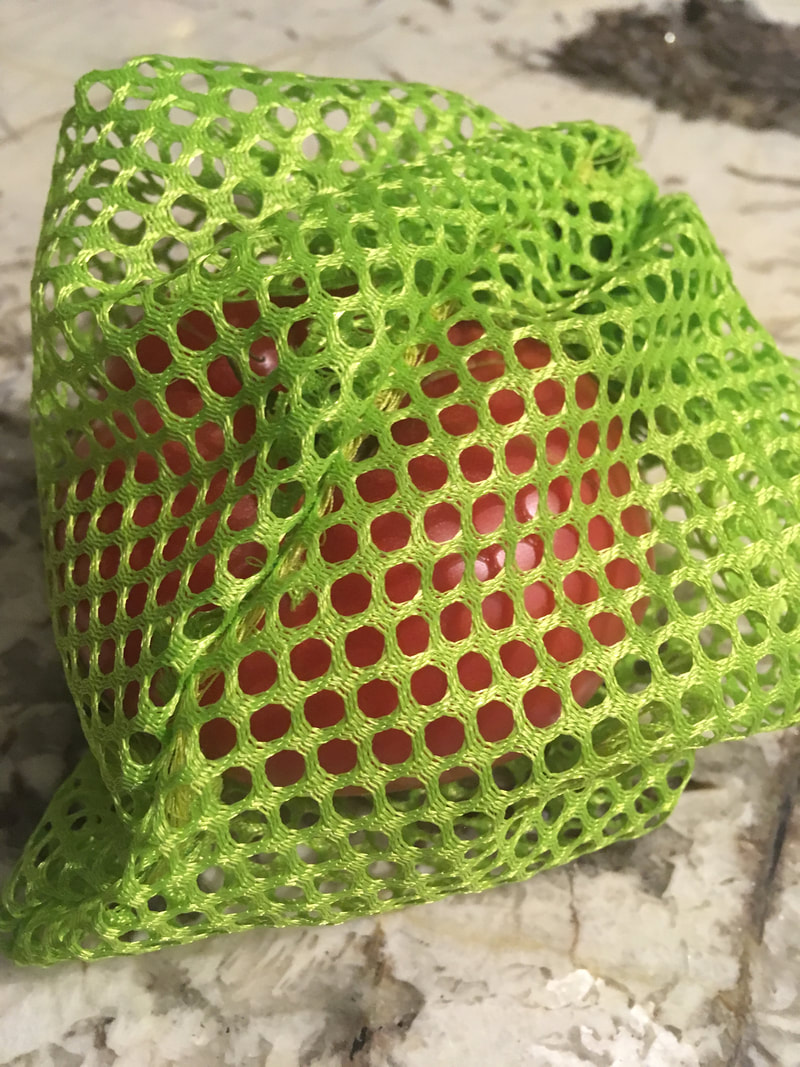
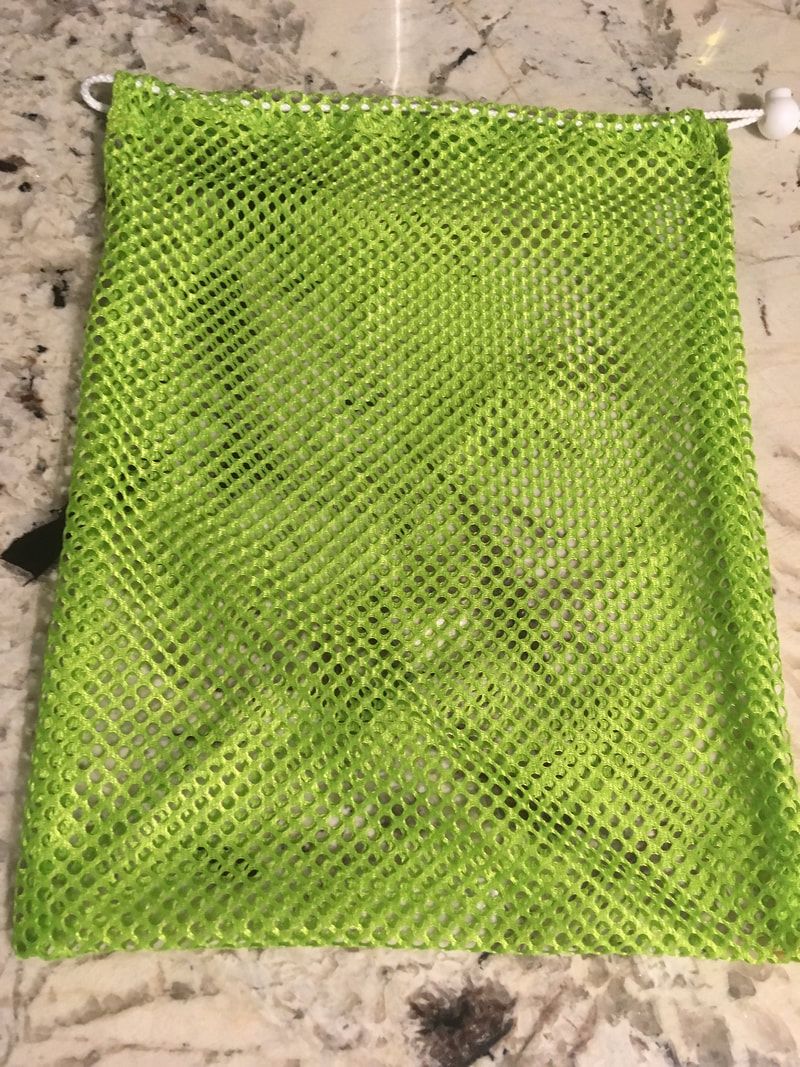
So in non-typical style, I tried to keep the color palatte a bit tighter, and I like how things came out. I designed this myself, so the smaller heart fits a little wonkily into the bigger white heat, but in the end it all works out. It took me a while to figure it out, and I did rip a few seams getting it to come together, but we got there and I am happy. All upcycled fabrics, with a pebbly inner boder and soft grey flannel outer border. Made scrappy binding from some of the fabric in the quilt itself which i think looks nice. One of the corners went a little wonky as well, but that means it is homemade. :) Backed it with a soft purple grey, and quilted simply with some straightline and stitch-in-the-ditch work. I hope that Nico gets many years of warmth out of this Auntie Amy creation! I made the full transition to reuasable grocery bags many years ago, but wanted to experiment making some reusable produce bags to cut out another weekly plastic source. And so here is the result! As a first attempt, I made 5 bags in three different sizes (finished dimensions 17x13 (1), 14x10 (2) and 8x6 (2)) and have found that a pretty useful grouping. Since I used hole-y fabric, I used a tight zigzag stitch for the seams and finishing which worked well.
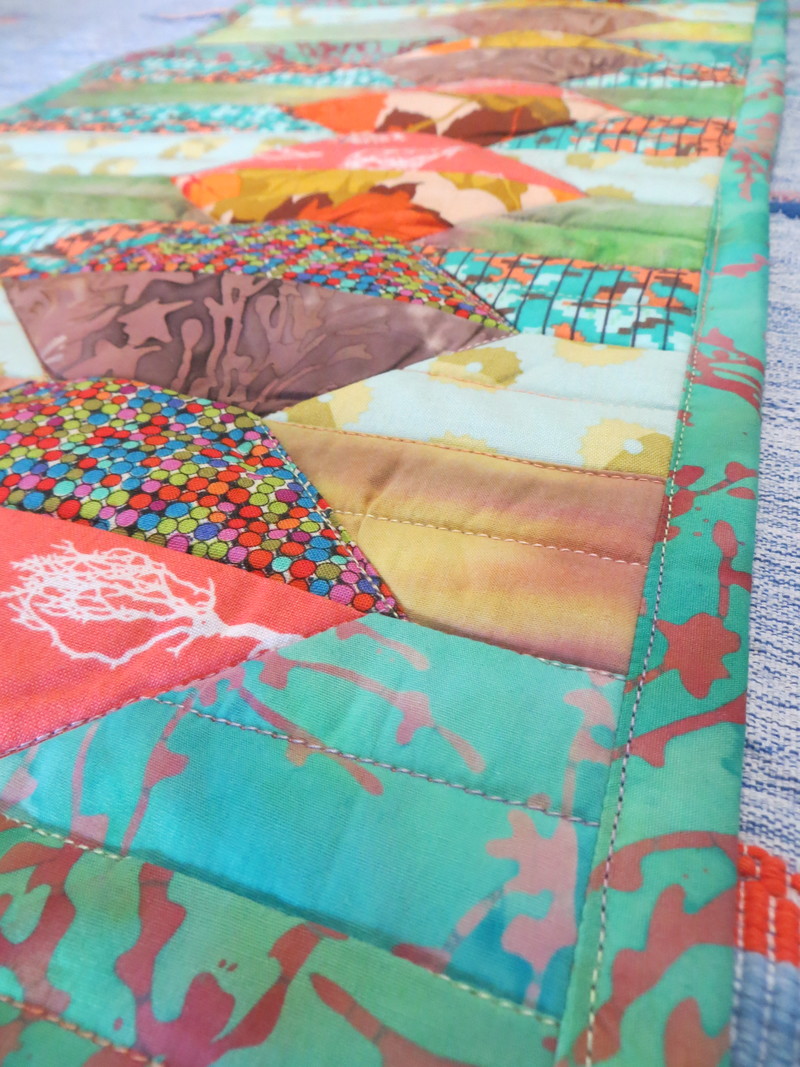
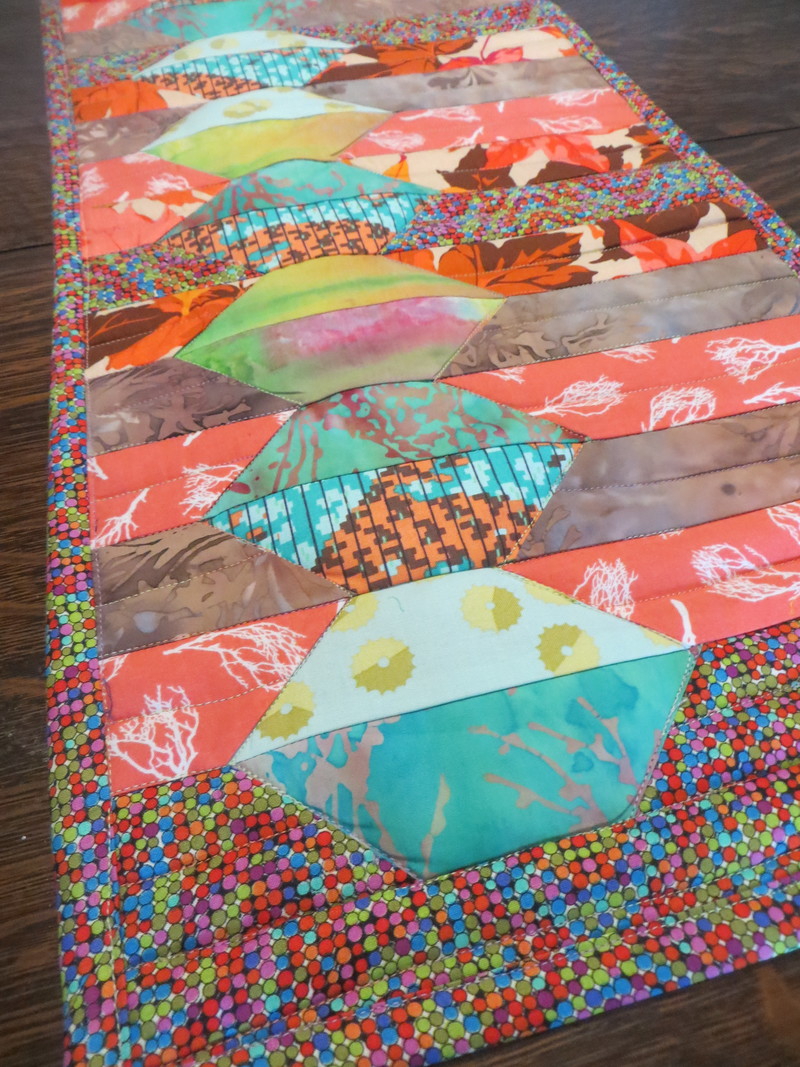
In researching a basic pattern, I was inspired by this video by Crafty Patti (please watch-- the first 5 seconds of the intro are the BEST!!). Found it to be a helpful guide if you want to take a stab yourself. And if you want to use my dimensions, just multiply by two (since the fabric is doubled over along the bottom) and add about 4 inches to the length (first number in the dimensions above) and 1/2 inch to the width (second number) for seam allowances, and then get sewing! Next round, I will play around with the dimensions a bit more (but I am satisfied with what I have for now). I also will experiment with recycled fabrics and materials (ie: old sheer drapes, etc...) Lots of opportunity for variation! Frankly, I did not do most of the work on this runner. The lovely Margie P. frequently gifts me scraps and bits, and the main panel of this runner was included in a stash a few months ago. I just didn't want to see the work go to waste--- i like the color combo and design generally-- so I trimmed it up, quilted and bound it, and it is now waiting for a new home.
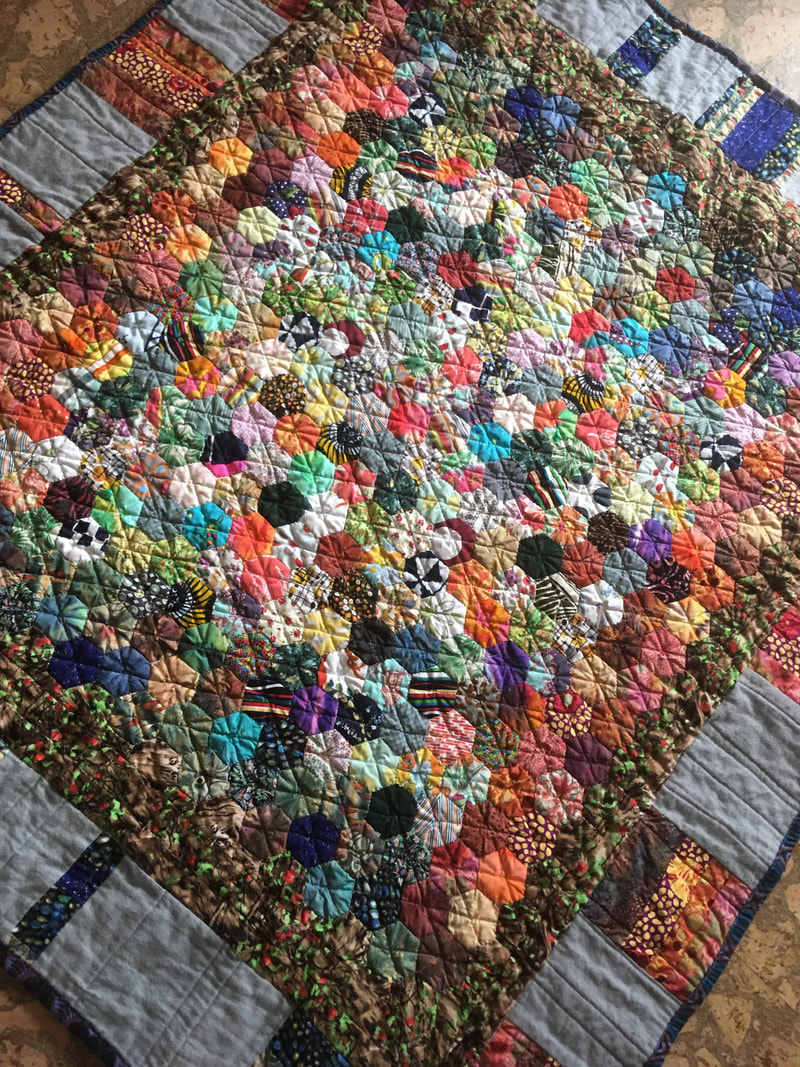
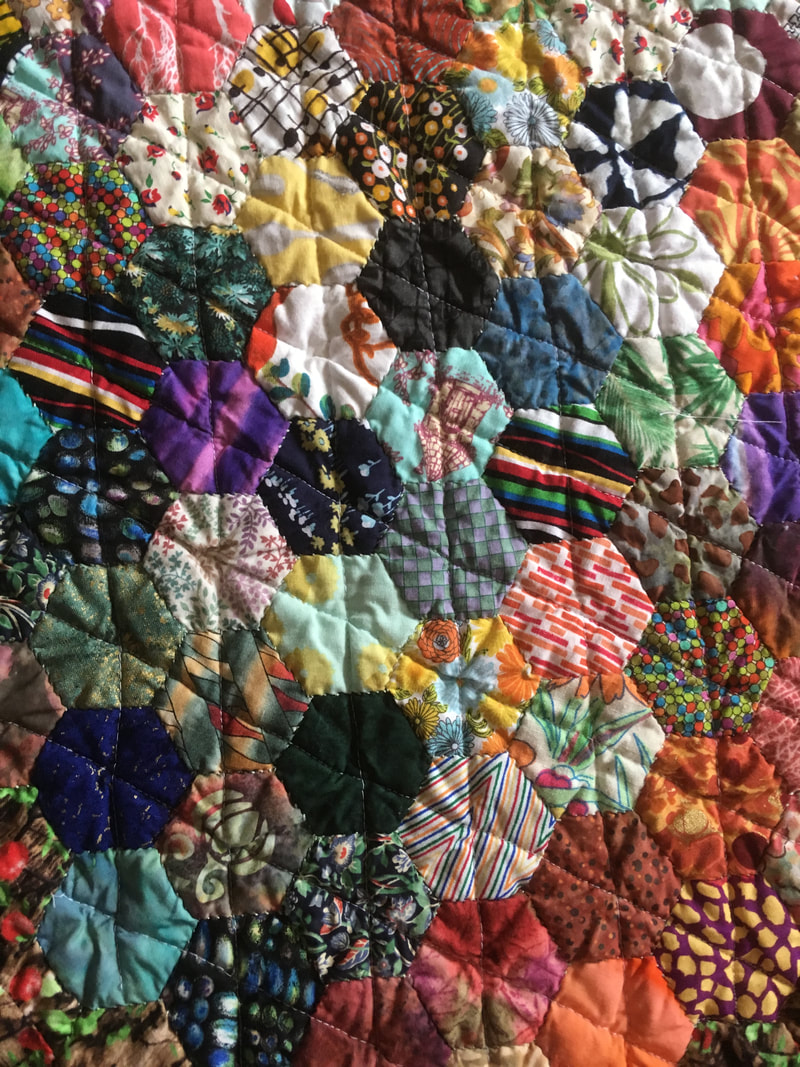
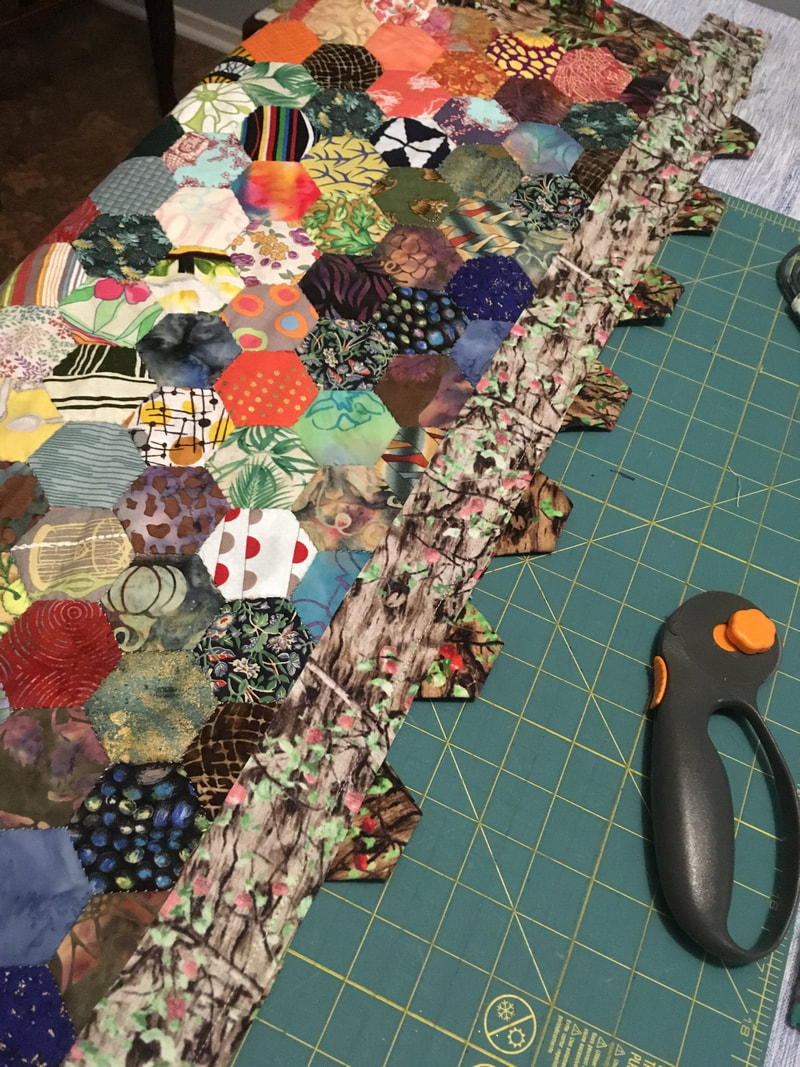
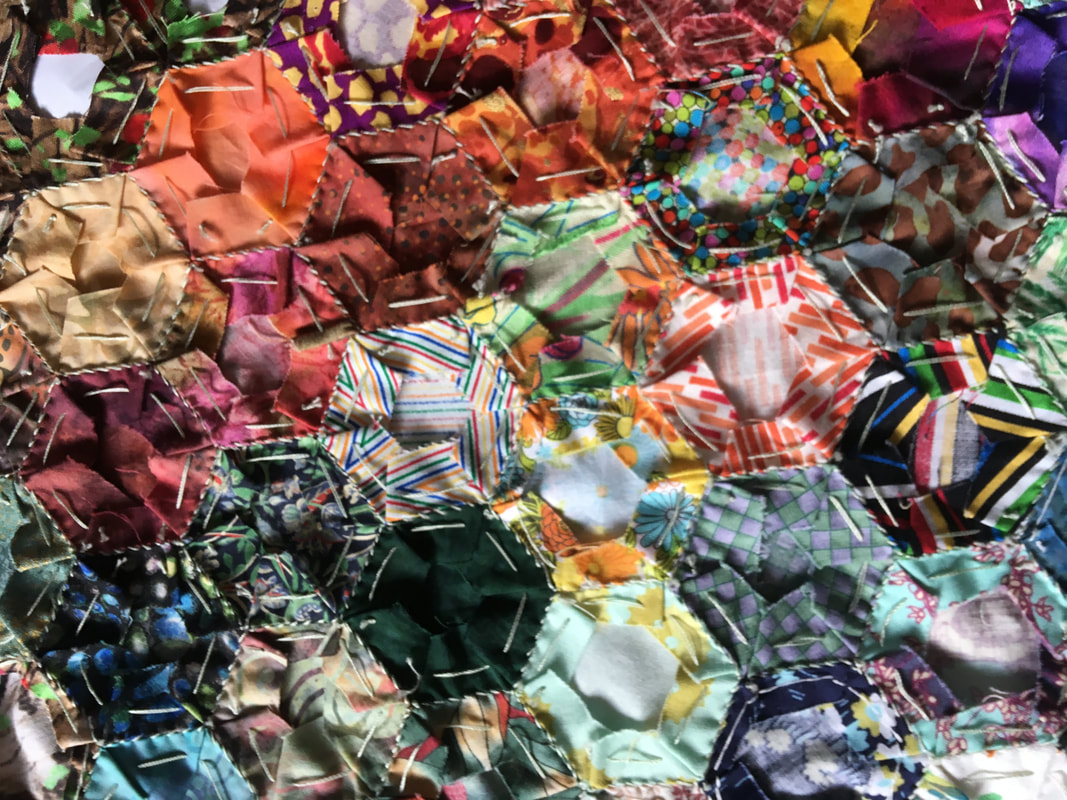
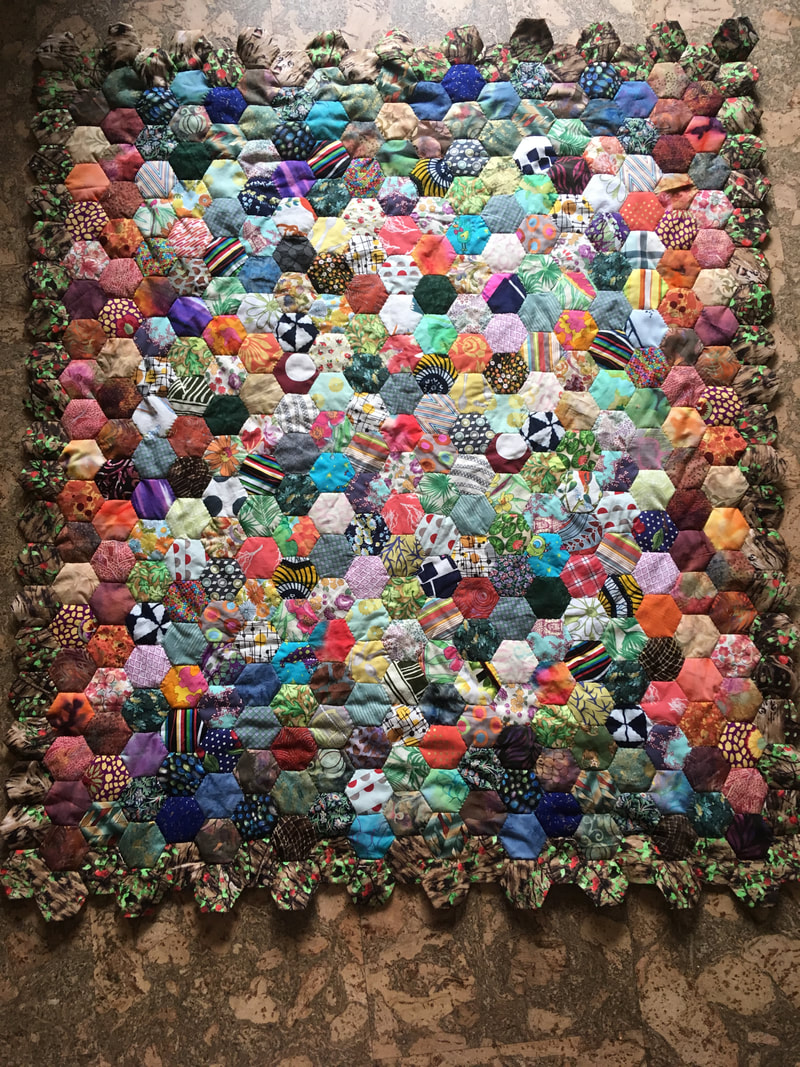
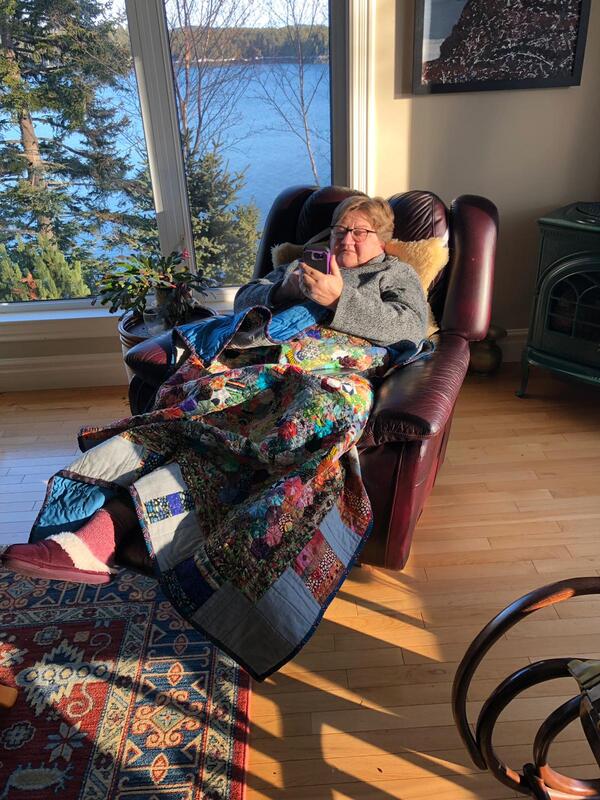
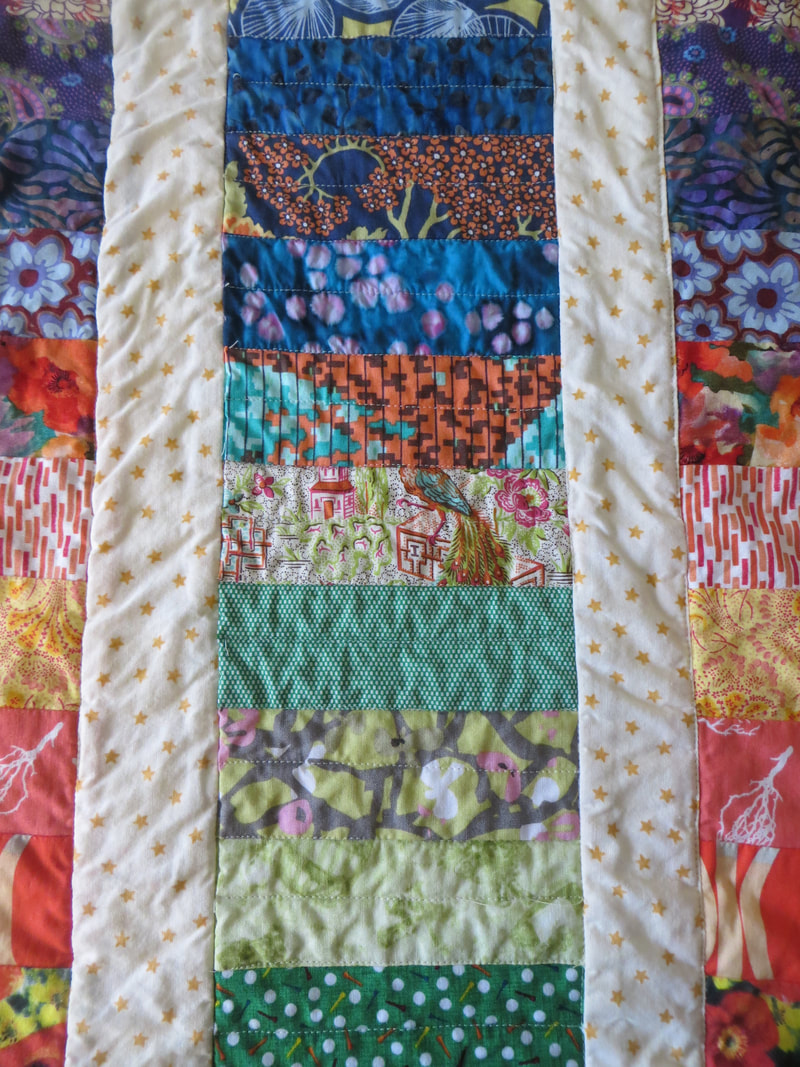
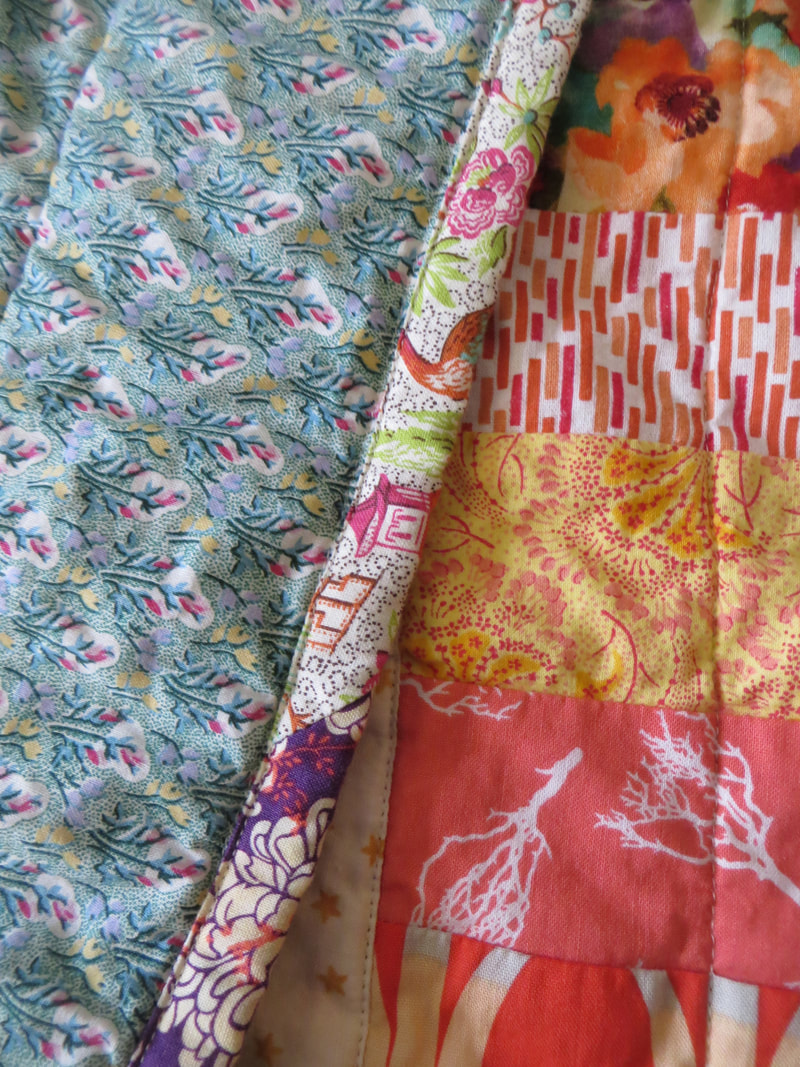
Well, I finally get to reveal my 2018 white whale--- this hexi lap quilt for my dear maman. As with many of the projects I start, I didn't quite appreciate the amount of work on this one, but I plugged away throughout the year, and eventually it all came together.
Essentially, this is your typical paper-pieced hexi quilt-- I basted all of the fabric scraps to 2" hexi templates (I just used normal paper), and started hand sewing them all together... and hand sewing... and hand sewing... :) The middle is a random assortment but the outer layers have a bit more direction as I started working out, with blues and greens at her head/feet and reds and oranges as the focus on the sides. In order to have it feel like the centre panel is floating and there were no hexis cut off abruptly, I did a final row of brown hexis around the whole quilt, before sewing panels of the brown to these hexis and trimming them accordingly. The border is a soft grey flannel with pieced panels from the cool and warm palates of the outer layers of the hexi panel, and the back is a simple blue. The binding is a fun purple batik that I think pulls it all together well. I kept the quilting simple with lines criss-crossing the hexi panel, and simple, randomly spaced vertical lines for the borders. I was glad to give this to mom for Christmas, both so she could enjoy it, and because I couldn't stop looking at it and petting this quilt. I love it SO MUCH, and cannot imagine making something so labour intensive for any one else but my long-suffering, sewing mother. Hope you enjoy it for many years to come, momma! :) Tis the season for high school graduations! While I am WELL out of the high school scene, a dear friend's son is graduating from high school and moving on to greener pastures at Concordia University. I remember receiving a blanket when I graduated, and still have it with me almost 25 years later. I am not sure what kids want nowadays, but thought I would take a chance and hope that Francisco S. would appreciate a little non-digital, low-fi, homemade coziness as he prepares to hunker down into his university career.
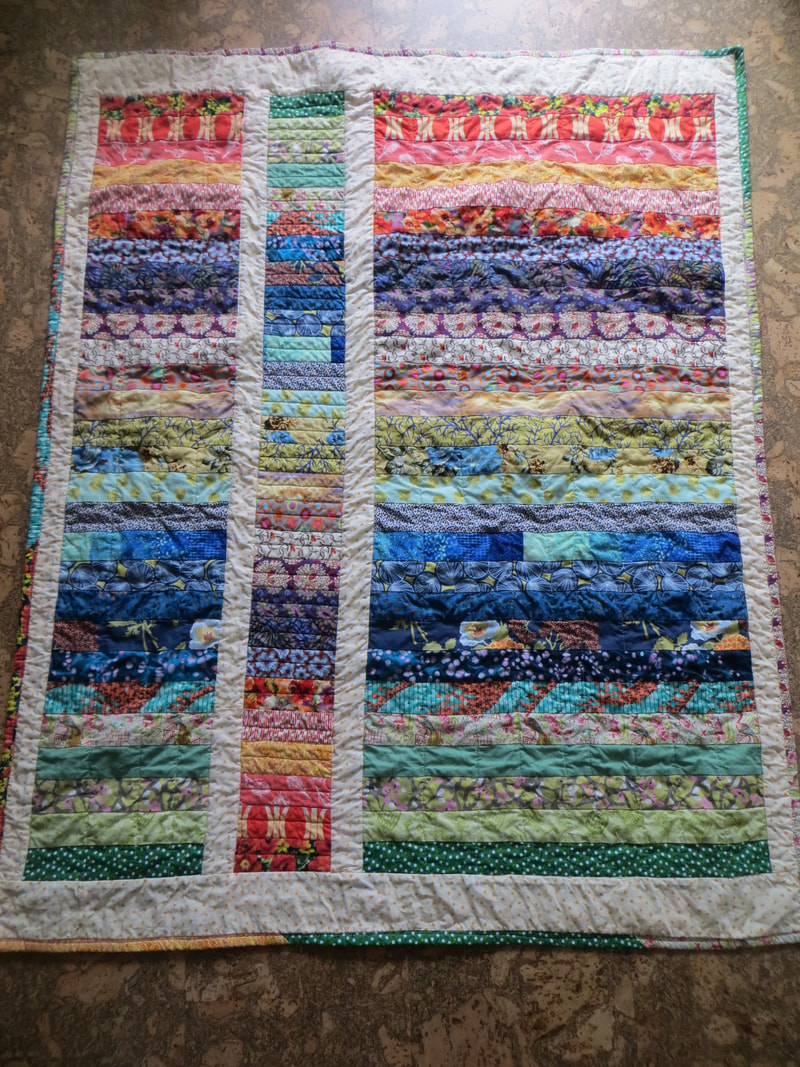
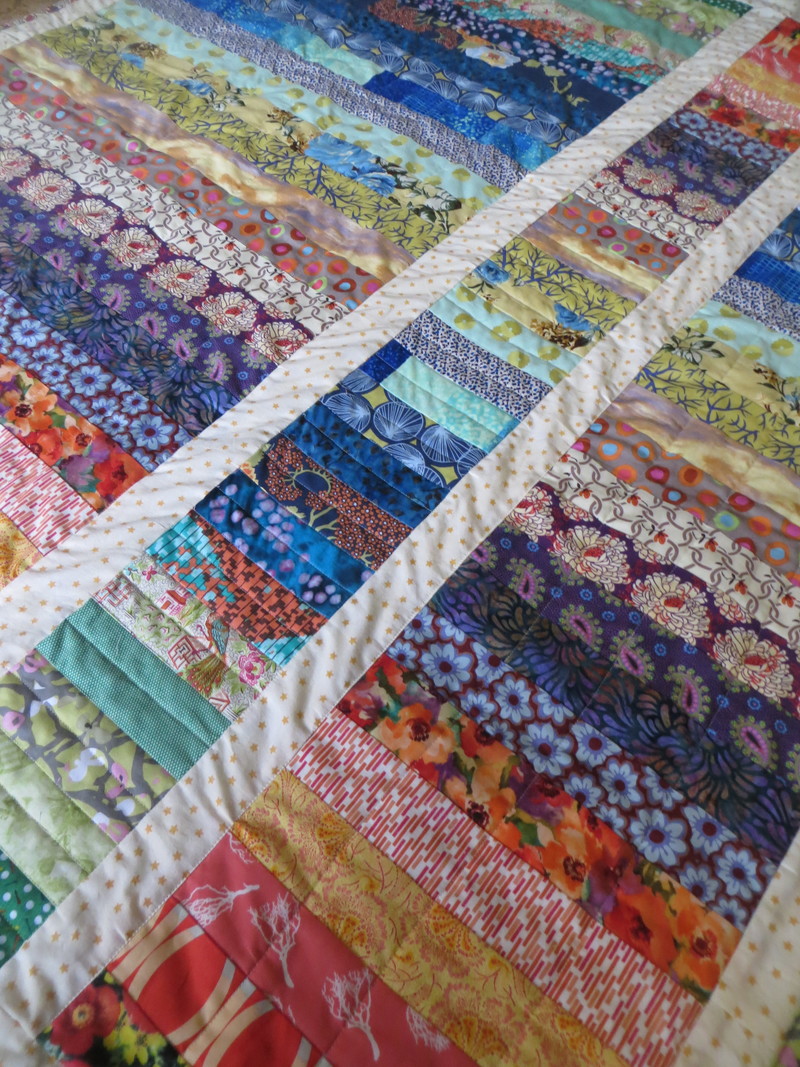
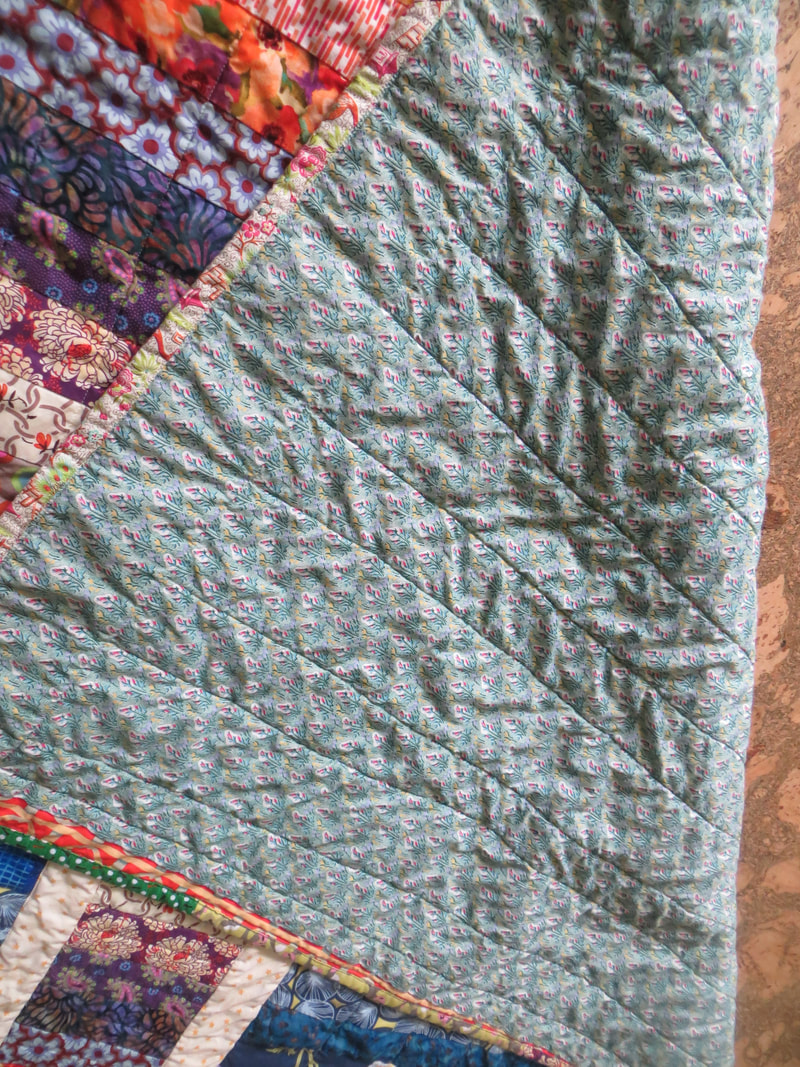
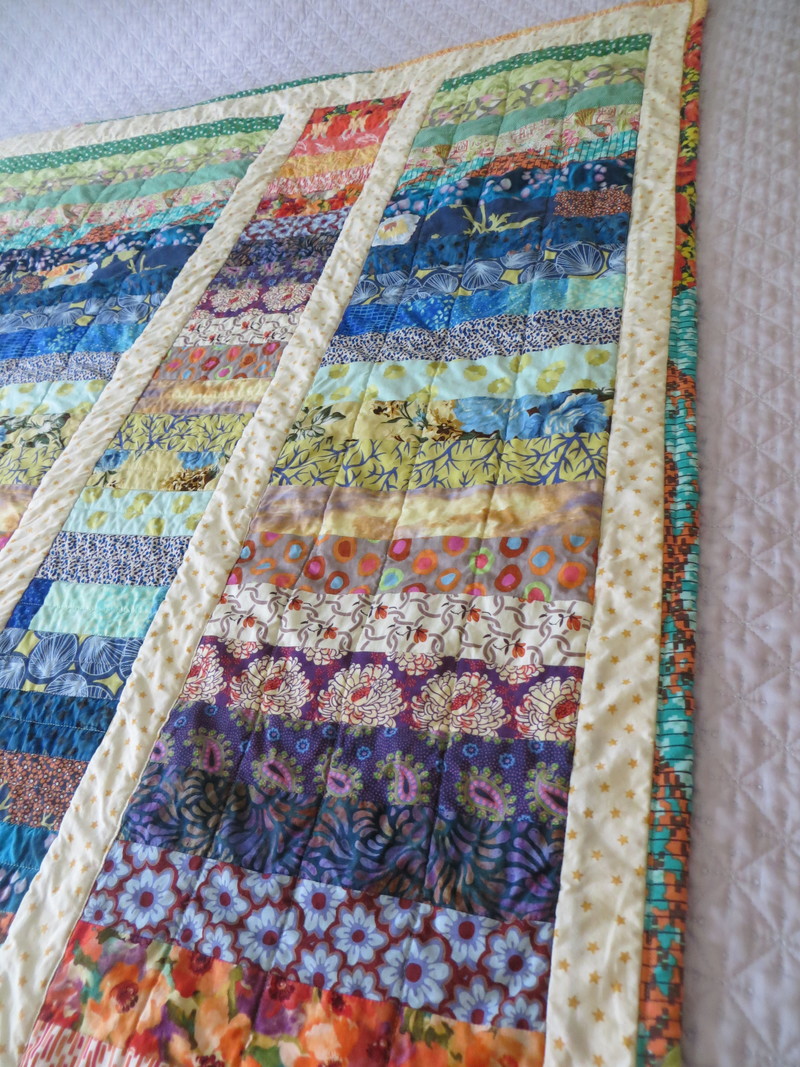
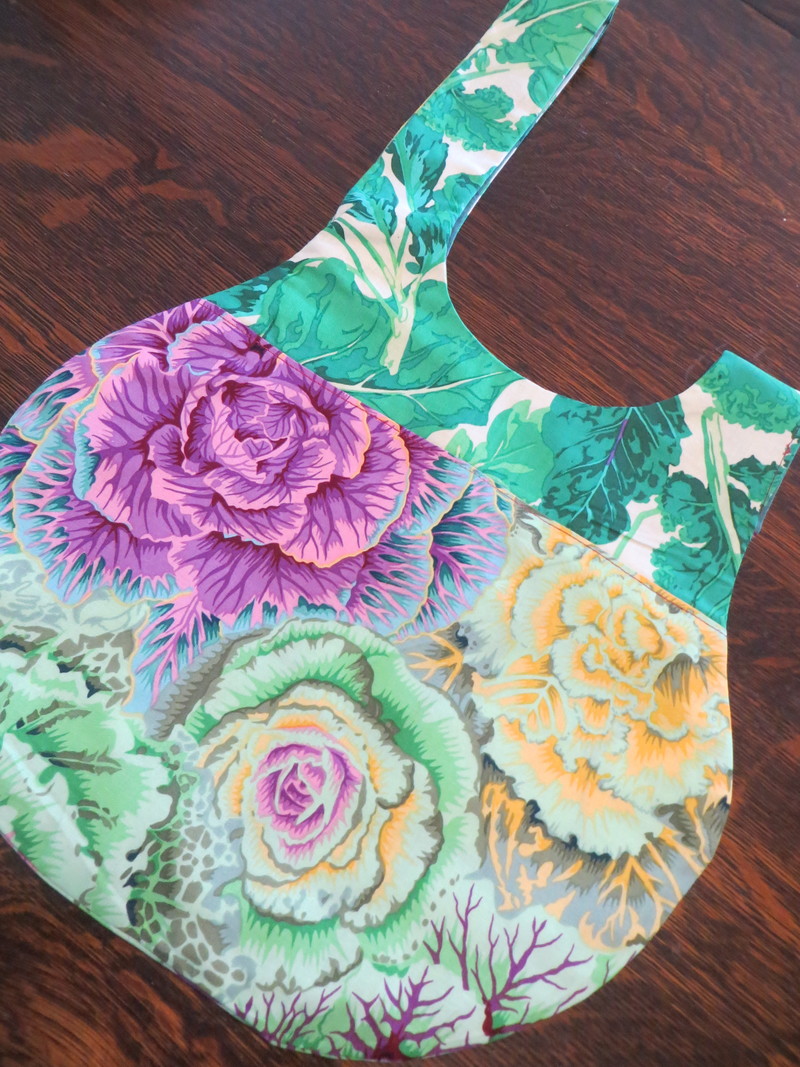
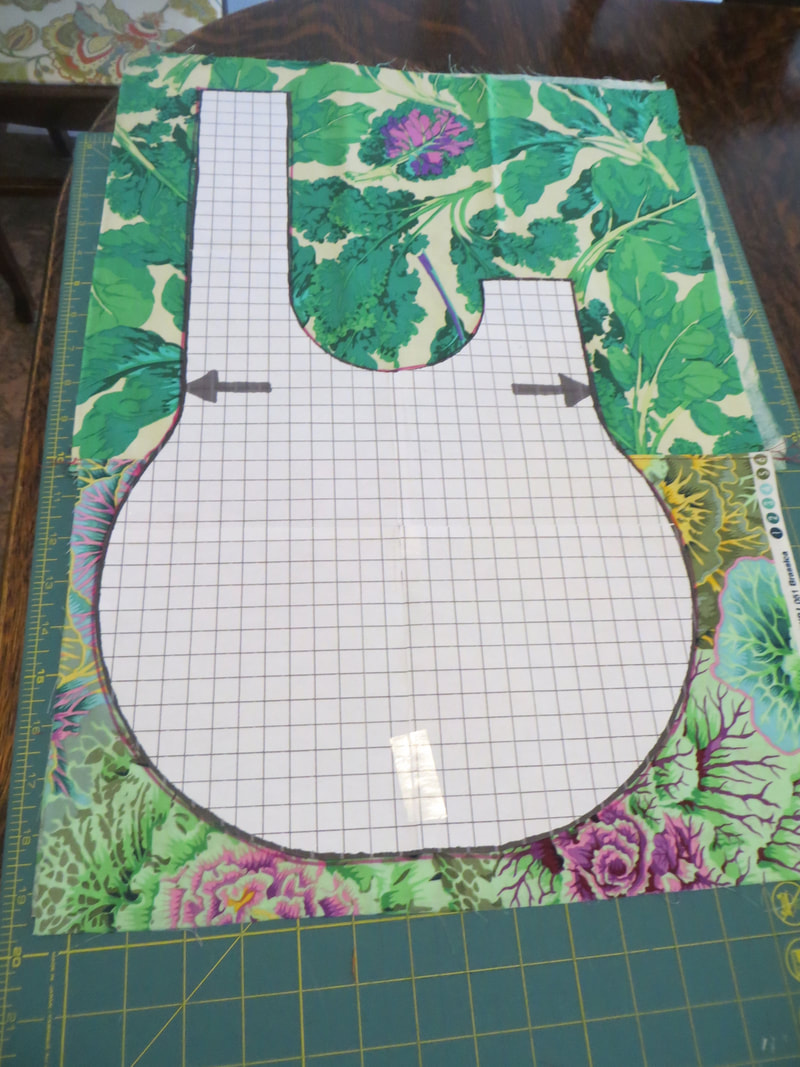
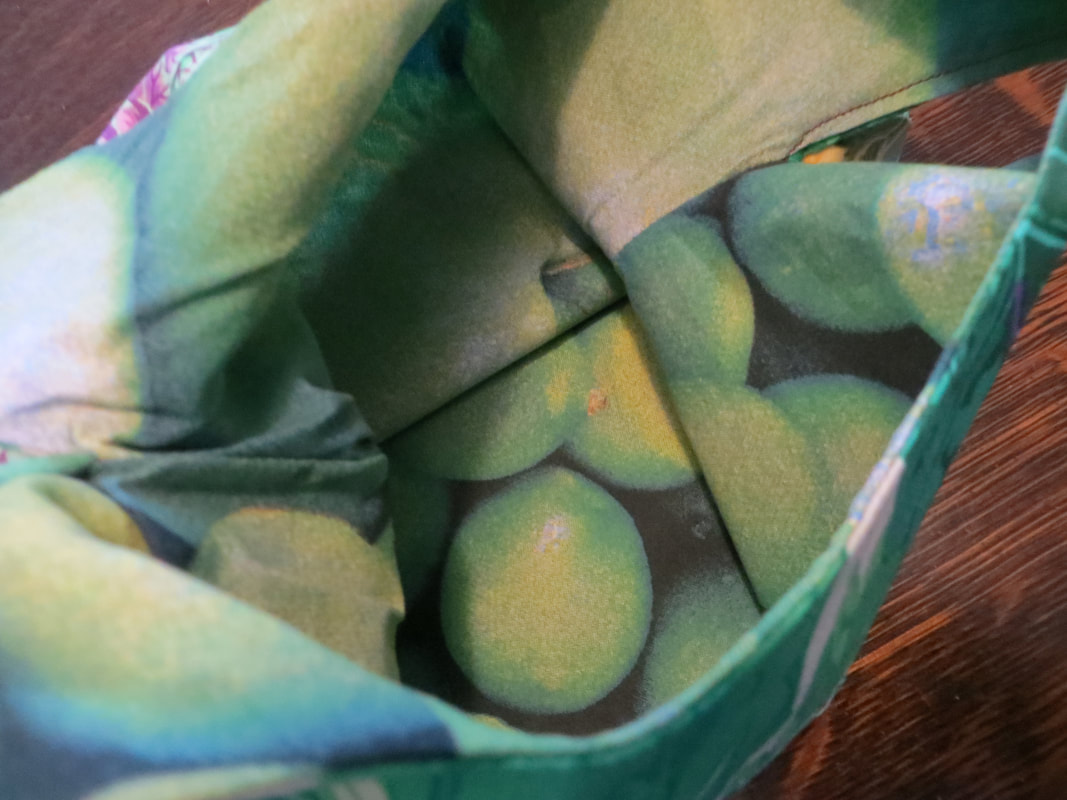
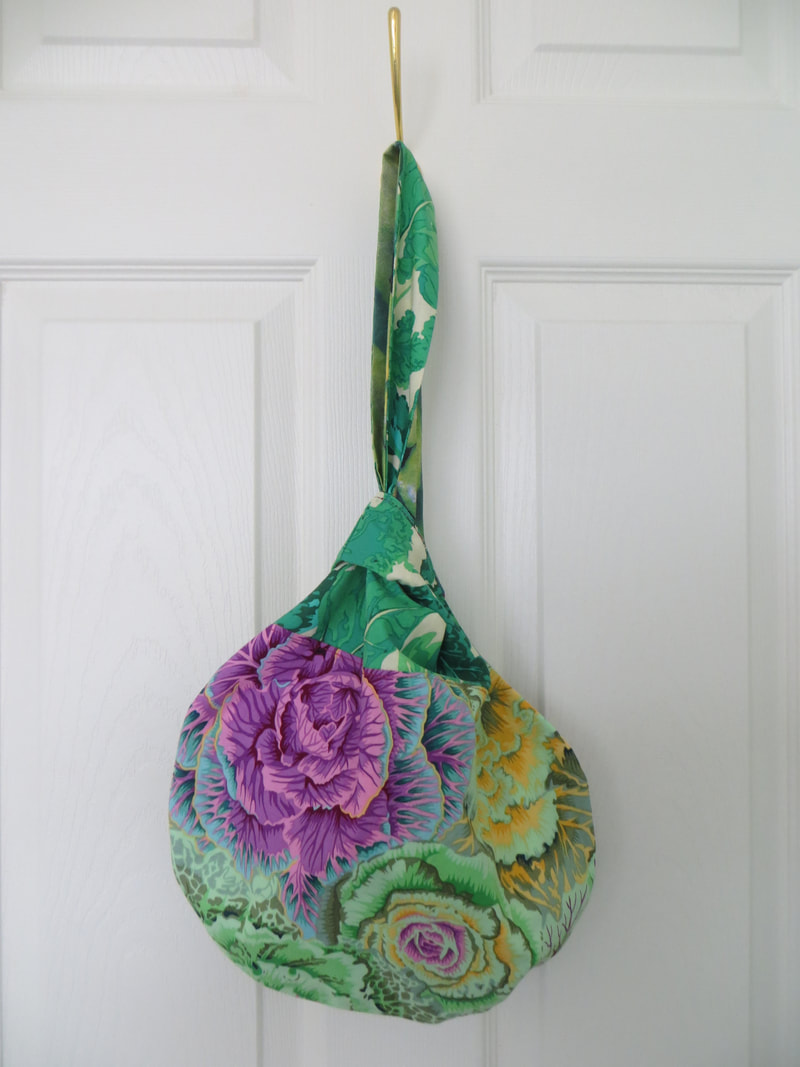
As with pretty much every project I start, I have ambitions of changing it up and starting with a tight, modern, hip design. But then I dive into the depths of my fabric stash and I get swept up in the rainbow chaos of all the eye candy... and I make a rainbow-inspired quilt... again. At least I am consistent in my weakness... After succumbing to the siren call of the unicorn, I laid out 2.5 inch strips of some of my faves into color families and started sewing them all together (alternating directions to avoid slippage in the rows). After the main panel was done, I sliced out an off-centre column and reversed its direction, putting it all back together and framing all three panels in a neutral star fabric (because #unicorn) and backing it all with a soft bright teal and pink retro-patterned cotton remnant. For quilting, as usual I kept it simple, quilting the larger panels in vertical lines and the reversed column in tight horizontal lines. Nothing revolutionary but I like it. Made a scrappy batch of binding with some of the leftovers, gave it a good wash and bob's your uncle! Even though it is not very out-of-the-box for me, I still love this quilt. It came together relatively quickly but delivers some big eye candy color payoff. I hope that Francisco enjoys many years of study snuggles in this quilt! I was casting around for a new easy-sew lunch bag, and happened upon The Chilly Dog's pattern for a Japanese Knot Bag. I had not encountered this design before (it seems I am very late to the game), but was thrilled at how quickly this charming bag came together. There is a little bit of fussing to get a few of the elements to come together (particularly at the end with the short loop and closing everything up), but the guidance provided in the blog post was really helpful, and I was very happy with the result.
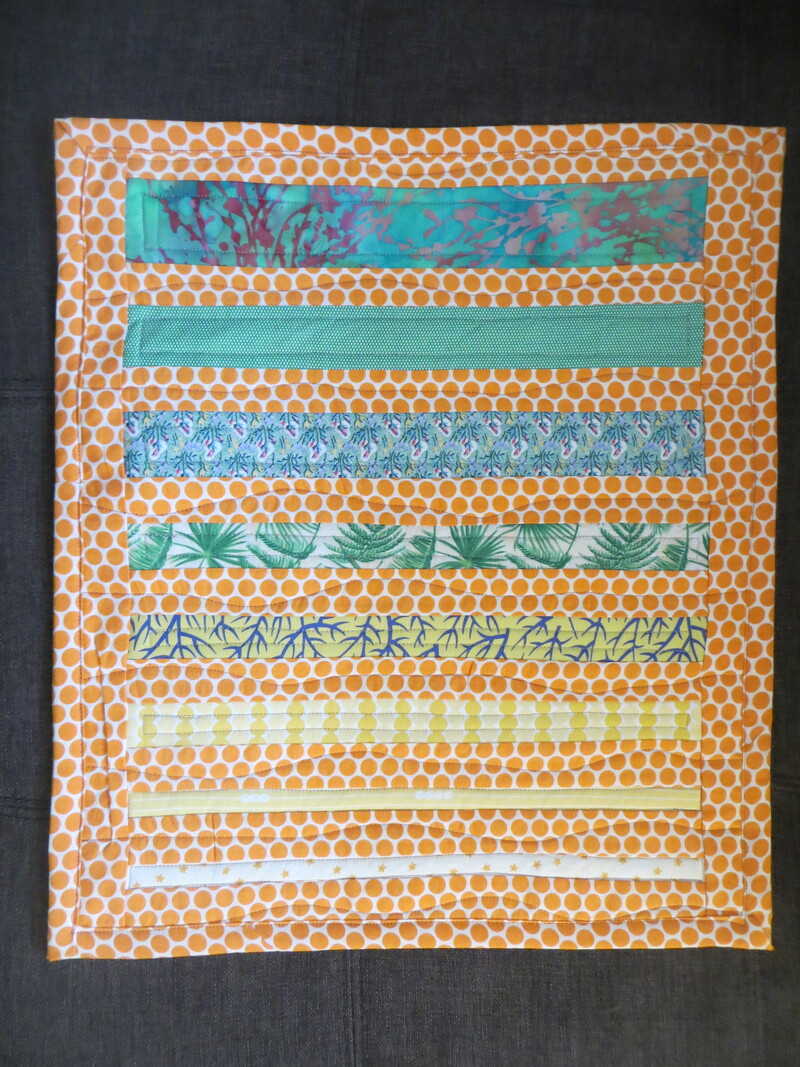
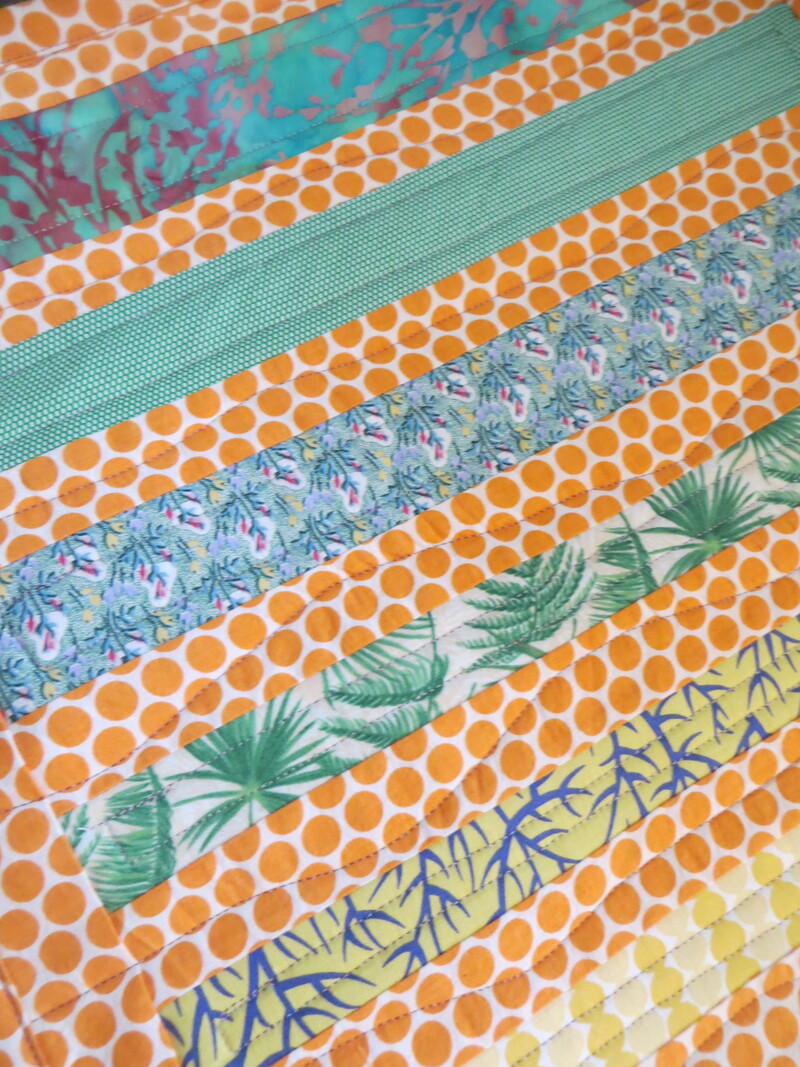
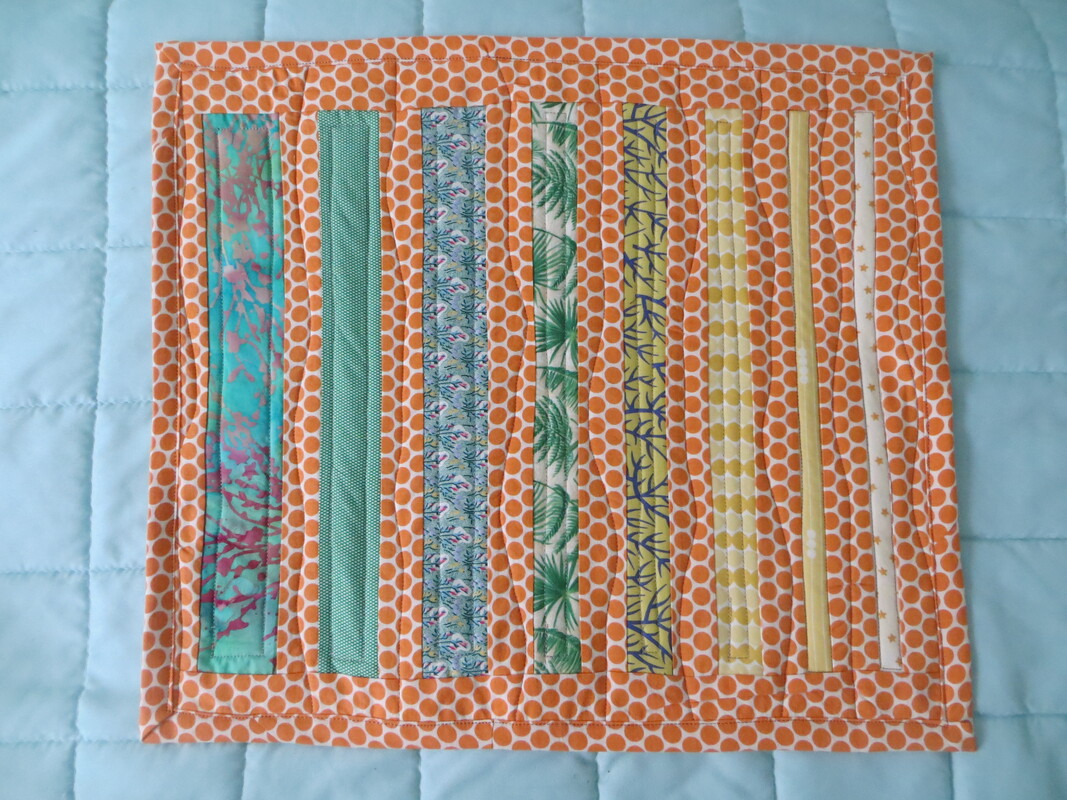
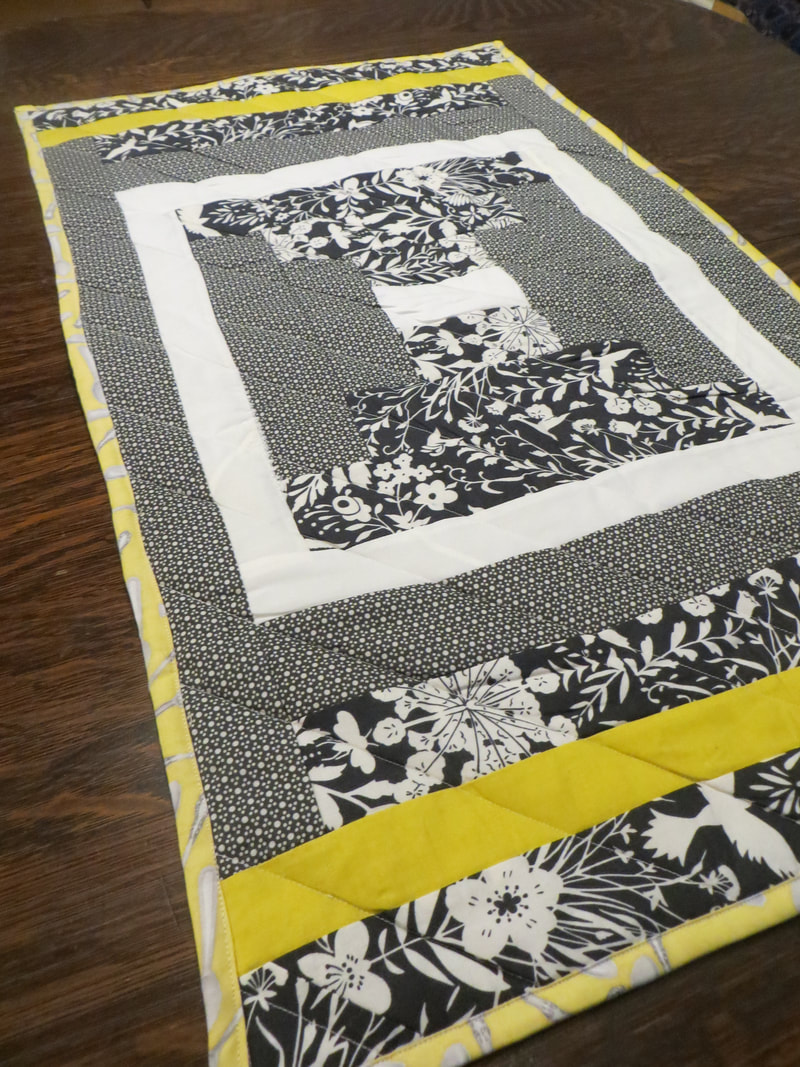
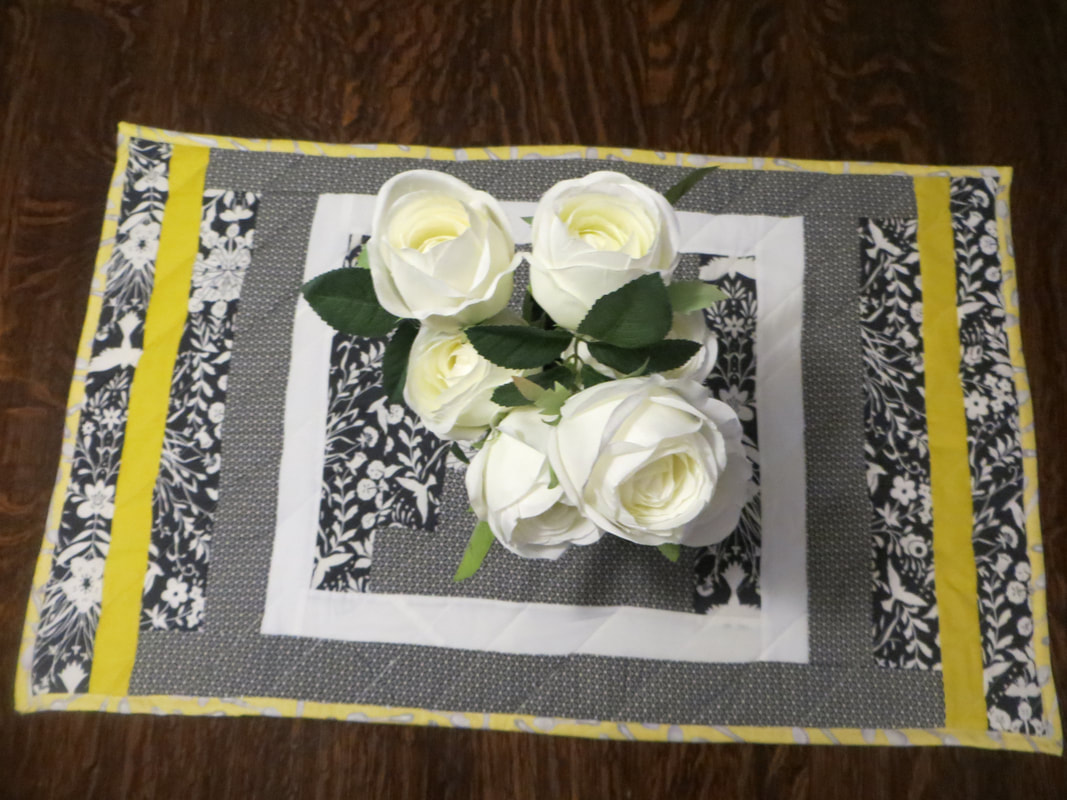
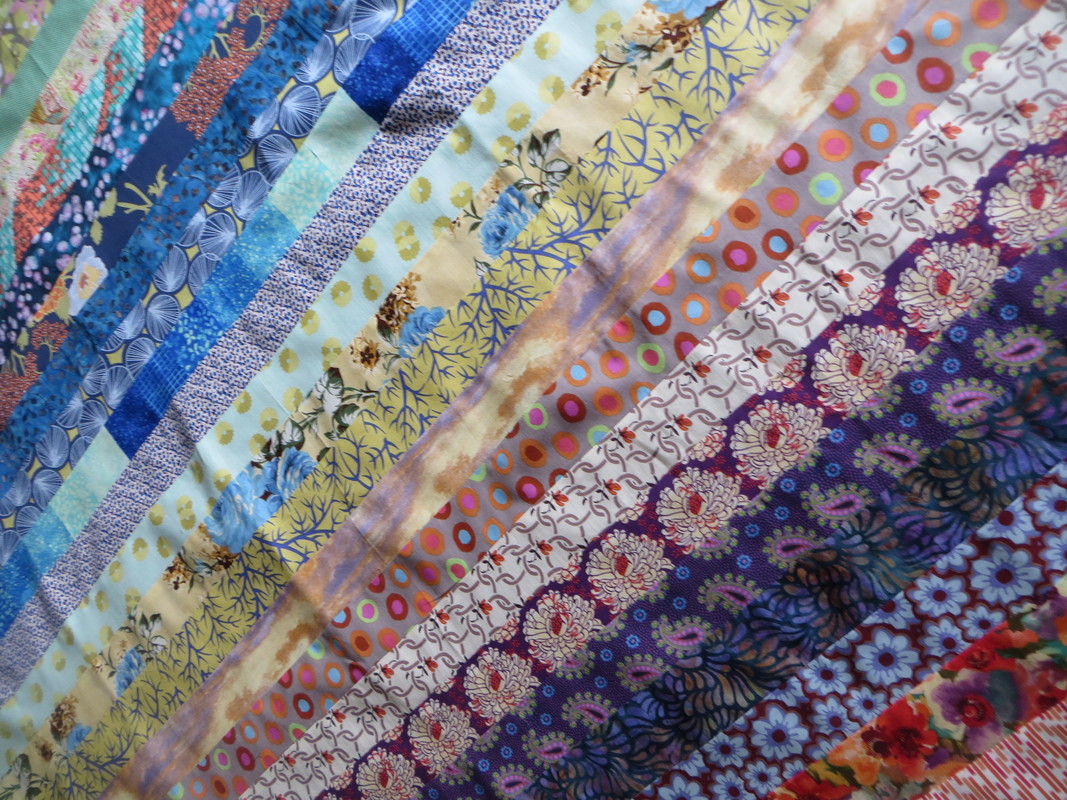
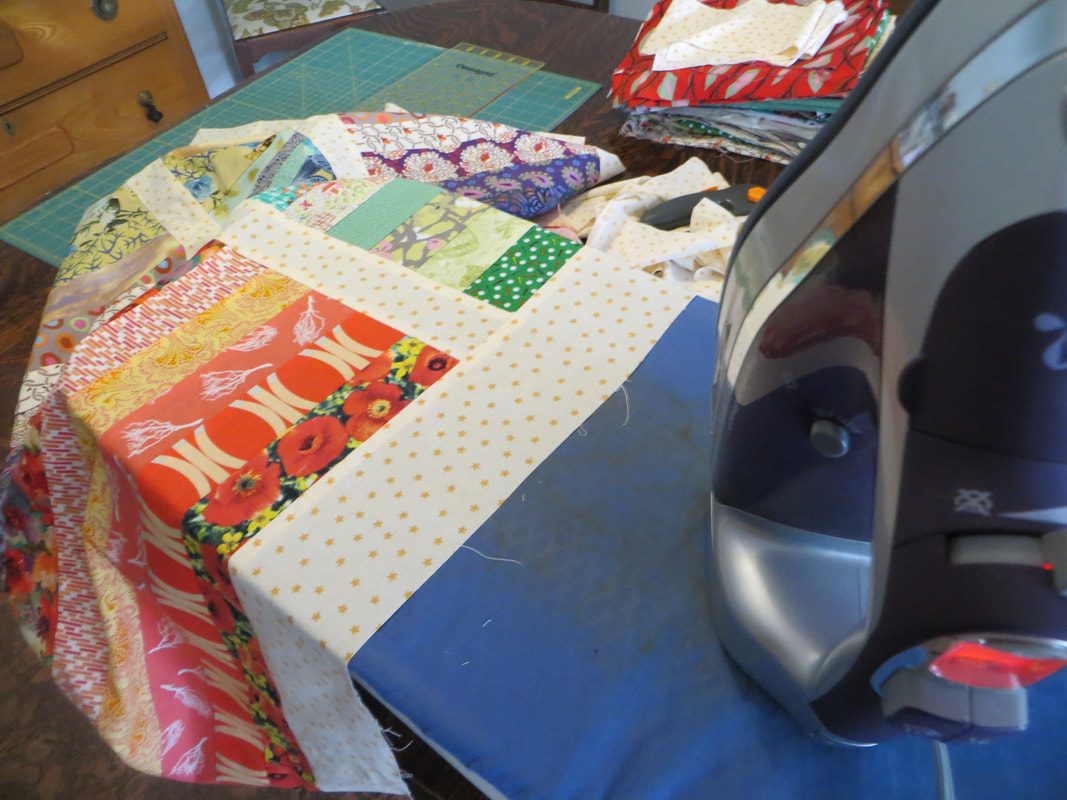
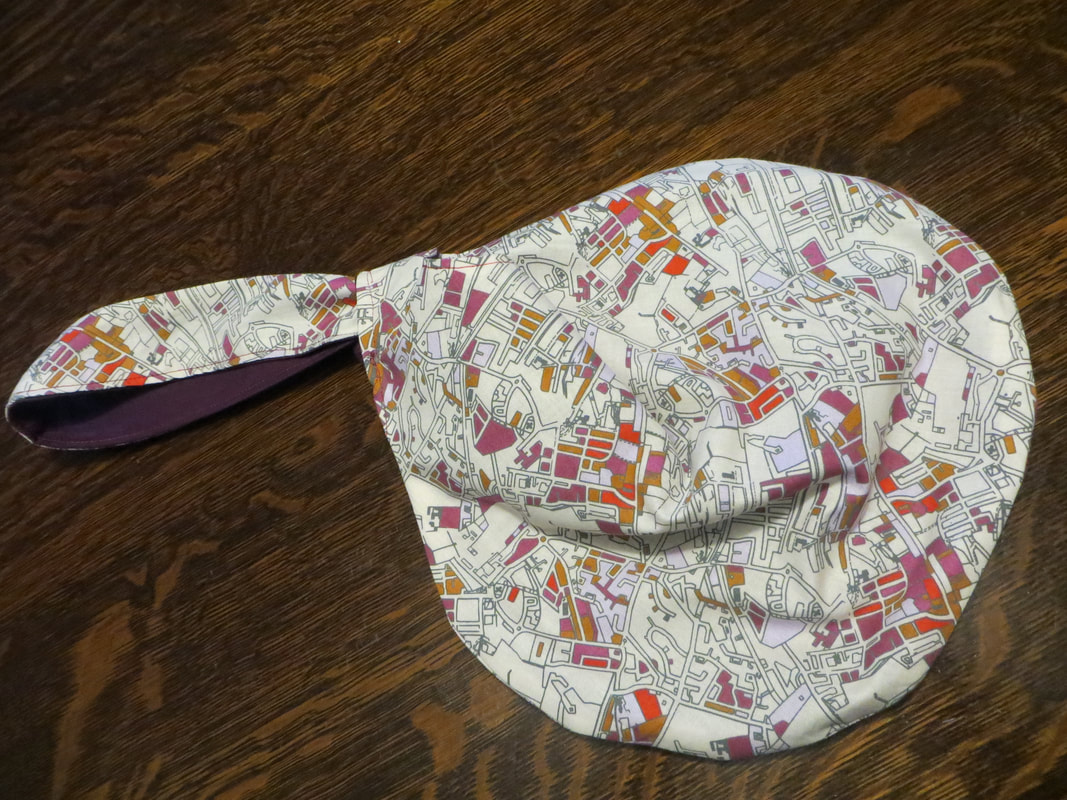
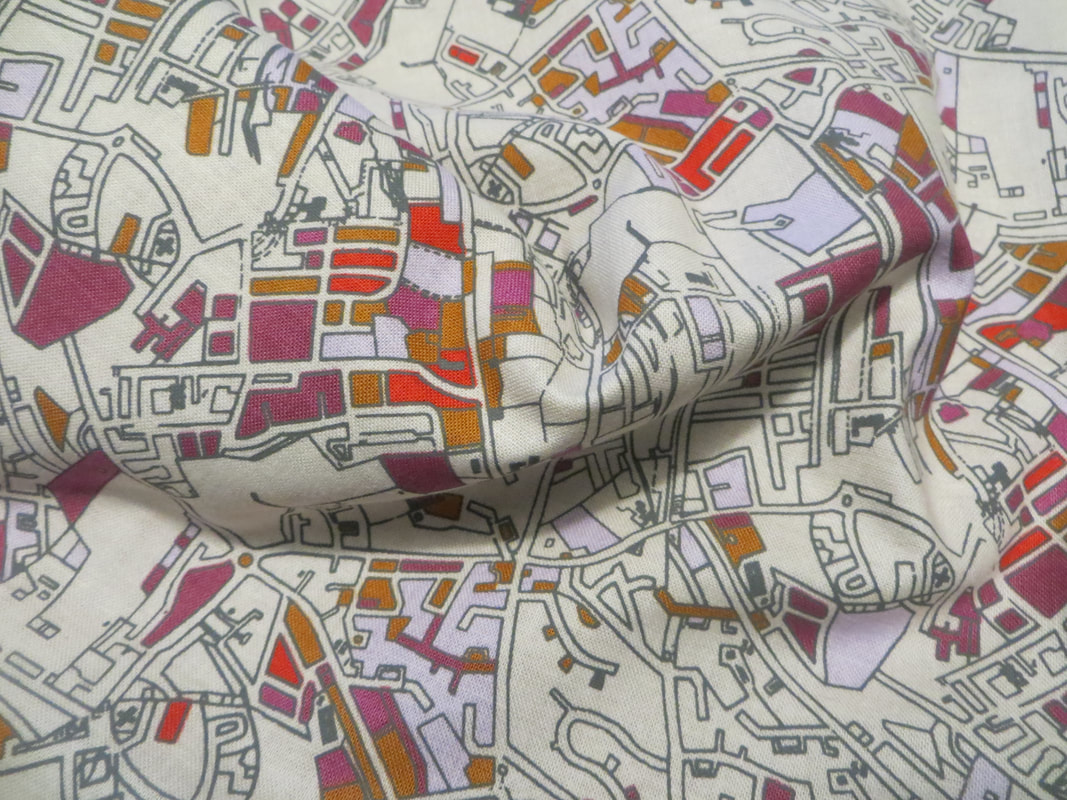
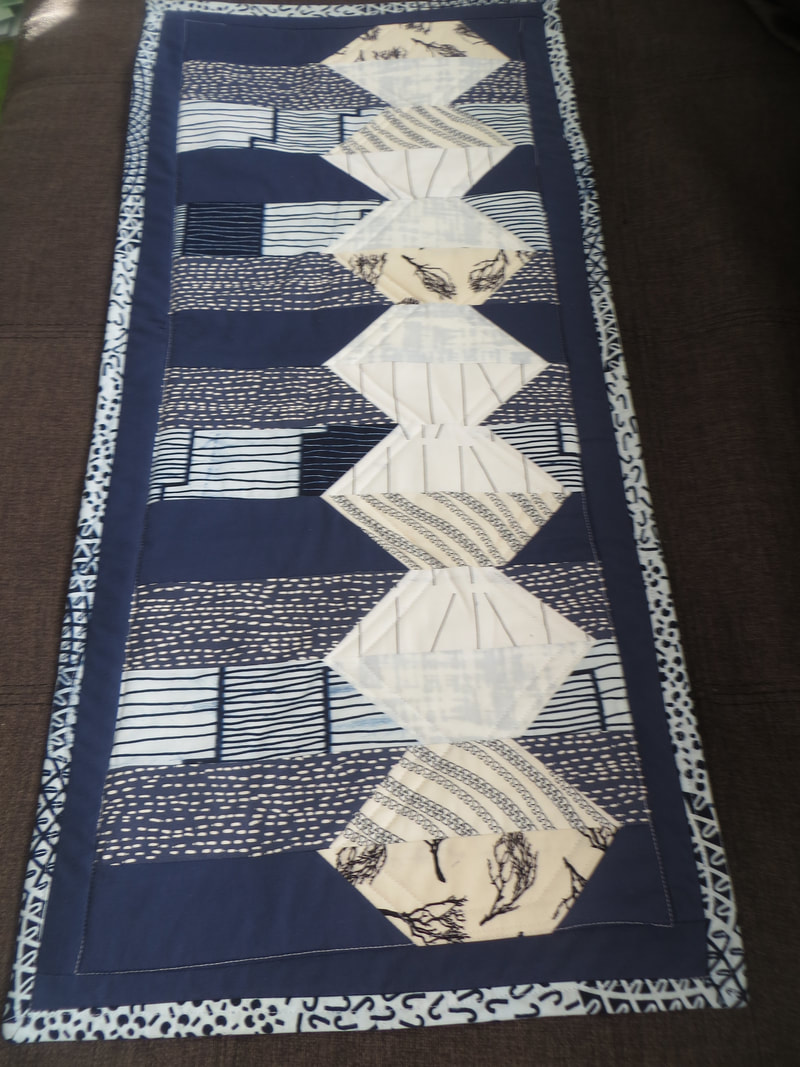
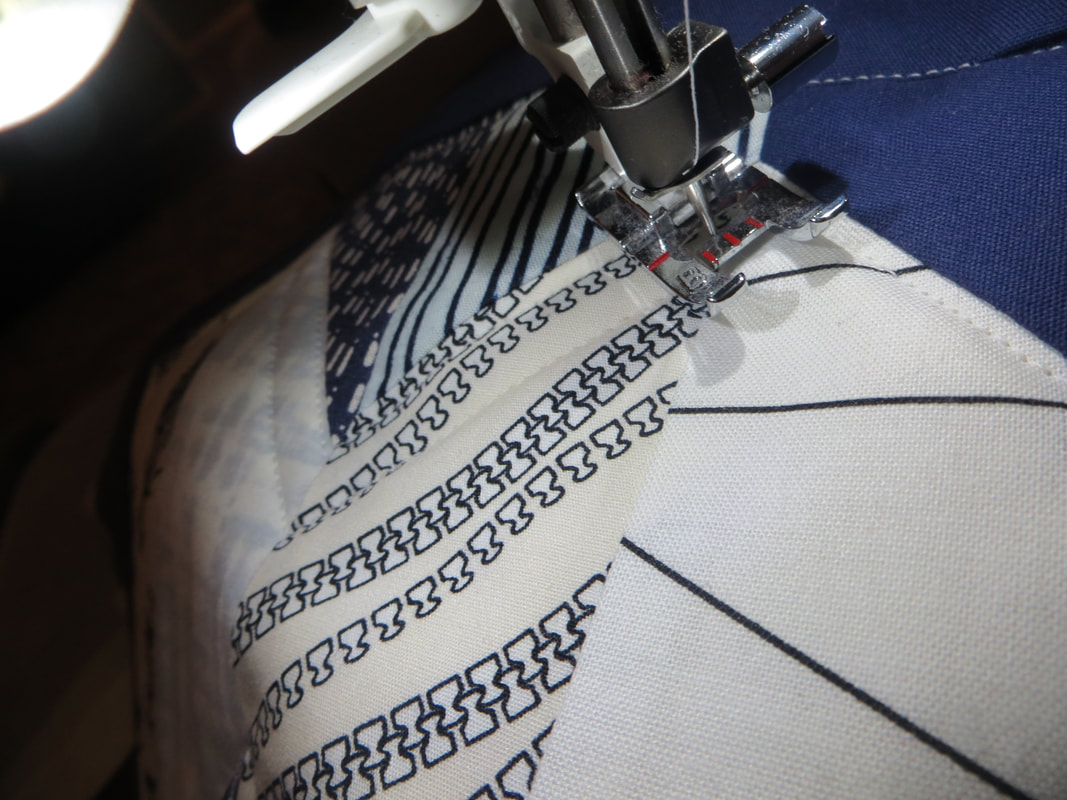
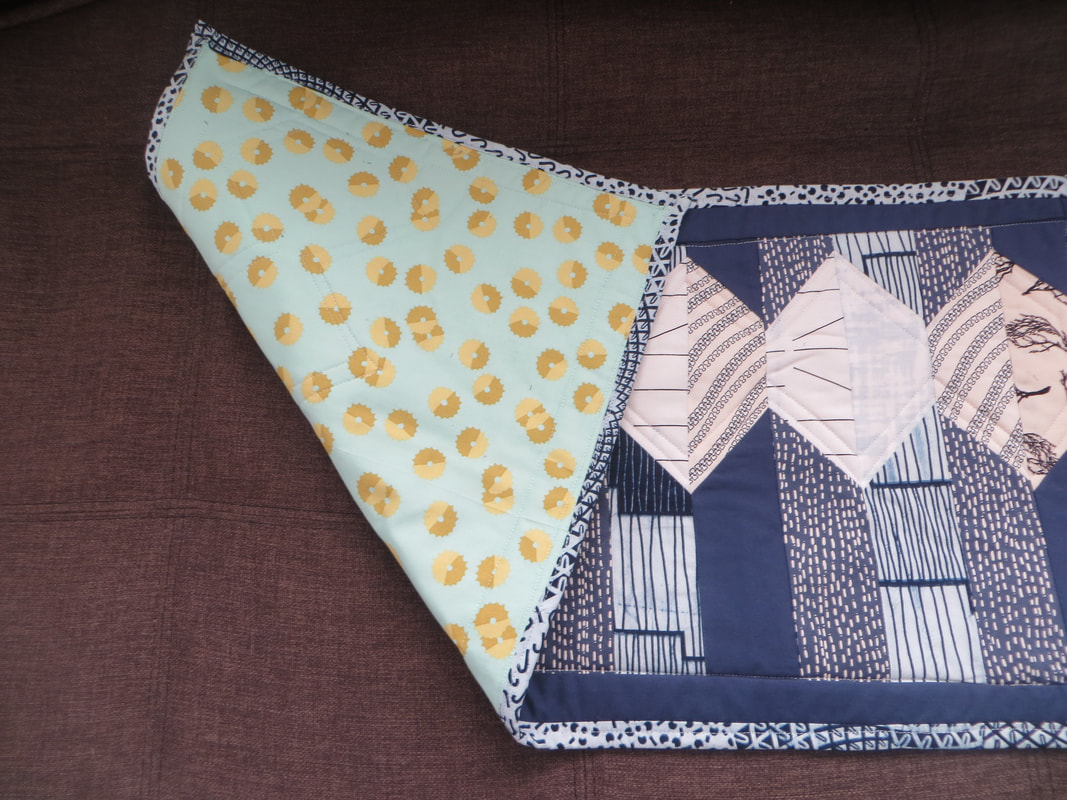
BONUS#1: I finally got to use the charming cabbage-themed fat quarter I had picked up many moons ago! BONUS #2: Enjoyed making and using it so much that I whipped up another one for Anne-Marie B. who was leaving the Refugee Hub to move to the federal government. Made her a lunch bag with an urban/bureaucracy vibe to it--- I hear it is used frequently, so am glad she is enjoying this little gem of a bag as much as I am. Will likely be making more of these in the future. Fun pattern to bump into-- thanks internet/ The Chilly Dog! Channeling my inner "Madmen" aesthetic and inspired broadly by Angela Water's placemat design from this video (but I made runners instead of placemats, and did not do quilt-as-you-go construction and instead sandwich method), I had a blast playing around with these runners, both in terms of quilting and color ways.
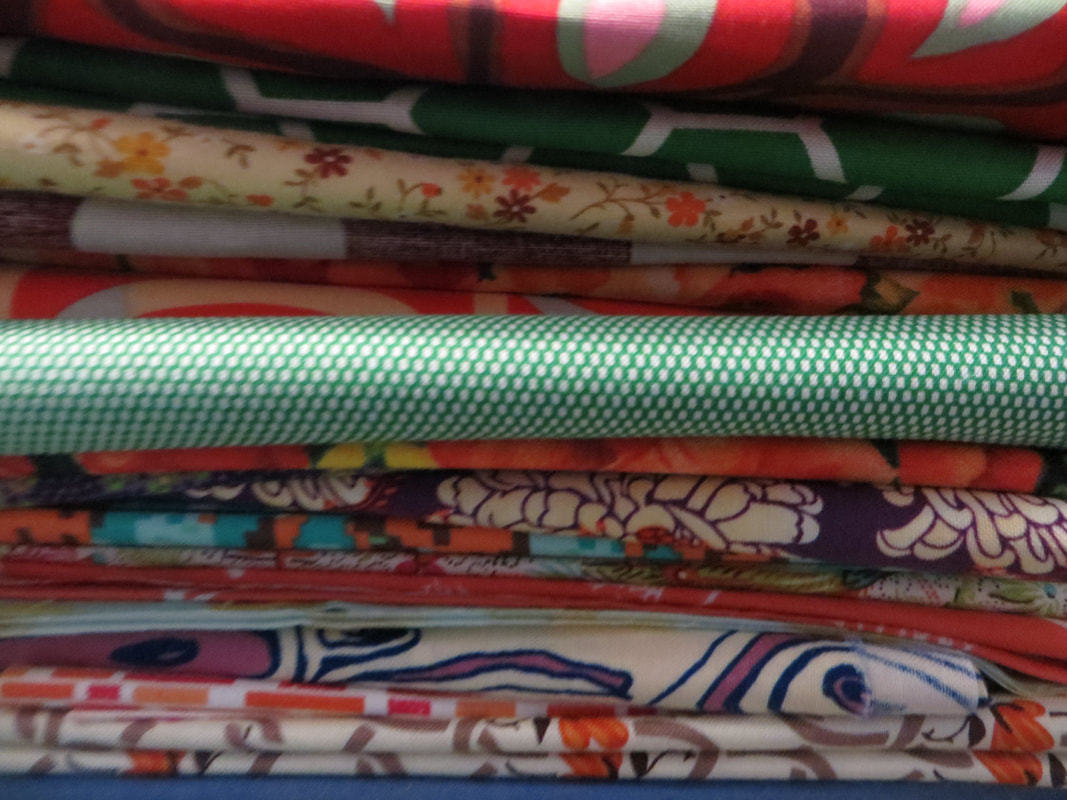
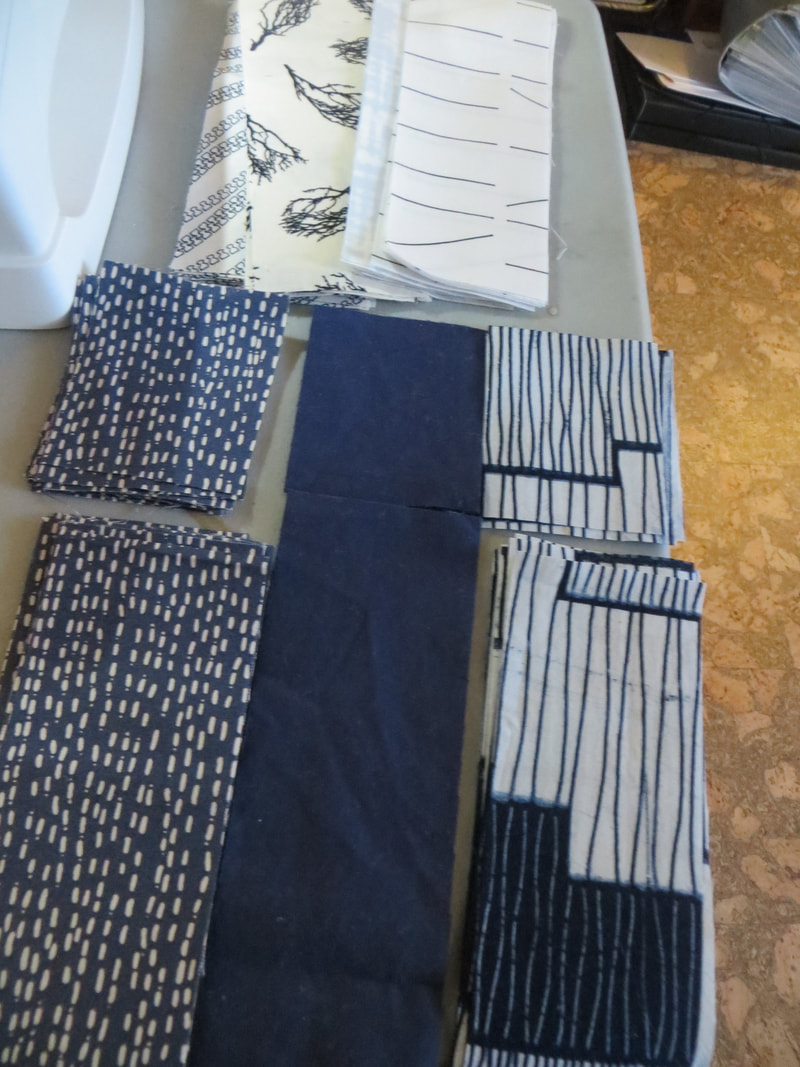
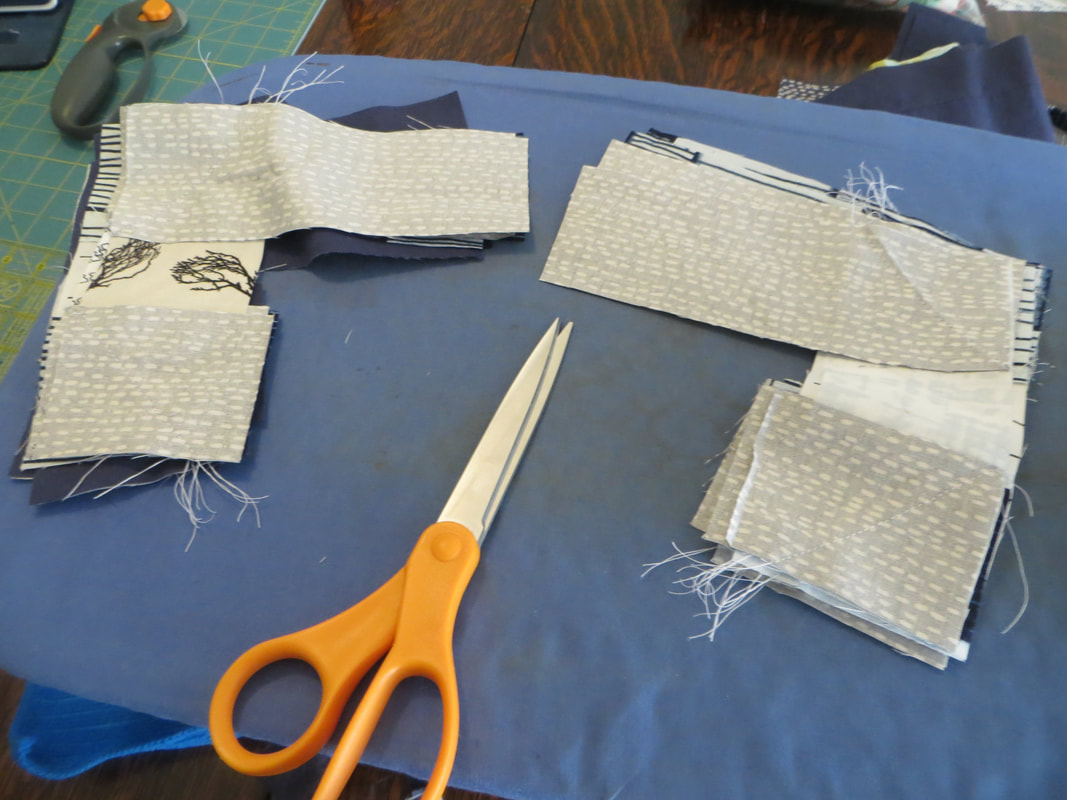
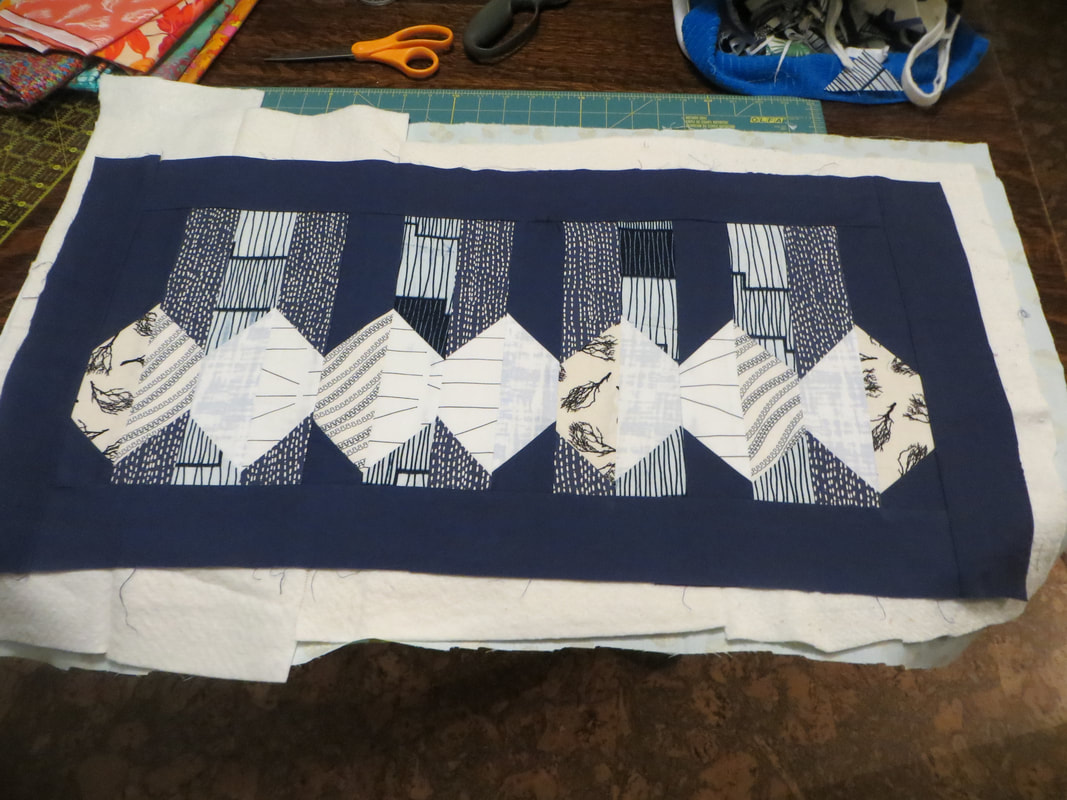
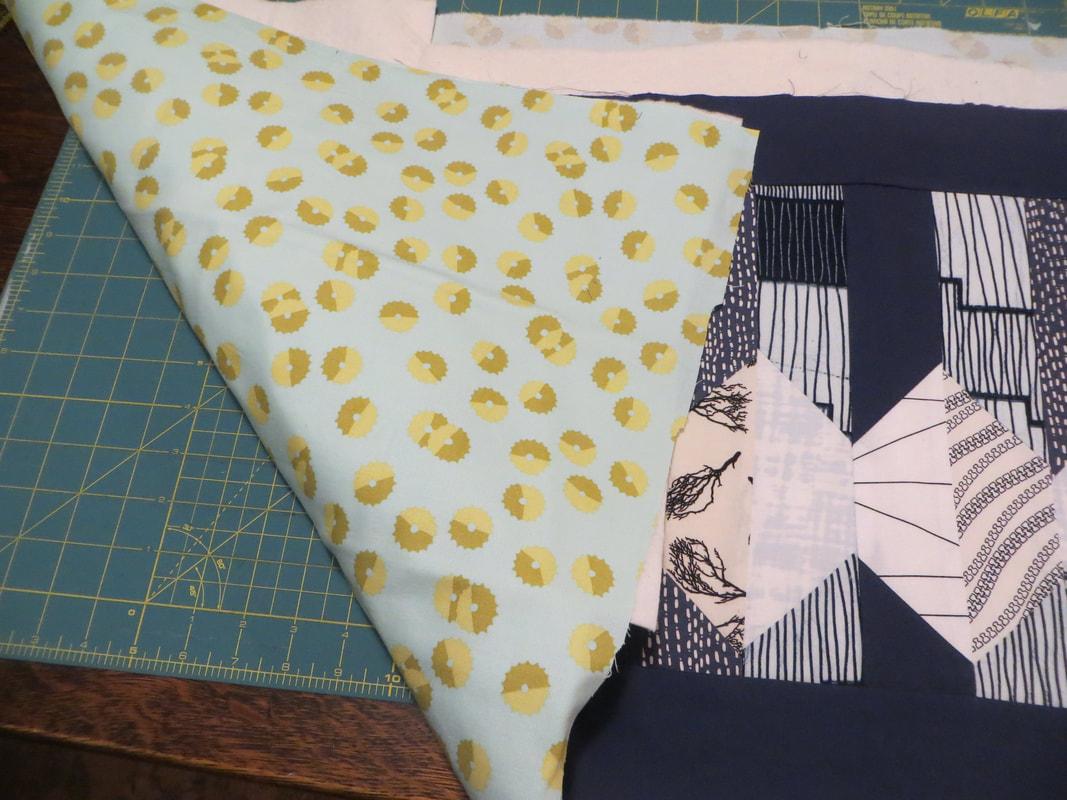
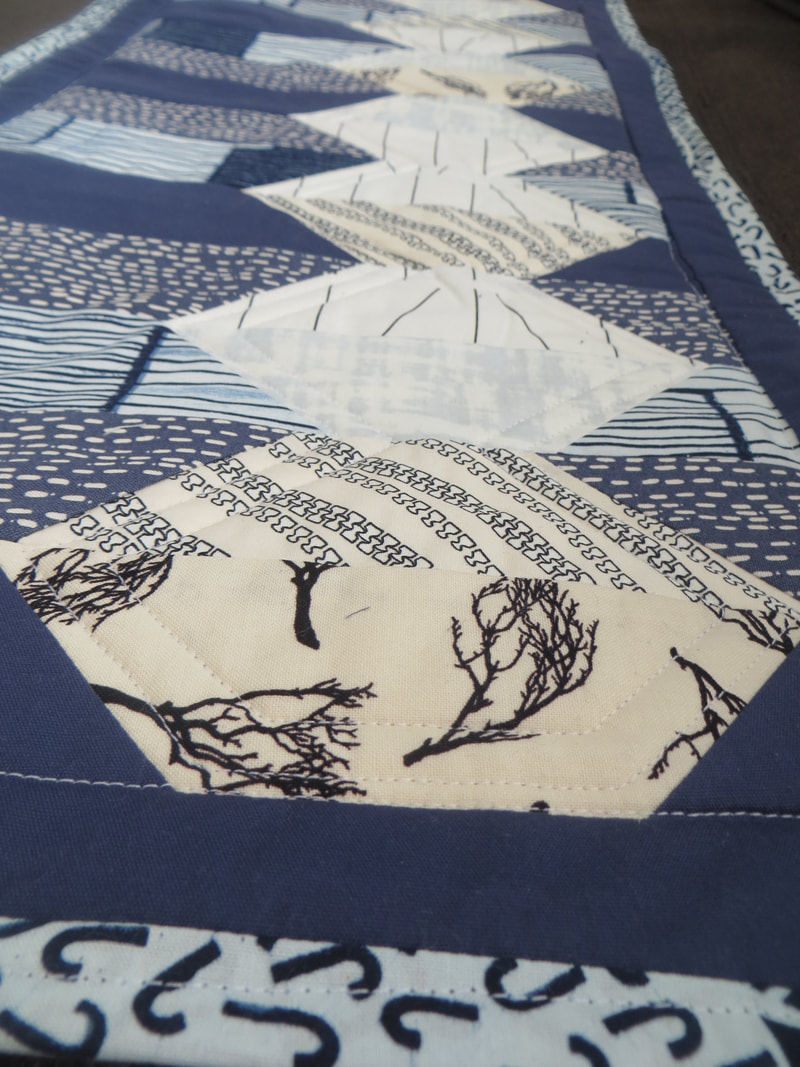
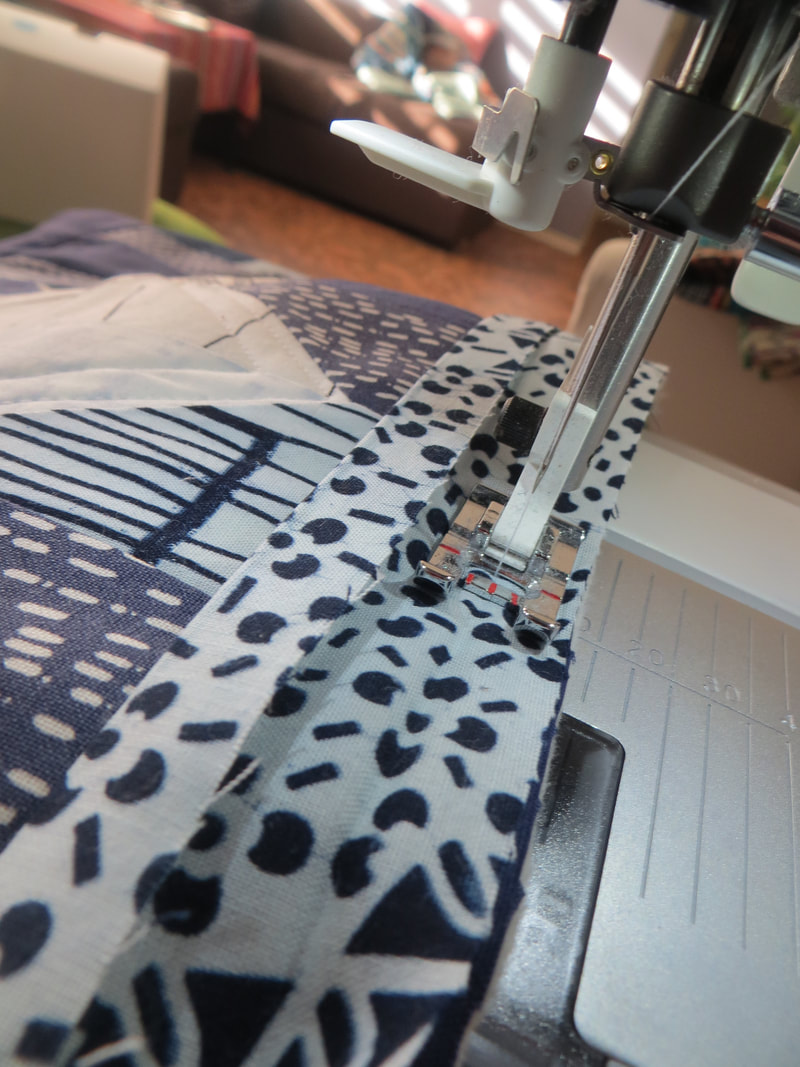
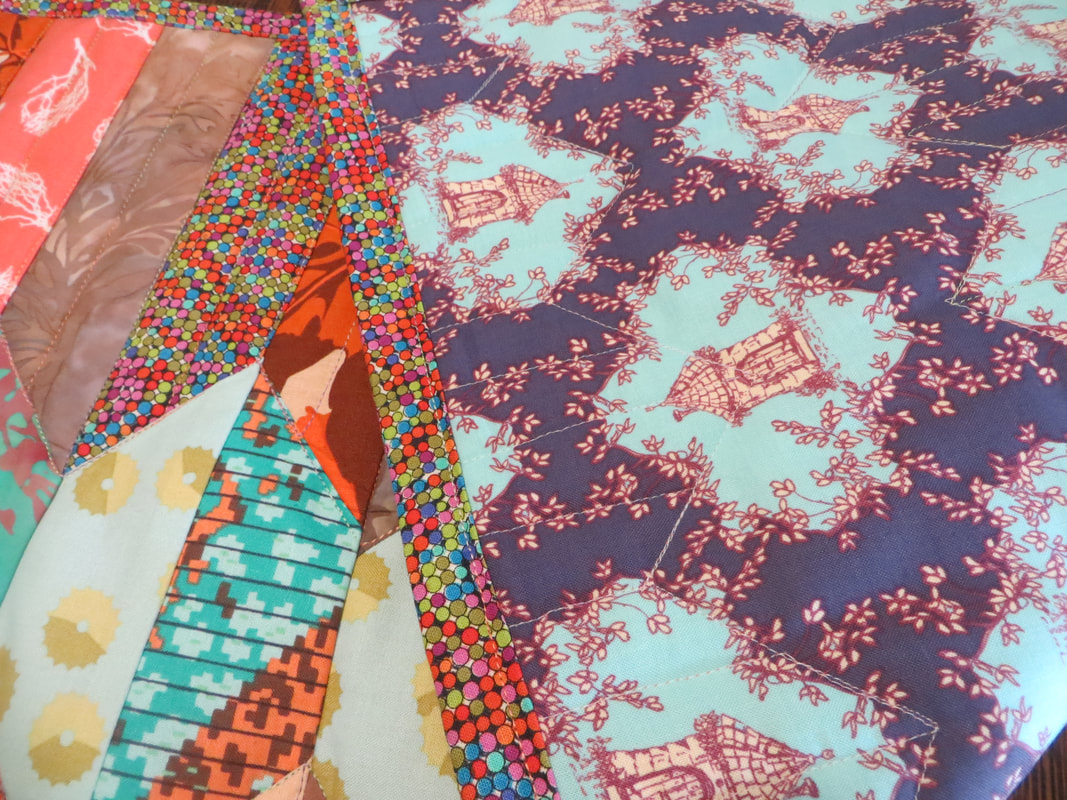
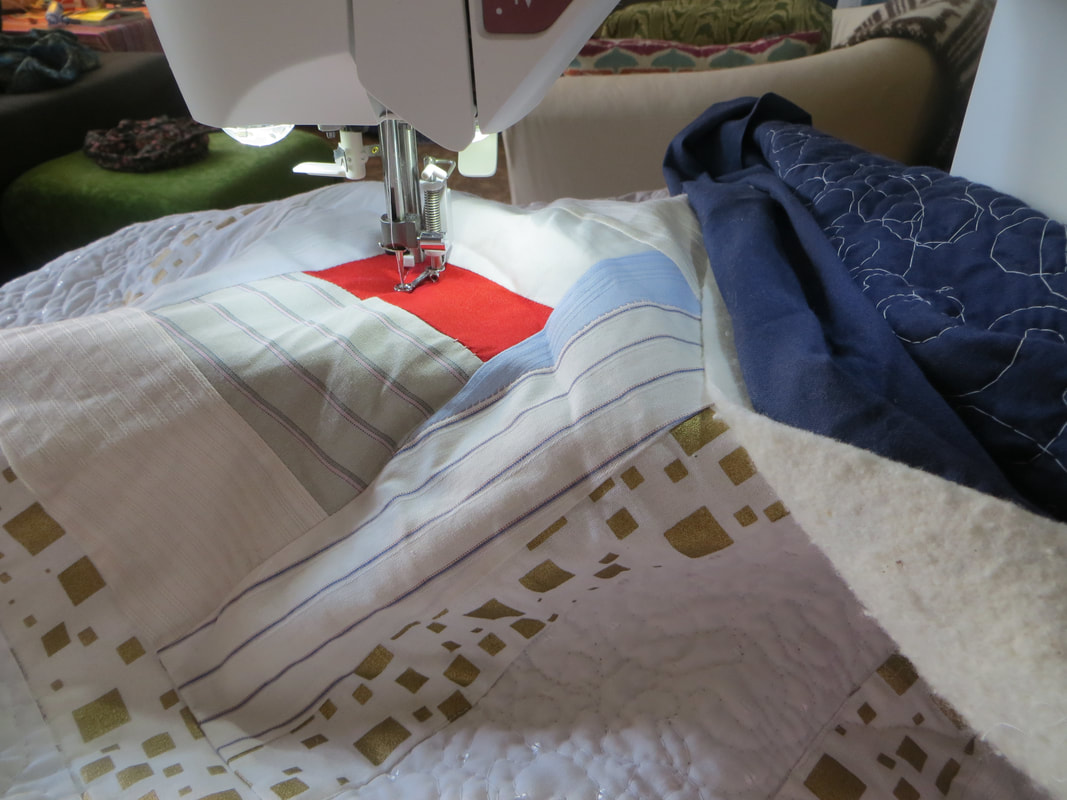
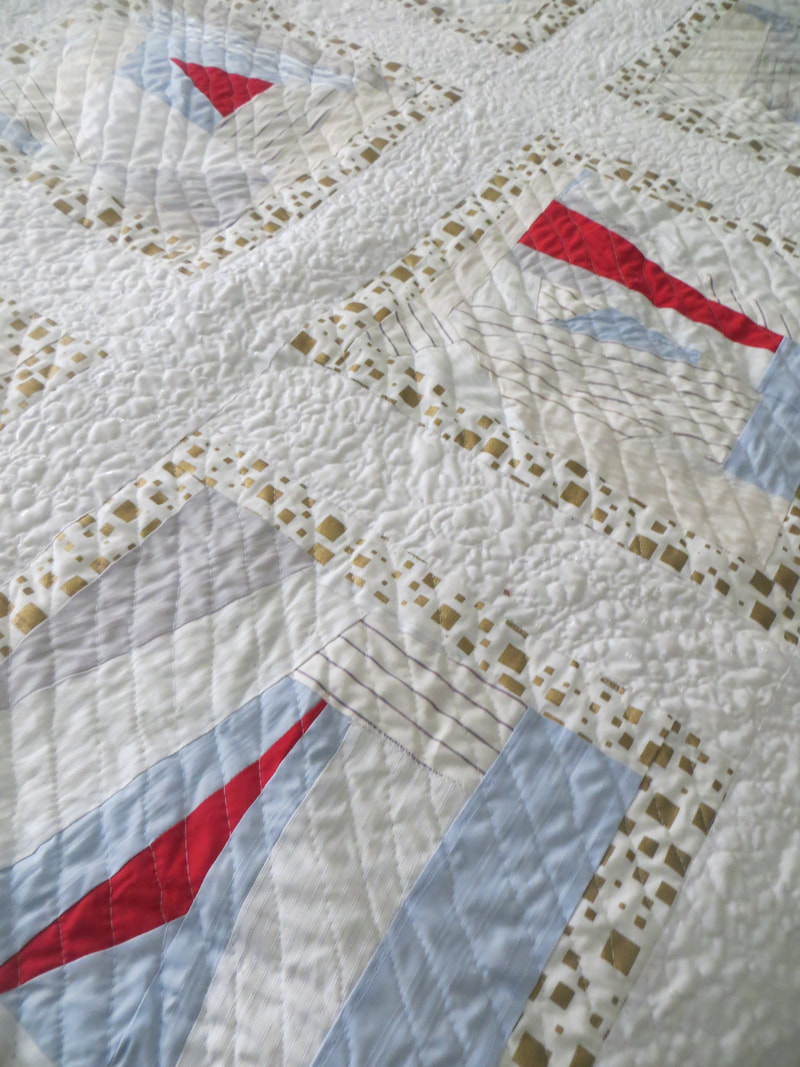
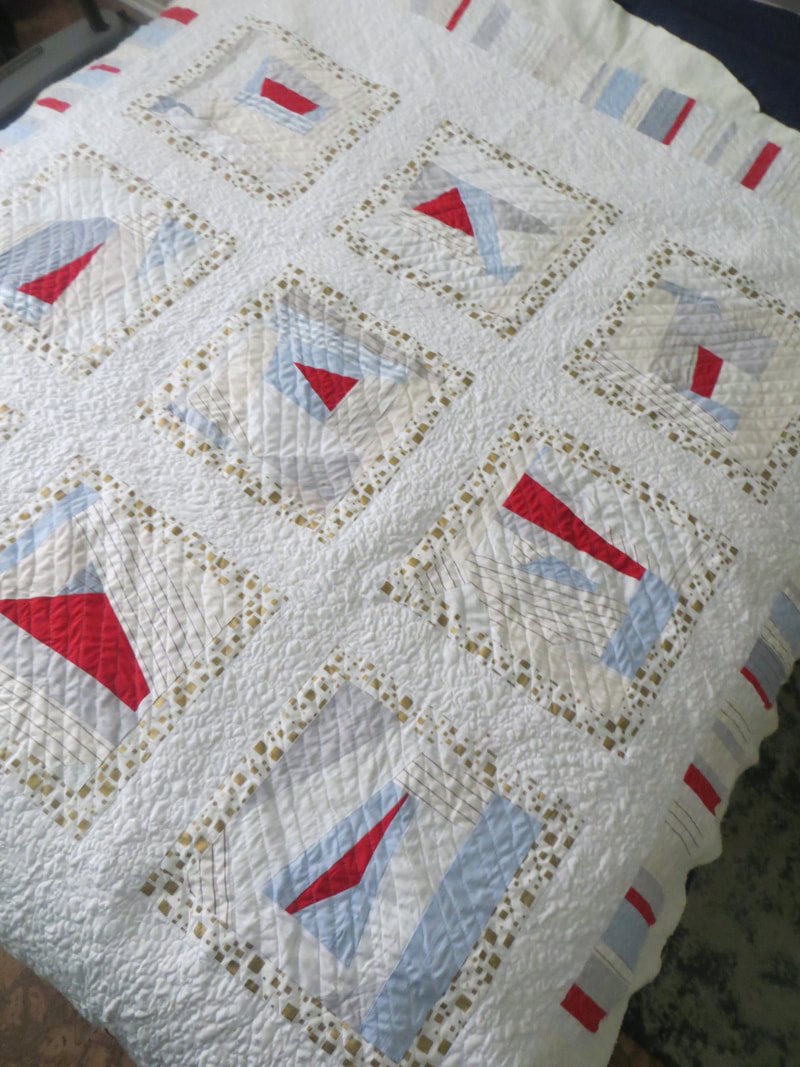
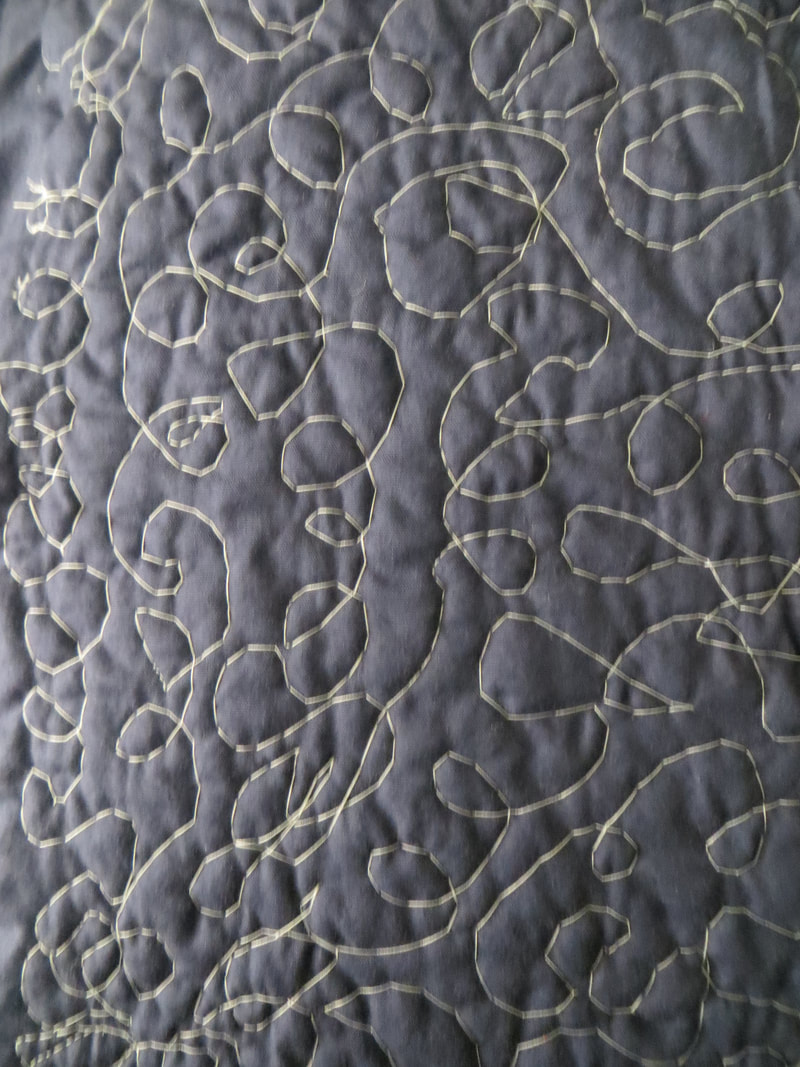
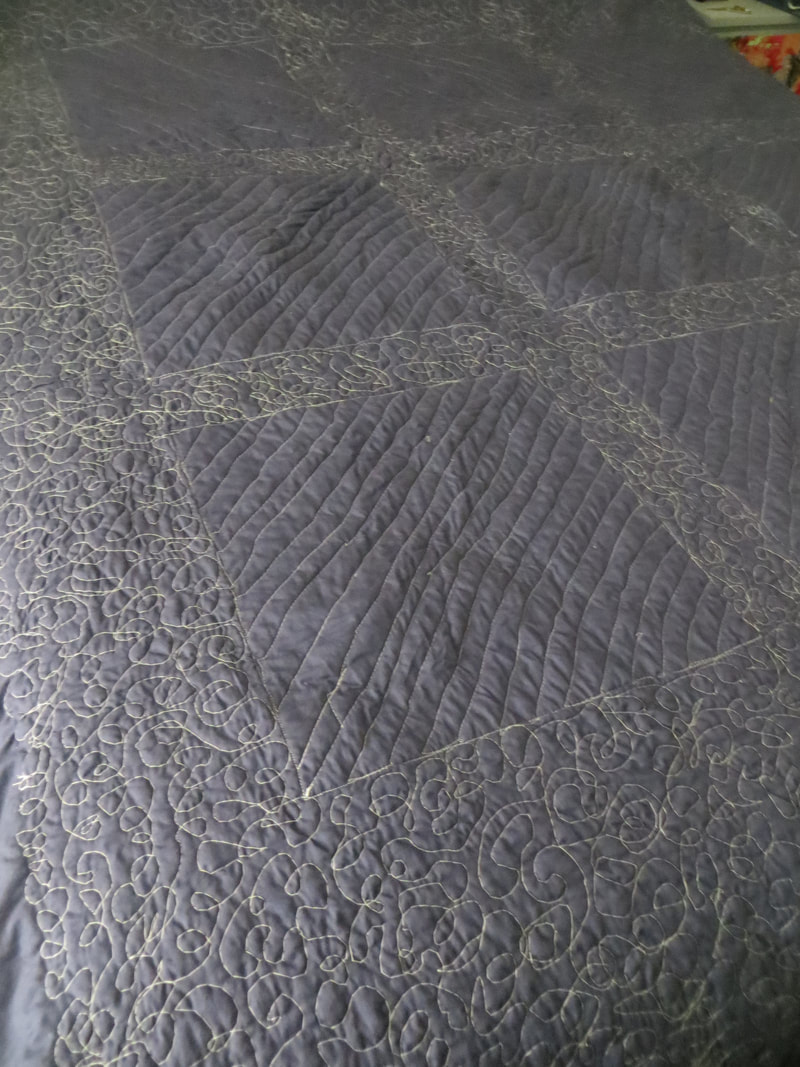
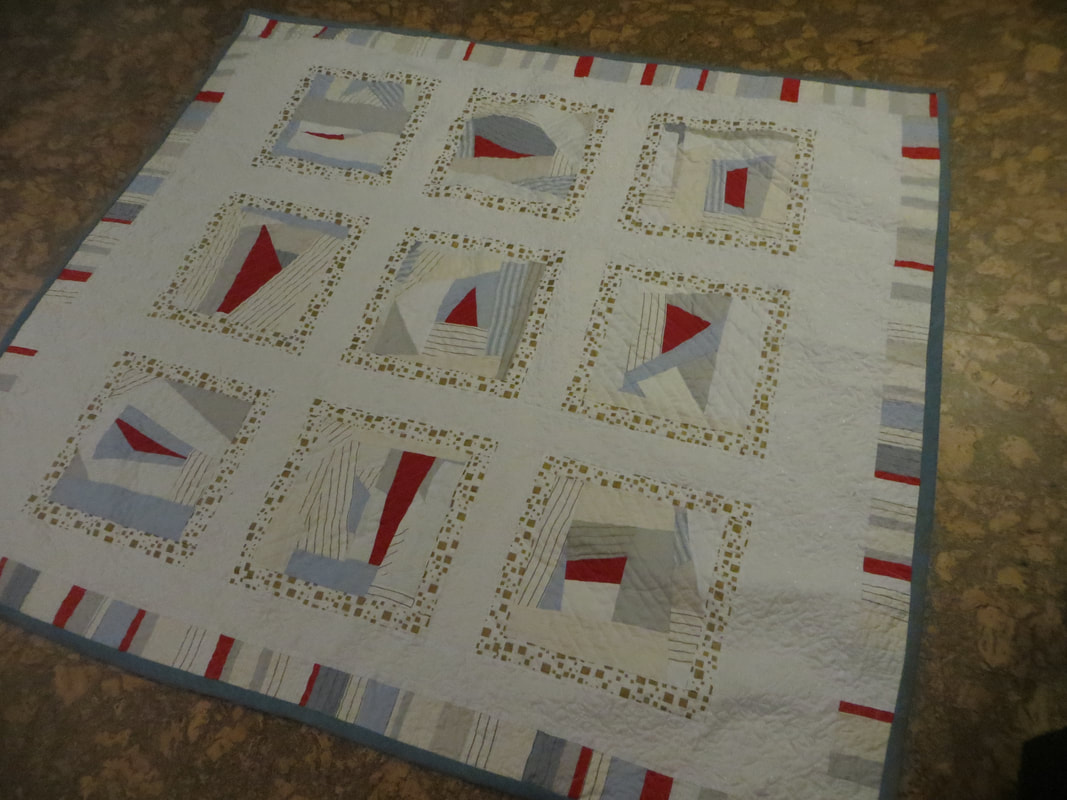
The blue and white design I made specifically for Malaika N. as she transitioned out of her role working with me at the Refugee Hub. She loves mid-century modern design, so I thought this could be a fun piece to make for her. I chose darker batiks for the 'background' (8 inch and 4 inch strips-- I like the offset, non-centered nature of how the finished facing comes out, but you could make it even if you like) and went with lighter fabrics for the 'diamonds' (6.5 inch strips) to get a bit of a contrast in the design. I then created strip sets, angling the joining of the units at 45 degree angles. I took some time on the placement of the strips so that there was a good variety and as few as possible matching fabrics sitting next to each other, and then sewed them all together. For Malaika's I added a small navy border to square it all up, sandwiched it with a fun contrasting fabric and cotton batting, and quilted simply in the diamond shapes to accentuate the pattern. Made a binding out of a complimentary fabric and bob's your uncle! I enjoyed this enough that I thought I would try making some other versions in brighter colors and different quilting. I love them all! Great way to play around with some favourite fabrics and putting rich contrast-ish colors together in a pleasing way. Hope Malaika enjoys her version, and I will enjoy paying around more with this eye-candy of a design! Whew! This quilt was a long time coming... I had purchased a bunch of shirting cut-offs for very cheap at a recycled fabric sale, and was inspired to turn them into a quilt. They were all of a similar, quiet color palate, so I thought it would be fun to cobble the scraps together in random patterns and punctuate their 'buttoned-down' neutrality with shards of bright red. And so I started improvising the piecing and ended up with 9 cool blocks to work with, along with a tiled border echoing the colorway for this quilt top. I framed the blocks in a cool gold-tiled cotton to highlight the pattern, and connected it all with another shirting remnant that has little embroidered balls of shiny thread. Very fun!
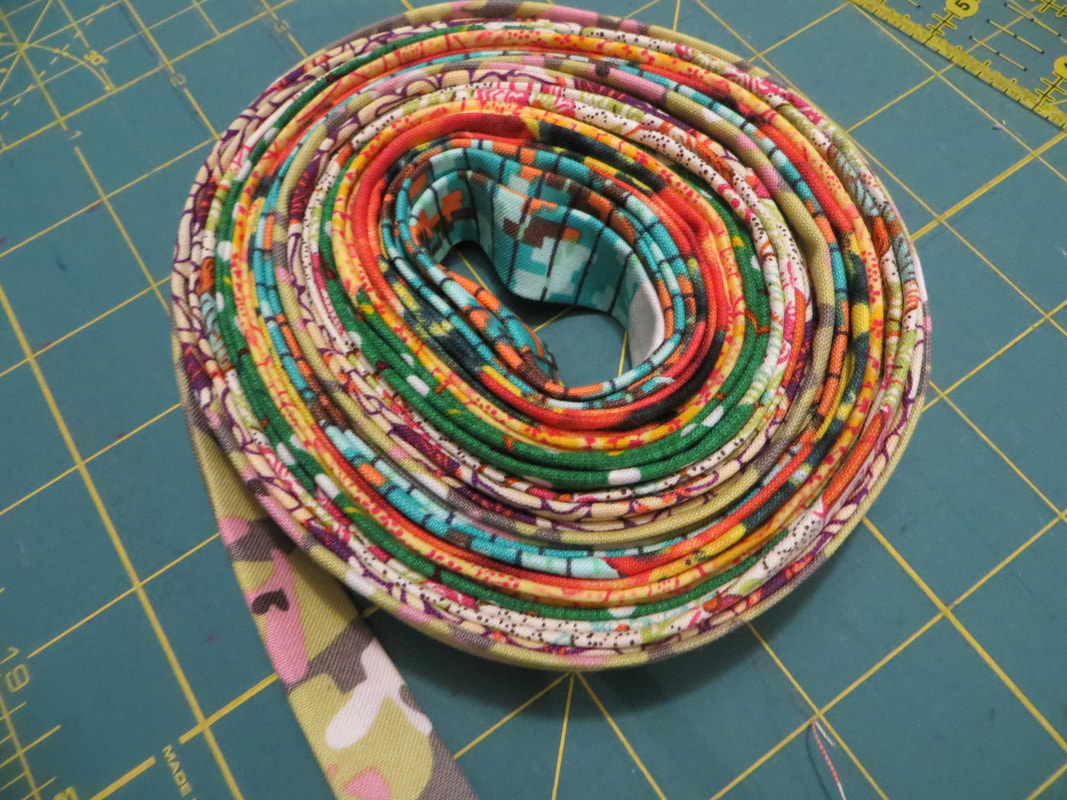
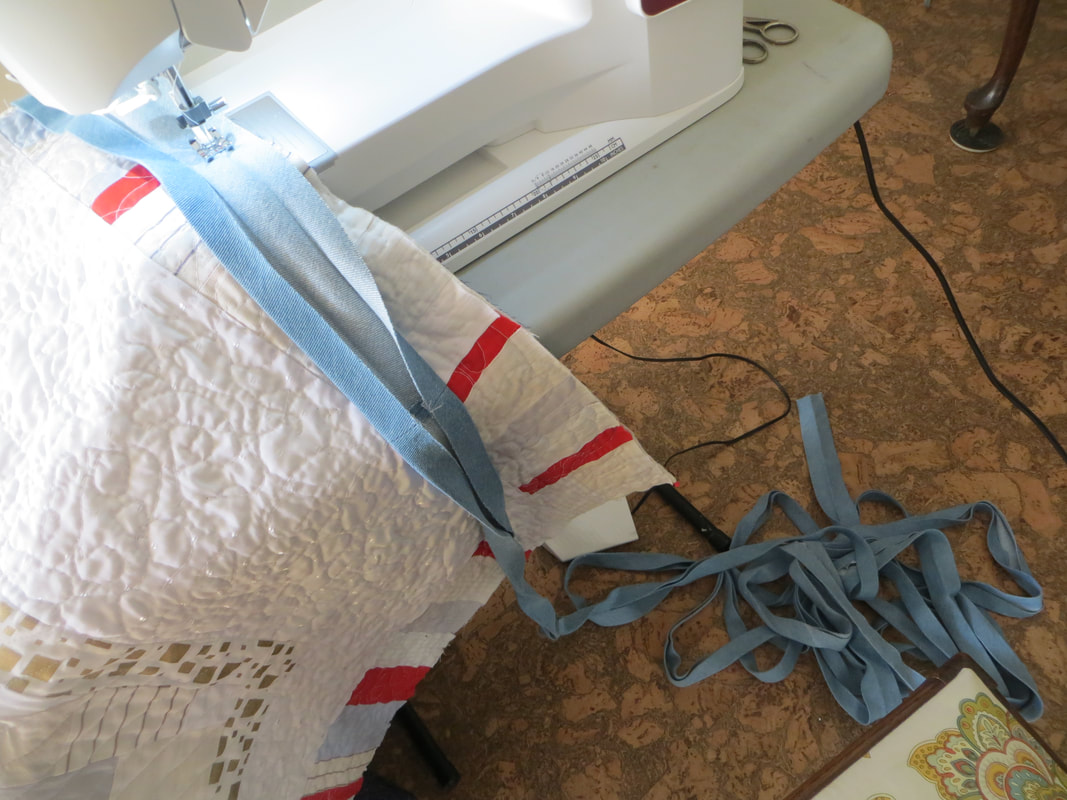
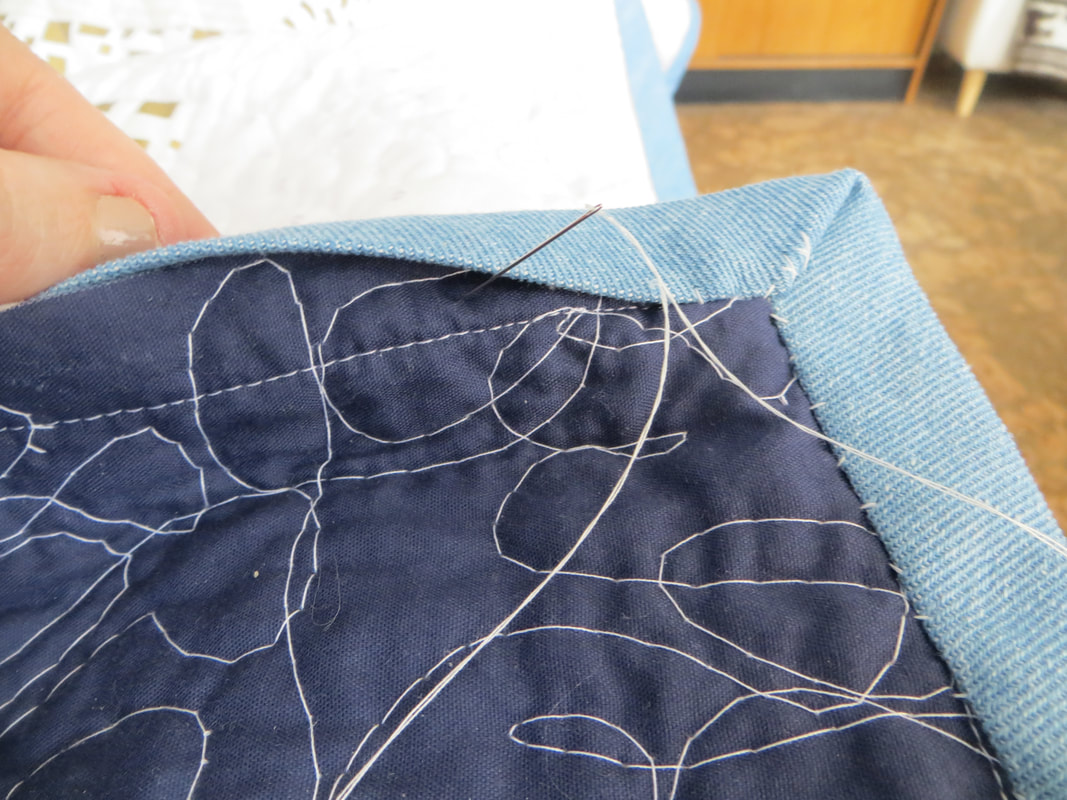
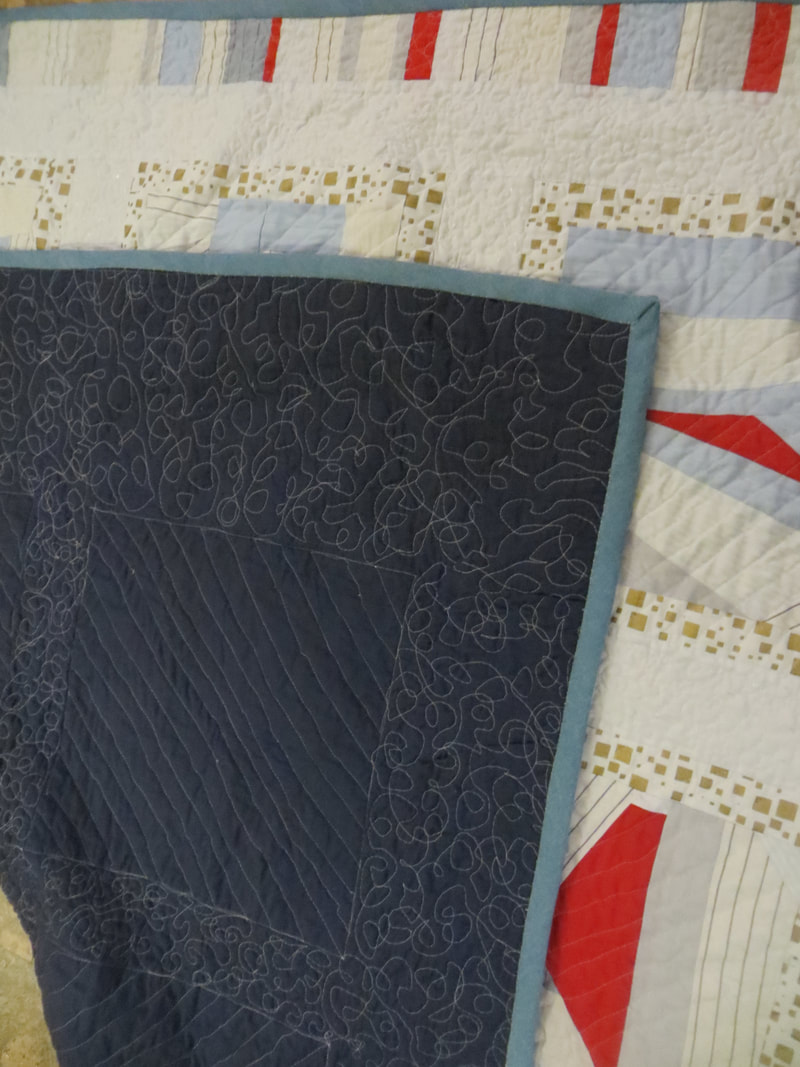
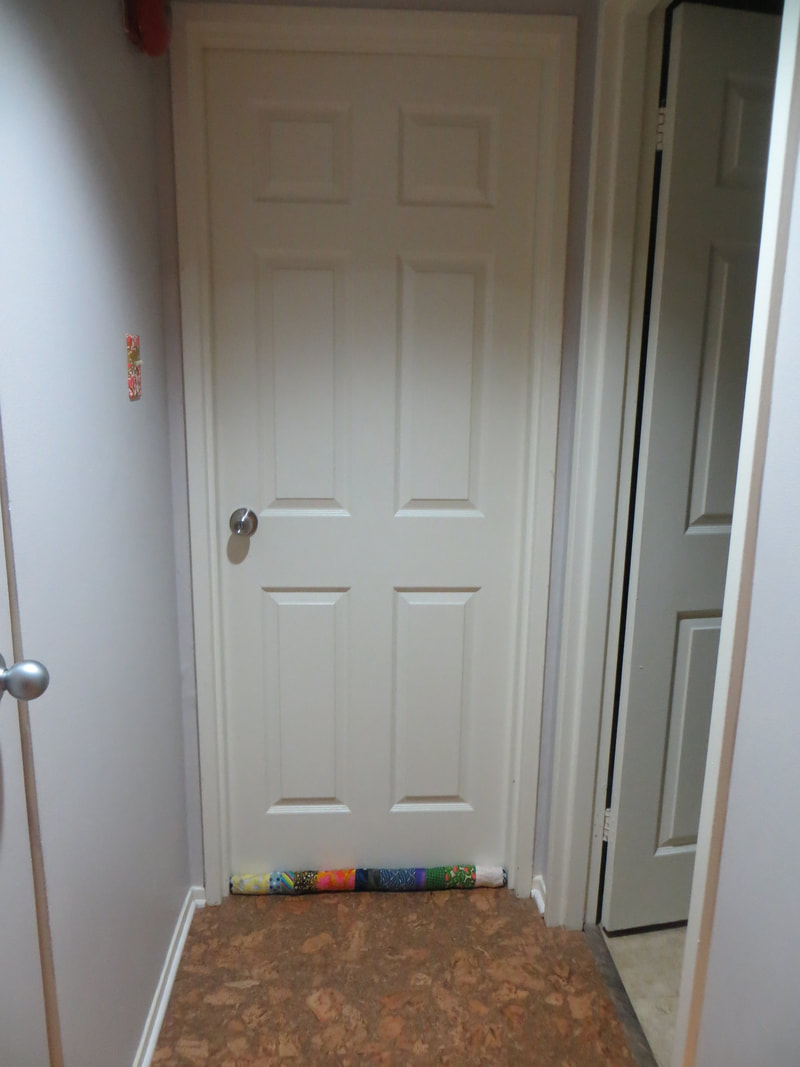
And so the quilt top was done... in 2016.... I love this design and really wanted to quilt this piece properly, but with my 25 year-old machine whose feed dogs would not lower, I just couldn't do it justice. So I took this home to my mother's sewing room in New Brunswick with an ambitious vision of freemotion quilting the entire thing, while framing out the sharded squares with a more geometric pattern. As you will see from the pictures above (especially on the navy backing), this is what I eventually achieved, but it took FOREVER to get any traction on the quilt, since every time I went home and tried to work on it, we had mechanical problems or the thread tension was off or the free motion foot wasn't working.... Until this 2017 holiday season! I received a new and wonderful sewing machine for the holidays, and thought its maiden voyage should include vanquishing this beast of a project. To my utter delight, the new machine took to the free motion quilting like butter, and I had all of the outer freemotion border pieces done before leaving to come back to Ottawa! With that, all I had left was to frame in the sharded squares, trim things up and sew on the binding. I machine sewed the binding to the front of the quilt, and then turned it and hand-sewed it with a slipstitch on the back. It took time to finish but I am really pleased with the final look. After a year and a half of languishing over this project, it felt like an epic start to the year to finally get this quilt finished. As it was my white whale for so long, I will be keeping this one, using it in my guest bedroom--- and I hope it had many years of delight and warmth to share! Here's to an inspiring 2018 full of new projects, new machines, new experiments and all things quiltingly awesome! A quick project using up some recent scraps, both internally and externally. I don't heat my bedroom or spare room, which means that in these frosty winter temperatures, the contrast between those rooms and the main space can be a little dramatic. No complaints when it comes to sleeping, but I wanted to manage the flow of air between the two spaces so I am not wasting energy.
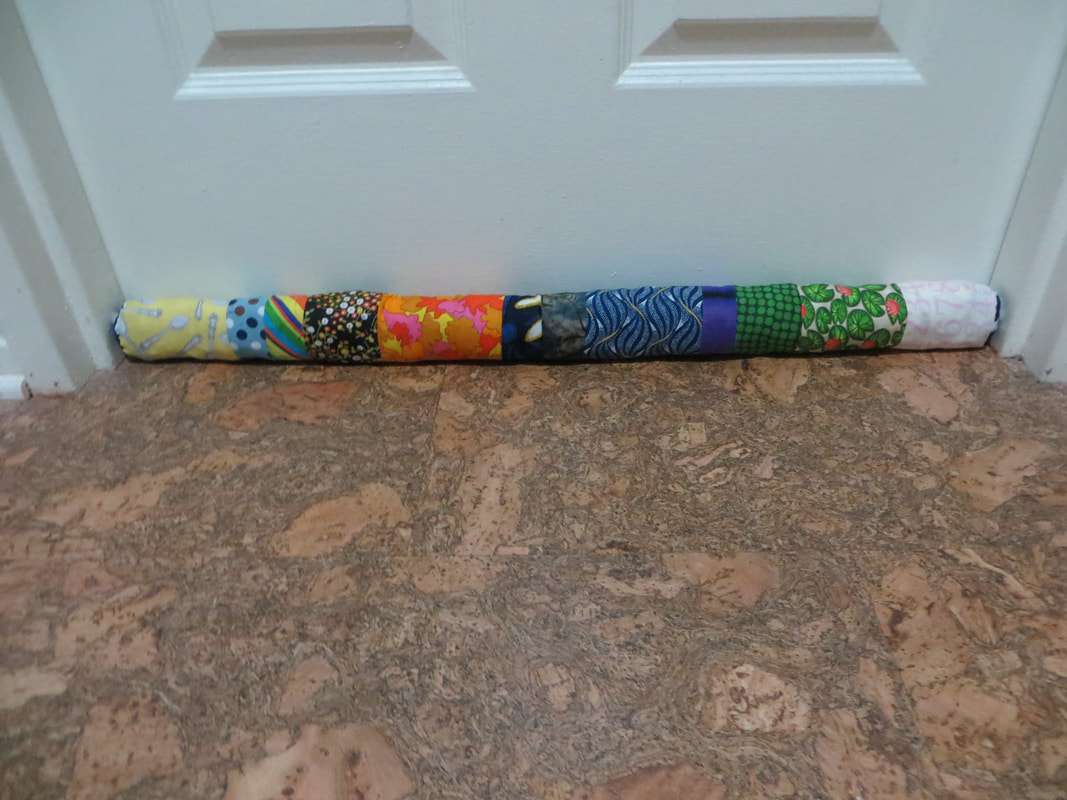
Enter the draft stopper! I didn't put much design into this--- just pulled some similar-in-length scraps from recent projects, sewed them together, connected the two ends with circular pieces to help form a tube, and then sewed it up leaving a gap in the middle to turn it inside out and stuff. For the stuffing, I also used some of the unsewable scraps I have been saving up from recent projects. So a double-recycling win AND an energy efficiency win! |
Welcome to quilterrific!
Ain't no party like a sewing party cause a sewing party don't stop Archives
January 2024
Categories
All
|


 RSS Feed
